- REVIEWS
Camera Reviews 
More Reviews Mobile Reviews Photography Reviews - GALLERIES
- VIDEOS
- BUYER'S GUIDES
How Infrared Photography Can Turn Your Ordinary Images into Magical Photos

It’s sort of a reverse magic trick: now you don’t see it—now you do.
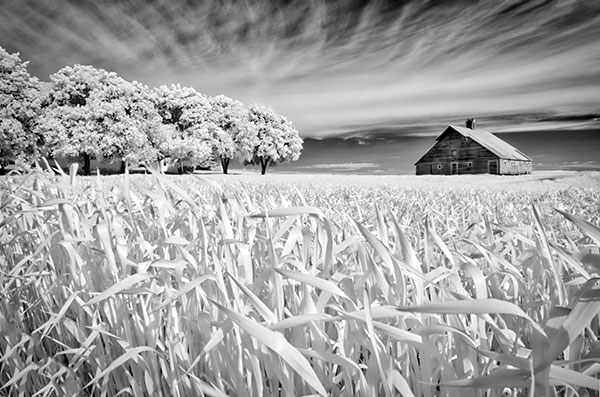
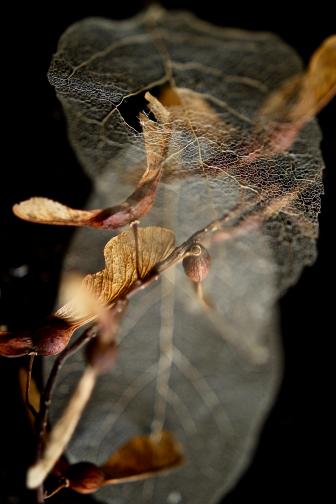
Infrared (IR) light is the light we don’t see, but we can photograph its effects—and that’s what got my attention: how I could with infrared photography take subjects I saw every day and transform them into something extraordinary; how they became beautiful and magical, certainly surreal, maybe a bit mysterious.
I loved how infrared could be a scene’s mood shifter, a different way to tell a story—a way that was often more powerful than a regular color or black-and-white picture.
But before we go any further, just what is infrared light? Without getting technical, it’s light in the electromagnetic spectrum with longer wavelengths than visible light. We can’t see it, but we can certainly capture what it does.

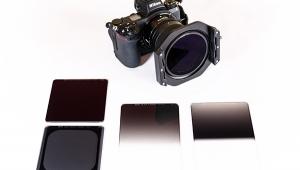
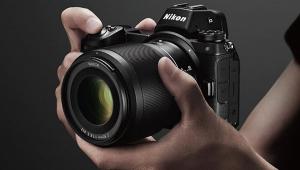
In order to take infrared pictures in the days of film, I needed film that was sensitive to the infrared spectrum. In the early days of digital, I put an R72 infrared filter on my lens to block visible light and allow only infrared light to reach the camera’s sensor.
Today I shoot with modified DSLRs that are dedicated to infrared photography. These cameras’ straight-from-the-factory built-in filters, which block IR light, have been removed and replaced with filters that allow in only IR light.
If you decide to convert a camera for IR photography, you can choose the type of IR filter you want to have, and your choice will depend on the infrared look you want in your photos. If you’re unfamiliar with the various choices, the best way to decide would be to check out the examples of IR photographs that you’ll find at camera conversion company websites.

My IR conversions were done by LifePixel, which has a helpful website video that demonstrates the range of control you can get with various IR filters. The site also offers a display of sample images that result from the different filters.
Over the years I’ve used three Nikon DSLRs as my dedicated infrared cameras: a D40X, a D200, and a D7000. These days I shoot mostly with the D7000, which was modified by LifePixel to produce a standard, traditional black-and-white IR image.
My D200 has their Super Color filter, which produces a heightened infrared color effect. The D40X, my earliest dedicated IR camera, also has the standard conversion filter. Overall, I prefer the traditional look because it gives me images with the greatest contrast and the strongest blacks and whites.
The Experience Factor
At the start, infrared photography is a matter of gaining experience, of experimenting (for a fairly short period of time) to find out how your camera reacts to the scene, and to find out what kinds of scenes will produce the most dramatic or subtle results or, more important, the kinds of results you like to see. I found out right away that my dedicated IR cameras functioned exactly the same way as my other cameras when it came to exposure, metering, and focusing. Some people have found that their cameras need a bit of exposure compensation to produce the results they want, so it’s best to take a few shots to see how your make and model reacts to IR, and if any adjustments—say, a stop or a half-stop of exposure compensation—are needed.
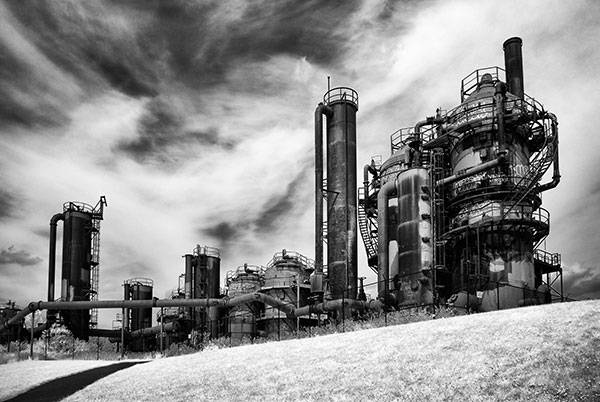
I also learned early on how infrared light is reflected or absorbed by trees, vegetation, and buildings, and how the reaction to various surfaces will affect IR images. From that experience I knew what types of scenes would give me the best IR results, so I knew to bring along my cameras if I was going to be in locations that would give me a great IR look.
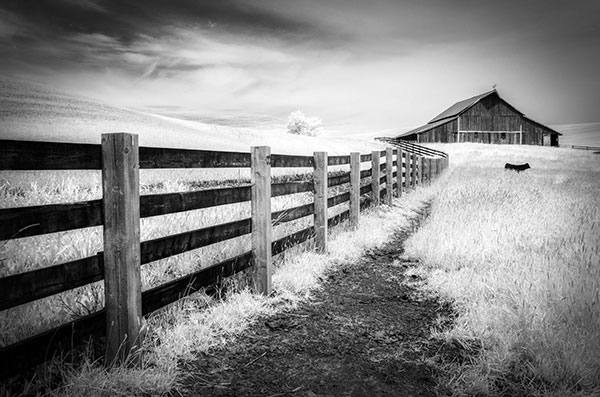
One of those places is South Beach, Florida, where the beautiful palm trees with their feathery fronds as well as the great details of background architecture will give me striking pictures. If I’m headed for the Palouse region of Washington State, I take my IR cameras because infrared is how I want to portray much of the area’s incredible landscapes.
The Real Deal
I know there are postproduction programs and filters that will give photographs an infrared look, but there’s no post effect or technique that can portray the intensity or brilliance of reflected light that a real IR image will capture. It’s not possible for programs to emulate the depth and detail of an image taken with a dedicated IR camera.
But the camera by itself doesn’t guarantee good results; experience does. It’s said that Ansel Adams was able to envision what landscapes would look like in black and white as he looked at them in color. I believe the infrared photographer has to be able to envision, to a great degree, what the result will be, and the skill to do that will come with experience.
You’ll know, for example, that conifers are going to react differently than, say, maple trees. From experience, you’ll know what’s going to create a really beautiful IR image. There may be some happy accidents, but for the most part you’ll know what you’re going to get. And unlike Adams, you’ll be able to check the results right away!
Got an older digital camera in a closet or on a shelf? Thinking of upgrading your current model? Convert a camera to infrared and tell some different stories.
You can see a varied selection of Deborah Sandidge’s infrared images in the Portfolio section of her website, deborahsandidge.com. Check her Blog for IR tips and techniques.
(Editor's Note: If you want to learn more about getting started in infrared photography, read our primer by Jon Sienkiewicz)


![]()
Get the Latest Photo Tips, News & Reviews from Shutterbug!
| Camera Reviews Other Reviews | Mobile Reviews Photography Reviews Columns | News | Features | How-To | Resources |
 © 2025 Shutterbug
AVTech Media Americas Inc., USA
All rights reserved