Software How To

Sort By: Post DateTitle Publish Date
Ron Leach  |  Nov 28, 2023

Nighttime offers a variety opportunities for capturing eye-catching images, whether you're shooting cityscapes, on the water, or elsewhere outdoors. That's because scenes that look boring during the day are often transformed into sparkling tableaus once the sun drops below the horizon and the lights come on.

Joe Farace  |  Mar 20, 2012  |  First Published: Feb 01, 2012

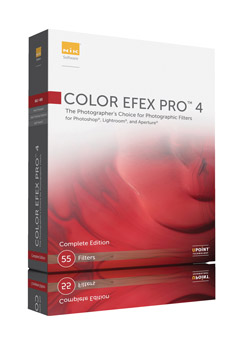
Color Efex Pro 4 is Nik Software’s (www.niksoftware.com) latest version of its digital photographic filter plug-ins for retouching and creative enhancements. It is Mac OS and Windows compatible and installs as a 32-bit and 64-bit plug-in for Adobe Photoshop CS4 or later, Lightroom 2.6 or later, Photoshop Elements 8 or later, or Apple Aperture 2.1.4 or later. The installer searches for all of the hosts that are on your computer and if you already have Photoshop, Lightroom, and Aperture installed, as I do, it will install Color Efex Pro 4 for all of the host applications.


What’s New
One of the biggest improvements in Color Efex Pro 4 is the ability to use Filter Combinations that let you stack multiple filters, adjust each one’s opacity, and make selective adjustments to get the desired look. Each filter contains single-click starting points, making it possible to explore different options. Shades of Emeril Lagasse, there are Filter Recipes that let you customize and share filter combinations with others. Bam! Reminiscent of HDR Efex Pro, the 10 recipes that are part of the package are a quick way to get started using Color Efex Pro 4 and more are available for download on Nik Software’s website.

Joe Farace  |  Oct 28, 2011  |  First Published: Sep 01, 2011

Nik Software’s Silver Efex Pro 2 is a major upgrade to an already great product and introduces many new features that offer you even more control over an image’s detail, contrast, and tonality, making it easy to transform color files into stunning black-and-white photographs. Silver Efex Pro 2 now includes controls for Dynamic Brightness, Amplify Blacks, Amplify Whites, Soft Contrast, Fine Structure, Image Borders, Selective Colorization, as well as a History Browser and many speed and quality improvements. All of Silver Efex Pro 2’s new features also play nice with Nik’s U Point technology, giving you selective control over an image instead of globally applying an effect, although that option is available, too.

Joe Farace  |  Mar 01, 2011

Everybody knows the basic concept and conceit of High Dynamic Range (HDR) imaging but first let’s get rid of yet another unnecessary acronym. What does HDRI—High Dynamic Range Imaging—add to the discussion other than just another letter?

Howard Millard  |  Oct 01, 2010

Whether you work in Photoshop, Elements, Lightroom, or Aperture, V2 enables you to quickly select the areas you want to change by pointing, clicking, and dragging without the need to create time-consuming selections and masks.

Ron Leach  |  Sep 09, 2024

Landscape photos with overexposed highlights are a common problem with scenes that include a wide range of tones that exceed the dynamic range of your camera. This tutorial from the Photography Explained YouTube channel  provides a handful of simple tips for avoiding "those annoying big white patches in your images that are totally devoid of detail."

Ron Leach  |  Aug 08, 2022

All outdoor photographers are at the mercy of Mother Nature, especially when shooting landscapes. That’s because sometimes you scout out a perfect scene in advance, prepare your gear, and arrive at the right time of day—only to confront disappointingly dull skies.

Ron Leach  |  Oct 13, 2021

Photoshop users know that Vibrance and Saturation are similar but not quite the same, and these tools can be employed separately or together for different purposes. Lightroom, on the other hand doesn’t have a Vibrance tool, and if that sounds crazy just take a look; all you’ll find is a Saturation slider.

Ron Leach  |  May 11, 2023

Have you heard the term “non-destructive” to characterize certain editing methods, but you’re unsure what it means? If so, we’re going to clear that up today. You’ll also learn how easy it is to get the job done using Adjustment Layers to process photos.

Ron Leach  |  Nov 07, 2023

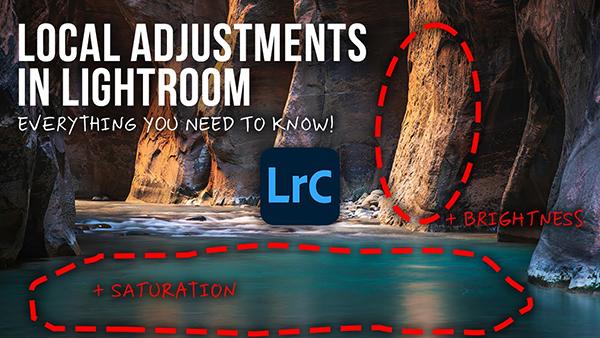
Too many photographers make the mistake of restricting their workflow by employing global adjustments to edit their photos. The problem is that these enhancements affect the image as a whole—thereby greatly limiting the results they achieve. That's because certain areas within the frame often require one approach while others call for totally different enhancements to create photos with balanced exposures and realistic colors.

Ron Leach  |  Aug 16, 2024

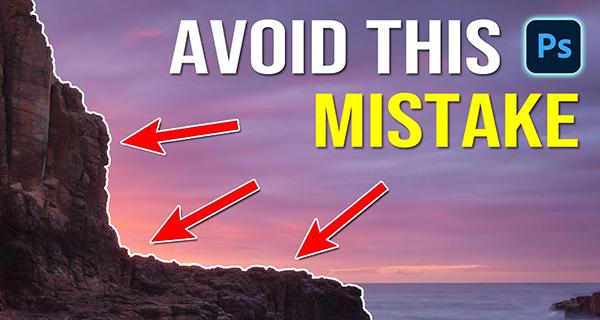
We've had discussions in the past about how a heavy-handed approach to post processing can be worse than no editing at all and can really mess up an otherwise nice shot. There are also times that problems occur because of a failure to understand how common tools work, and this often results in easy-to-correct mistakes

Ron Leach  |  May 15, 2020

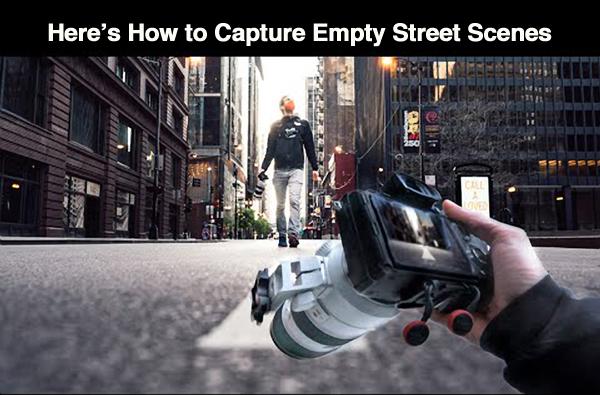
Photographic opportunities are quite limited during his time of social distancing and stay-home orders. But these same inconveniences make this a great time to capture unique images of abandoned streets wherever you live.

Ron Leach  |  Jul 05, 2023

If you ask a bunch of photographers what they found most exciting about the recent Photoshop update, you're likely to receive this two-word answer: Generative Fill. Nonetheless, professional photographer Nick Page begs to differ, claiming the Remove tool is a real game changer and the best new capability.

Ron Leach  |  Nov 09, 2021

Are you one of those photographers who don’t like to spend a lot of time editing photos? Or perhaps you’re new to Photoshop and not sure how to deal with images that need a bit of work. In either case, this quick tutorial is for you.

George Schaub  |  Mar 08, 2012  |  First Published: Feb 01, 2012

Operating as a plug-in for Lightroom, Aperture, or as a stand-alone workspace, Perfect Layers from onOne Software distills down and codifies the often-complex task of working in Layers to a fairly simple task, offering various Blend modes, composite shortcuts and tools that might otherwise pose a steep learning curve. You can use numerous source files, including Raw, TIFF, and JPEG formats, and scale and move the various layers as required. In short, Perfect Layers poses an effective tool for those who have wanted to work in Layers out of Aperture and Lightroom and opens up new doors to image creation.


The onOne workspace contains toolbars on the left and modifications and working options on the right, #1. Once you have selected an image or images from an organizer such as the Library in Lightroom, they load as separate Layers in the center screen. You choose the images to be used by selecting them from the Library or Browser, then going to File>Plug-In Extras>Perfect Layers. Here’s the selection process shown in Lightroom 3, #2.

Pages

X