- REVIEWS
Camera Reviews 
More Reviews Mobile Reviews Photography Reviews - GALLERIES
- VIDEOS
- BUYER'S GUIDES
Water Drops On CDs: Using That Shiny Surface
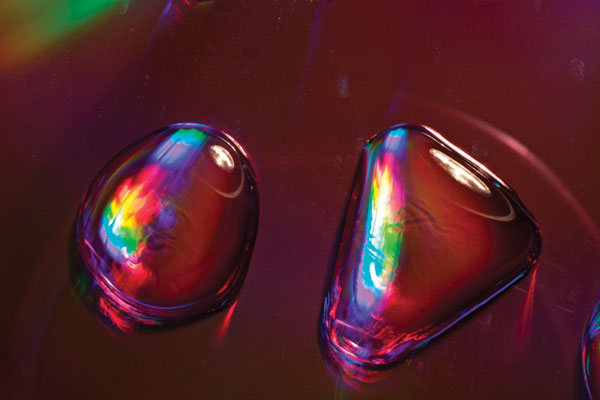
All you need to create images like you see reproduced here is a CD or DVD and an eyedropper. You can certainly do this technique without the eyedropper because drops of water can be placed with your fingers, but the dropper allows you to control the size and shape of the drops like I did in (#1 and #2).
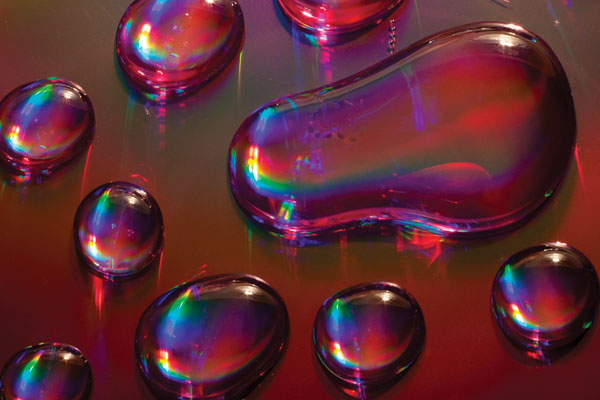
All Photos © Jim Zuckerman, All Rights Reserved
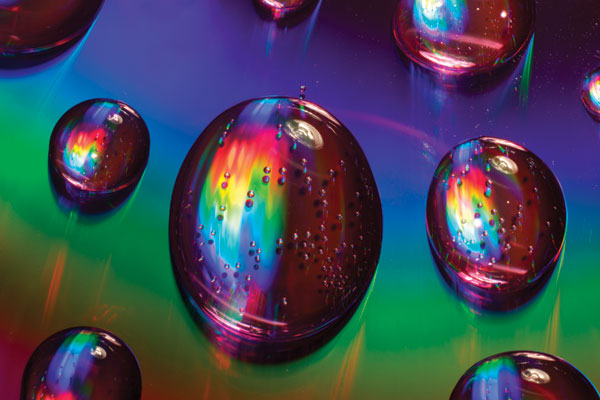
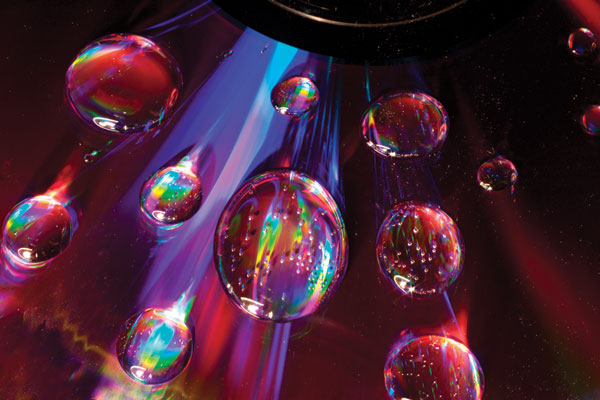
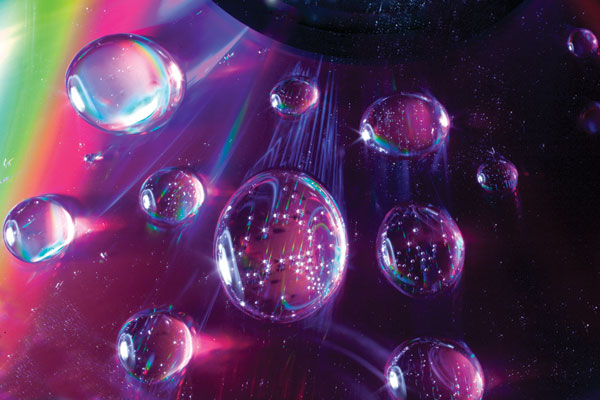
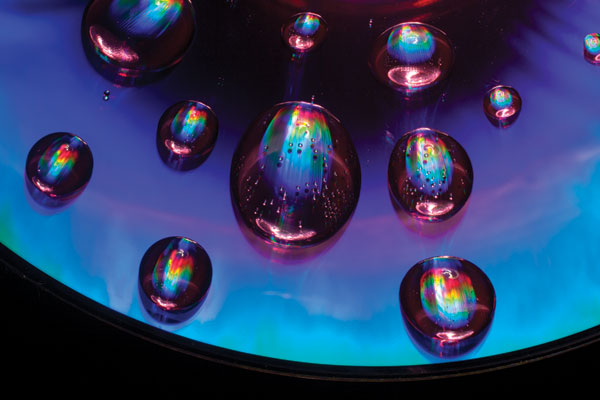
I experimented with different liquids. I tried water, glycerin and soda. Water and glycerin looked the same, but in the soda droplets there were some tiny bubbles, as you can see in the drops in (#3 and #4).
All of the pictures here were taken with a 50mm macro lens and one or more extension tubes. If you want the drop of water to fill a significant portion of the frame, you’ll need the tubes or some other way to get very close (such as bellows or a diopter lens, which is a screw on filter-type lens that’s like a magnifying glass).
A tripod is required to get sharp images because the drops are being magnified so much and the slightest movement will result in blurred images. I used f/32 for all my shots, and the mirror-lockup feature and self-timer helped make the pictures as sharp as possible. Use the smallest aperture you have available on your lens.
You don’t want to use flash for this technique because the precise placement of the light is important, and you need to see how the color and the light work together. I used a single bulb in a photoflood reflector, but you could really use any kind of continuous light source. Even a flashlight would work, although the exposures would be quite long. If you use a tungsten bulb, as I did, make sure the white balance setting is on “tungsten” as opposed to auto white balance. This will give you much more accurate color and I’m sure you’ll be happier with the results. If you shoot in Raw mode, as you should be doing, you can change color easily enough in processing.

To get a variety of color, tone, and contrast, move the light and experiment with placing it at a 90˚ angle to the lens axis, in back of the CD, above it, and also try placing objects in front of the light to create some interesting shadows, as I did in (#5). I used a simple plastic comb to make the shadow design.
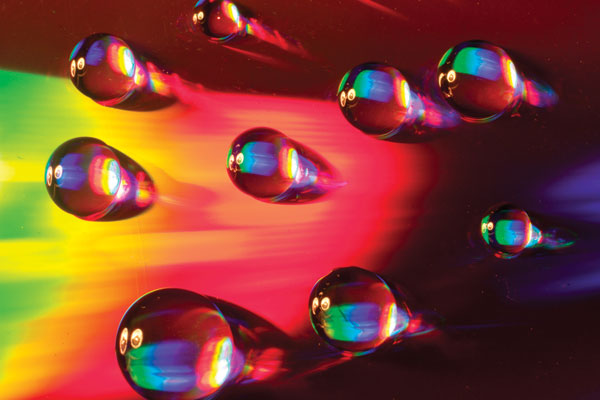
The color in these images was not manipulated in Photoshop with respect to color balance or saturation. These amazing colors were exactly what I saw through the camera. To get the variety of hues like purple, red, yellow, green and blue in photos (#6, #7, and #8) I simply moved the photoflood around the CD. By partially obscuring the light with the rim of the reflector around the bulb, I could create shadows as well.


![]()
Get the Latest Photo Tips, News & Reviews from Shutterbug!
| Camera Reviews Other Reviews | Mobile Reviews Photography Reviews Columns | News | Features | How-To | Resources |
 © 2026 Shutterbug
AVTech Media Americas Inc., USA
All rights reserved