How to Shoot the Best Blue-Hour Photos: Tips & Techniques for Pre-Sunrise & Post-Sunset Images
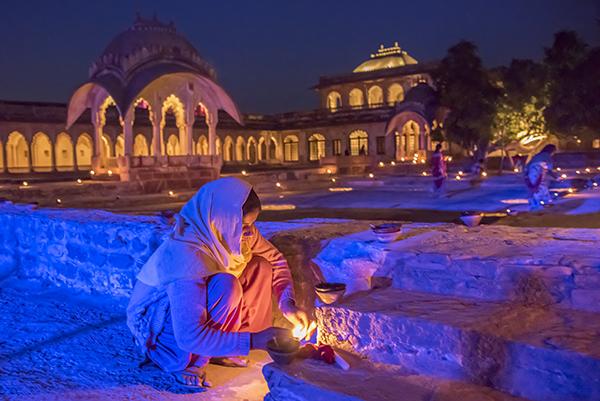
This may be strange to hear from a travel photographer, but I can make a case that location isn’t everything—light is. And I’d build my argument on the fact that the right light brings out the best in any location.
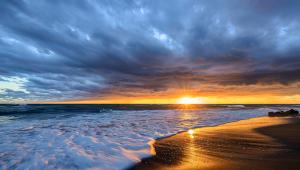
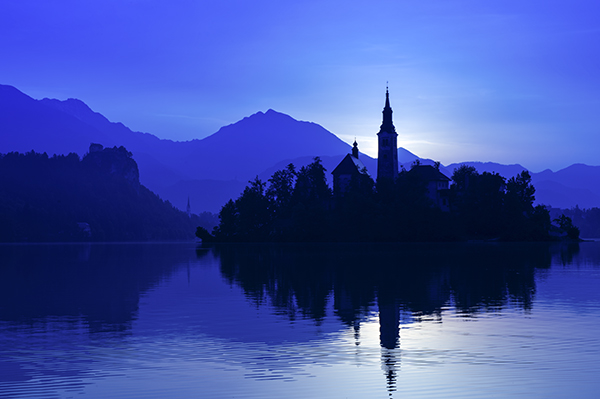
Some of the best light for photography comes along during the so-called blue hours—the moments before sunrise and after sunset when the sky shows off vivid, rich, beautiful blue tones.
In the evening I set up my camera and start looking for those tones about 20 minutes after sunset; in the morning, I arrive at the chosen location 45 minutes to an hour before sunrise. I’ll get the golden hour just before sunrise; if I want the blue hour, I need to be there well before that.
Because I want to be precise about my timing, I use an app called PhotoPills. It will, among other things, calculate not only the times for morning and evening blue hours but also the duration of each for specific locations.
Added Attractions
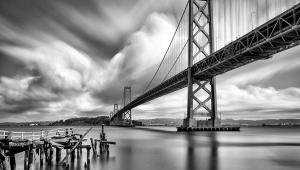
In my blue-hour images I want the tones to set the mood, but I need the scene itself to add to the photograph’s impact. To that end, I’ll often use slow shutter speeds so that cloud movement and water texture become creative elements.
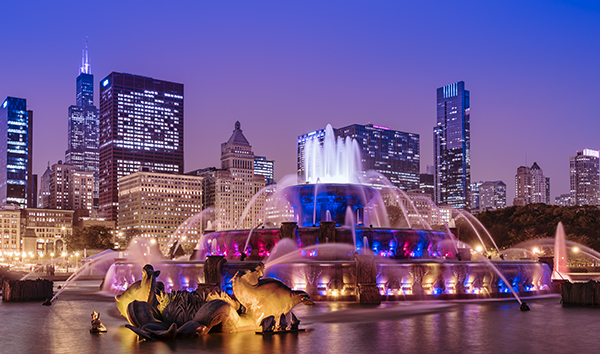
I’ll also take advantage of lights in the scene: harbor lights, bridge lights, city lights, vehicle lights. Lights are so important that I take many of my blue-hour images during the week because on weekends city lights from buildings and streets may not be as plentiful or bright.
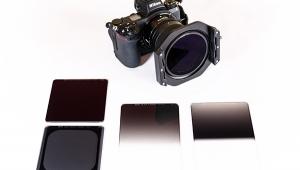
To be sure I’m getting the strongest possible images, I’ll sometimes use a Singh-Ray color-intensifying polarizing filter—the LB ColorCombo Polarizer—to cut down reflections in water or enhance the blue tones in an image. Other times it might be a graduated neutral density filter to hold back some light in the sky to stretch the blue hour a bit.
I’ll also use live view to see the effect various white balance settings are having on the color in the scene, though generally I set between 4,000 and 5,000 Kelvin. And I can always tweak the Raw file in postproduction if I want to.
I almost always have my tripod with me, but I don’t always use it. I need it for certain creative effects—like a long exposure so the water in a fountain is fuller rather than frozen—but I can often hand-hold in low light by cranking up the ISO for a faster shutter speed.
My preferred lenses for blue-hour photography are zooms that offer versatile wide-angle focal lengths. The photos here were taken with 14-24mm, 16-35mm, 24-70mm, and 24-120mm lenses.
Planning the Shot
These pictures don’t just happen. When I’m traveling, I’m planning my day for blue-hour hero shots. I look for ideal locations, and when I find one I start thinking about what tools and techniques I’ll be using when I come back for morning or evening shooting.
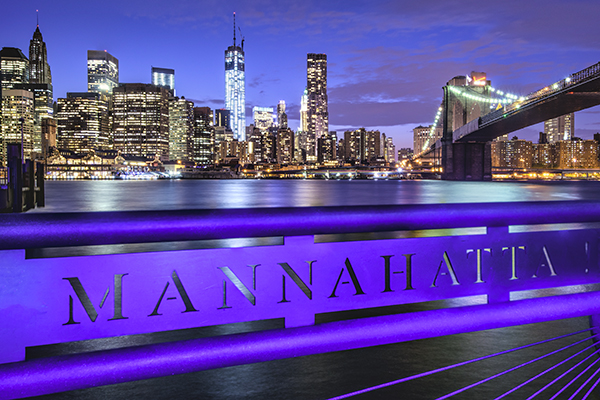
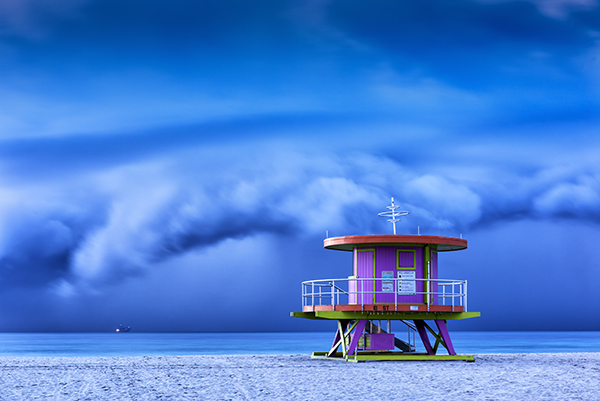
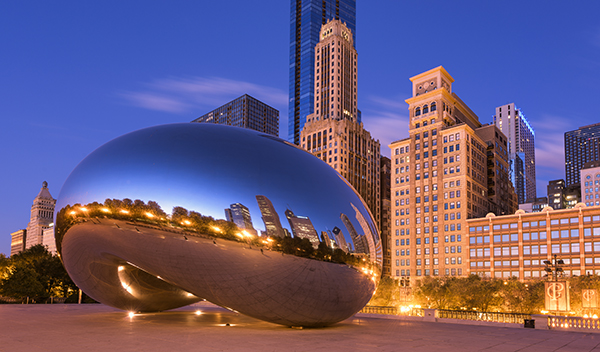
Often I’ll make a daytime reference snapshot of a place I want to return to early or late, and I map out everything for angles and compositions. These snaps are more important for morning shots because I’ll be walking into a location in the dark to set up.
Sometimes if I’m out scouting or shooting and see a blue-hour location, it’s easier for me just to stay in the area and wait for the great light to come to me.
Every once and a while it’s just that simple.
A selection of Deborah Sandidge’s world photography, including blue-hour images, is at deborahsandidge.com, along with cinemagraphs, photo tips, and a schedule of upcoming workshops, photo tours, and seminars.
