- REVIEWS
Camera Reviews 
More Reviews Mobile Reviews Photography Reviews - GALLERIES
- VIDEOS
- BUYER'S GUIDES
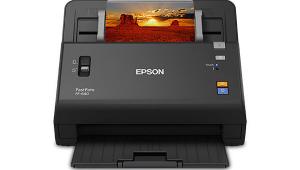
Epson’s New FastFoto FF-640 Is the World’s Fastest Print Scanner at One Photo per Second
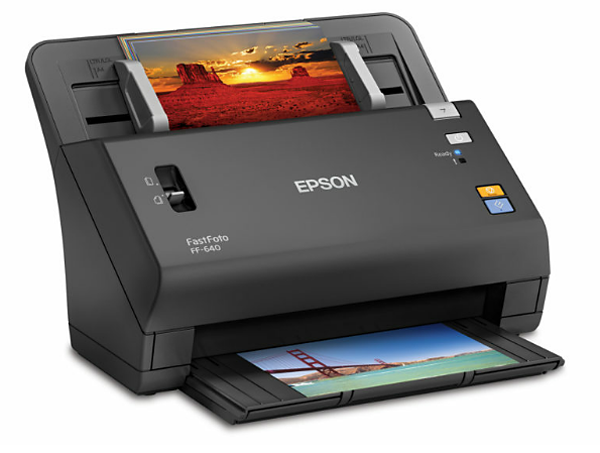
Today Epson introduced the FastFoto FF-640, dubbed by the company as the “world’s fastest photo scanner.” An alternative to flatbed scanners, the FastFoto scanner has a throughput rate of one photo per second with integral photo tools to restore and archive treasured images for print or social media sharing. Ideal for hobbyists and archivists alike, the unit can handle prints up to 8x10 as well as speedy document scanning for those who want to make electronic files of important papers.
Shutterbug Editor-at-Large George Schaub got his hands on a pre-release unit and filed this hands-on review.

When I first heard about Epson’s FastFoto FF-640 I was eager to give it a tryout. Perhaps like many readers, I have a good many prints from my old film days and shoeboxes filled with family photos made by my parents and grandparents that stretch back to the 1920’s. So many, in fact, that while I have given it the old college try to scan and share them all with other family members, I have never quite caught up.
Most of this work was done on a flatbed (for prints), and while I could batch scan and then crop into each individual image, it was tedious work. Enter the FF-640, claimed by Epson to be the “world’s fastest photo scanner.” I put it to the test, and in the process made a huge dent in my task.
Why is the FF-640 so fast, you might ask? It works with print “stacks” rather than individuals and batch scans them in surprisingly rapid and smooth fashion.
Specs and Setup
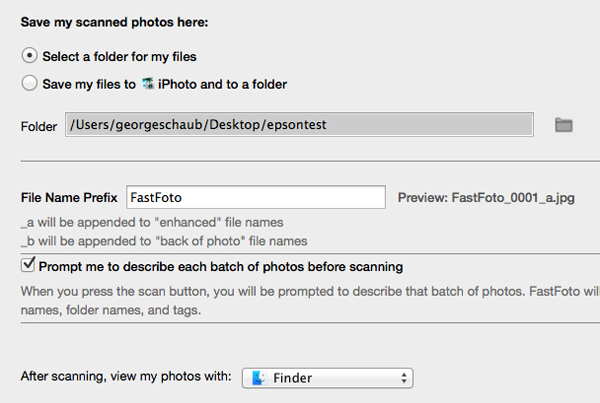
First some specs: The unit has a small footprint (11.8” x 8.6” x 8”: WxDxH) and weighs a mere 8.8 pounds., thus is not a desktop hog. It is simplicity itself to set up: first, download the most current Epson software, then attach the back stack loader, pull out the bottom receiver tray, plug it in, and attach to your computer via USB and you’re ready to go. When you connect the USB you will be guided through software installation. I worked with my MacBook Pro 10.9.5.


Put to the Test
I have tons of 4x6’s, a good bunch of 3.5x5’s, some old 3x3 deckle edge cuts (1950’s), and other odd sizes. I bravely tried some 5x7’s and even 8x10’s (the latter being on double weight matte), and even some panorama prints! Note: The scanner brought the full panorama print through and gave me a full scan of the image—very impressive.
These all went through quickly and easily. For fragile images (torn, very thin paper) Epson supplies an acetate sleeve to protect them through the scanner, although I tried a thin (A surface) print and it went through the smooth scanning rollers with no problem, but the sleeve is probably the best bet. The only caveat is that Epson does not recommend scanning Polaroid prints: they say they are too thick and could damage the print or, worse, the scanner. Save those for flatbeds.

The scanning is done with stacks of prints, for snapshot sizes 30 at a time. Sort the prints in the same landscape orientation (vertical can be easily rotated later) and “fan” them to alleviate any possibility of sticking. If they do get jammed for any reason it’s easy to pop open the front and reset them.
If prints are dusty or have stick-um you should clean them first—you don’t want that stuff getting on the rollers or affecting the scan head. Place them face towards the scanner body in the stack loader. Do the setups in the software and then click on scan. And watch the magic begin.
I scanned 20 4x6” photos in a stack and the FF-640 moved them through like they were on an assembly line. Those 20 prints took 30 seconds to scan!
The image processing stage takes a bit longer, about 3 minutes for the 600 dpi scans for 20 prints. When done, I checked the files and opened them for quality and most importantly final file size. As to quality they were, on screen, near identical to the color and density of the originals.
The resultant files from the 600 dpi scans of 4x6” prints were 3535x2365 pixels at 72 ppi, a 23.9 MB file when opened. However, keep in mind that this includes some healthy upsampling: the stored JPEGs were a bit over 1MB in size. When opened at 300 ppi in Photoshop this gave me an approximate 7x11” print.

I tried other print sizes: a 3x3” deckle edge print yielded a final image size of 5x5”
at 300 ppi; a 5x7 original yielded a 9x14” (print size) at 300 ppi; and even an 8x10 double weight made went through fine and yielded a 80.7MB file when opened, with the original JPEG scan reading 8.9MB. So, the larger the original print size the larger the output file, and in the case of the 8x10, the JPEG file was opened from just under a 10:1 ratio, with smaller prints getting even more upsampling.
Of course you might not be scanning to simply make reprints but for sharing and screen viewing, in which case these output JPEG sizes are more than enough (and not too large) for the task. If you are scanning for reprinting, save the files as TIFFs to avoid JPEG degradation down the road.
Conclusion and Comments
In all, I was very pleased with the Epson FastFoto FF-640 scanner. It did all I expected and more, and made fast work of those scans I put off to another day. It can even do a scan on the back of the print simultaneously, which can record back-printed dates (something available on many snaps printed on wholesale and even minilab machines) or notes about who might be in the photo (something my Mom thankfully did later in life).
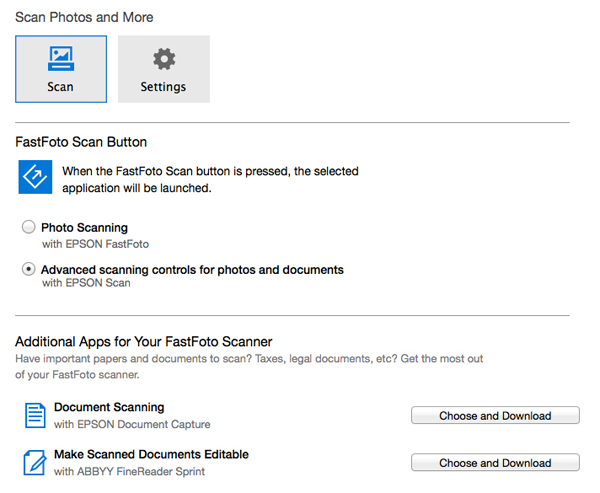
It also can do very fast scanning of documents (time to clean out those old tax files) and even scan to create editable documents (although in my testing period this was not available for Mac, but will be available soon).
However, one thing that might stop you from getting this impressive unit is the price: $649.99 (MSRP). If you have a few hundred snapshots then my advice would be to slog through with a flatbed using your all-in-one unit, or hopefully better, desktop scanner. But if, like me, you have thousands, including photos made by generations of family photographers; or are in a club of photographers and want to pitch in to help others accomplish the archiving task; or are a member of a historical society; or want to be a photo hero and preservationist among other family and friends; or want to finally rid the attic of all those old papers the government insists we keep, then the Epson FastFoto scanner might be right down your alley.
The printer is compatible with both Mac and windows prints, and you can read more on Epson’s website.


![]()
Get the Latest Photo Tips, News & Reviews from Shutterbug!
| Camera Reviews Other Reviews | Mobile Reviews Photography Reviews Columns | News | Features | How-To | Resources |
 © 2026 Shutterbug
AVTech Media Americas Inc., USA
All rights reserved