New Canon CanoScan 9000F & SilverFast; An Ideal Flat-Bed Scanner & Software For Photo Enthusiasts
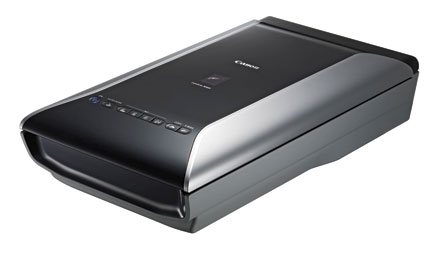
A new CanoScan flat-bed photo scanner, the 9000F, has an exceptionally high 9600x9600 optical resolution. It’s priced right, with a list of $249, but how well does it work and what quality of scans does it reproduce from 35mm film?
 |
|
|
This new 9000F model Canon flat-bed photo scanner is not essentially different from their 8800F model; it looks a little sleeker and has higher resolution, though. It can be used to scan 8.5x11” reflective documents and prints (at 4800dpi), as well as both 35mm and 120 photographic film (at 9600dpi). Film scanning is supported by infrared FARE 3 software for sensing of dust, dirt, and scratches for automatic cleaning. Like the most contemporary scanners, the CanoScan 9000F uses white LEDs for scan illumination. The scan sensor is a 12-line CCD. The 9000F scans in 48-bits and will also output 48-bit files. It connects with your computer via a USB specified as the fastest available for your PC’s support.
|
Batch Scanning
|
|
 |
|
|
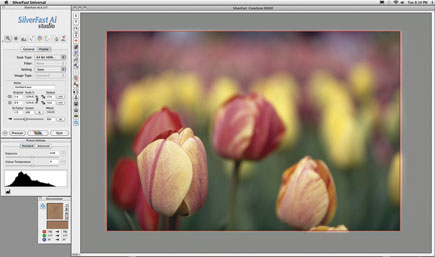
Along with the scanner, I also contacted LaserSoft and obtained their new version of SilverFast for the CanoScan 9000F in the most complete Ai 6 version. Shortly the scanner arrived, and I had the software installed and the scanner set up in just minutes. In unpacking and handling I noticed the 9000F weighed in at 10 lbs, a bit more than other current flat-bed scanners I’ve used. It is obviously well made and that is evident in the film holders that are both substantial and convenient to use.
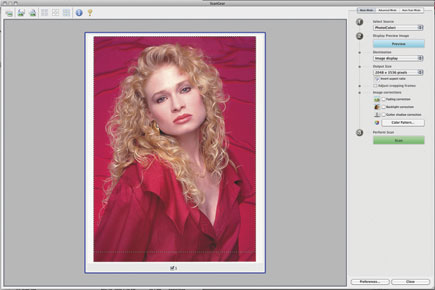
My first scan was made with Canon’s ScanGear software, a scan of a letter-sized portrait print. Easy and quick, but then there is little “interpretation” between different media involved as “quick and easy” has its limits. All the preview scans, presented in four thumbnails on one screen, were usable, with pretty good dynamic interpretations of different color negative film bases. But when opening each of these previews to make manual adjustments to refine the color output I was really disappointed, as the Canon adjustment software is too simple and interactively ineffective. Better to just scan to a 48-bit TIFF file and go through the torture of color correction in Photoshop. So my work with the Canon ScanGear was short-lived, and I switched to using LaserSoft’s SilverFast to operate the scanner.
|
Print Scanning
|
|
 |
|
|
LaserSoft’s SilverFast & The CanoScan 9000F
The first thing I did before making a scan with the 9000F and SilverFast was to use IT8; I put a 35mm target slide in the scanner and ran the profiling. It didn’t take more than a few minutes or any effort and all was done automatically with the software in seconds.
Since I tested the Plustek OpticFilm 7600i awhile back, I have been doing a lot of personal scanning of my 35mm film library, a job I will never live long enough to finish. For that reason I already had a lot of 35mm film frames selected, a wide variety of subjects and different kinds of films, and I just grabbed a bunch, maybe 100 to 150 images, and dove into scanning with the 9000F using all of the methods supported by SilverFast. I used the software conventionally and traditionally, making high-bit Raw scan files, and using the newest and most efficient kind of batch scanning—the SilverFast Archive Suite method.
|
Negative Film Scans
|
|
 |
|
|
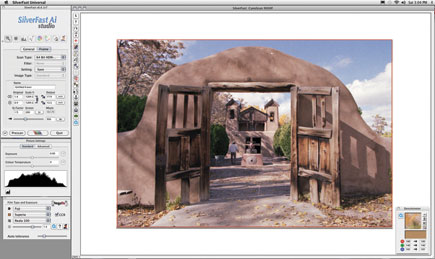
A large number of readers have queried me about the most efficient and fastest way to get scanning done. Quick and easy alone doesn’t do it because the price is poor image quality or very long and tedious work color correcting 48-bit scan files with an image editor. I think many experienced photographers don’t realize that color correcting and translating between different films, both positive and negative, is far from straightforward and simple. Film images vary in density and, with negatives making an inversion to a positive image and the need to eliminate the dye color in the film base, an often complicated path is required.
Color Slide Scanning
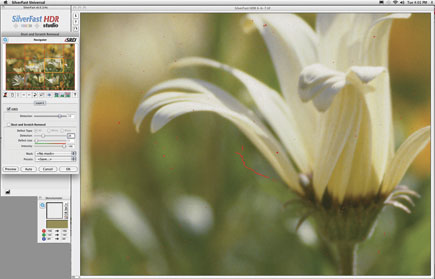
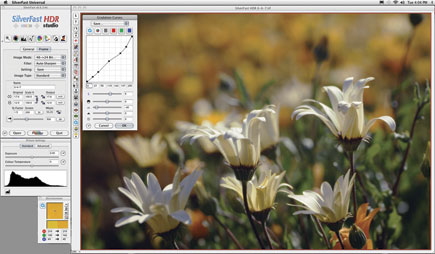
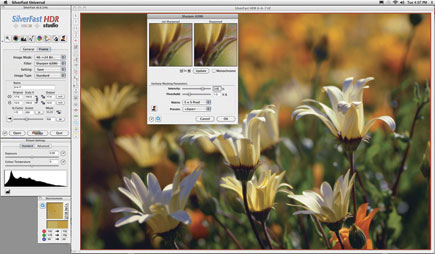
So let’s start with the most common objective—scanning positive color slides to make a good print. With SilverFast, the first step in color correction and adjustment is the one that is done easily by automation, using the histogram process to map the much greater range of typical slide densities to the 256-step gamut of a digital image. Once an image has been previewed, and the scan frame is adjusted within the image leaving just image information inside, you then use the control window at the top left. Click the second from the far left icon that looks like an aperture, then open the histogram with the third icon from the left, and in the window and at the bottom is a most valuable adjustment—Removing Color Cast. Many film images may have a color cast from light reflections, smog, or smoke in the atmosphere, and frequently show a color in the film base or a tint from less than perfect processing. The Color Cast slider allows for color cast removal by perception, that is, you will see the adjustments as you work.
|
Step By Step
|
|
 |
|
|
 |
|
|
 |
|
|
 |
|
|


