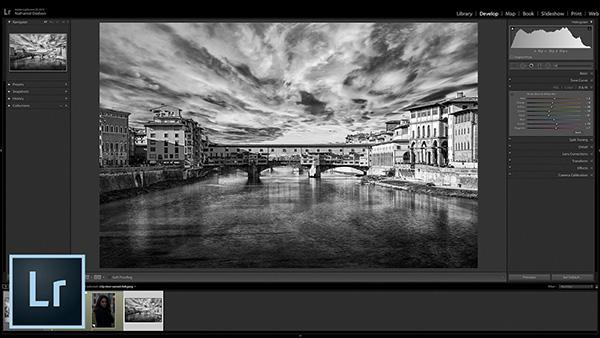
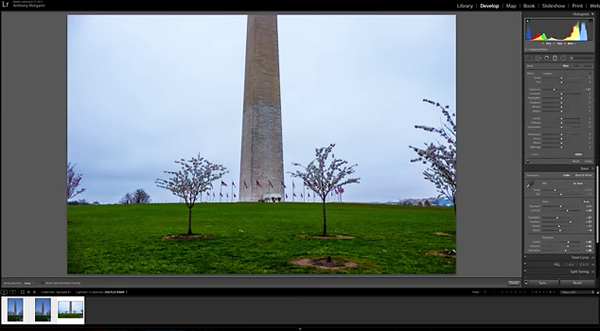
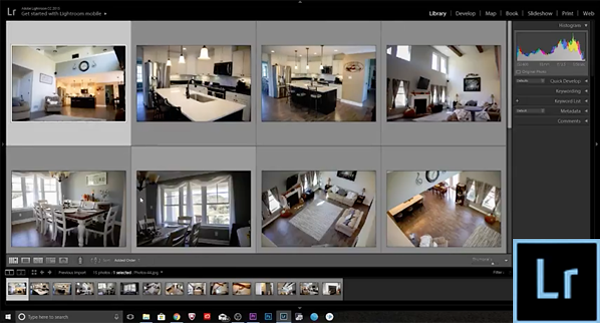
Those who use Lightroom know there’s a lot going on under the hood, with a myriad of features that go unused. Perhaps you ignore these tools because they don’t fit your workflow, or maybe they’re just too complicated for your needs.
How often have you captured a series of images from the same vantage point with similar composition and identical exposure settings, only to spend considerable time processing each shot individually? The quick tutorial below will really speed up your workflow by showing you three ways to apply the processing settings from one photo to others.
One of the frustrations with Lightroom has been the software’s lack of speed, at least until Adobe’s recent introduction of the new cloud-based Lightroom CC, and an update to the older non-cloud version of Lightroom CC (now called Lightroom Classic CC).
There are countless plugins available for Lightroom and Photoshop, some more effective than others. But which one's are the best for landscape and nature photographers? Read on and you'll find out.
Let’s face it: Adobe’s Lightroom is a terribly confusing program. So, there’s no shame in making a few mistakes when working on your images in Lightroom, especially if you’re a beginner.
Retouching skin tones in Photoshop can be intimidating to software novices. Do too much enhancement in Photoshop and your subject's skin will look plasticky and doll-like. Do too little skin correction and you might not be able to tell the difference between the before and after pictures.
No, this isn’t one of those click-bait headlines about Photoshop “secrets” that aren’t really secret at all. By watching this eye-opening video you’ll discover three helpful keyboard shortcuts for bringing up menus that are truly hidden within Photoshop.
Adobe recently updated Lightroom to version 13, adding a bunch of new capabilities and workflow enhancements. Rather than overwhelm you with a detailed analysis of everything that's included, today we'll take a look at what one expert says are three standout features.
Autumn is less than a month away, and in some parts of the country foliage is already beginning to change colors. The beautiful warm tones of fall are one reason that many landscape photographers are eagerly awaiting the coming season.
It’s amazing how a basic tweak in Photoshop or Lightroom can make a huge difference in an image. Sometime all that’s required is a boost in saturation, while other times a bit more sharpness or contrast is what takes.
There are numerous reasons you may want to adjust or change the color of objects in your images. Maybe a model's dress clashes with the background, or perhaps you're shooting seascapes at golden Hour and the warm light biases the tones of the water. The list is almost endless.
One characteristic of great landscape photos is an abundance of depth and dimension in the shot. Today we're featuring a remarkably simple image-editing trick that will help you achieve that goal. Best yet, this method works wonders with whatever software you use.
One of the most difficult challenges when photographing landscapes is balancing the wide range of tones from deep shadows to bright highlights that often occur in outdoor scenes. In fact, sometimes the density range is so great that’s it’s impossible to precisely exposure the image.
Whether you know your way around Lightroom or you’re just getting started, it’s good to discover unfamiliar features that deliver big results. And if these helpful tricks are easy to use, that’s all the better.