- REVIEWS
Camera Reviews 
More Reviews Mobile Reviews Photography Reviews - GALLERIES
- VIDEOS
- BUYER'S GUIDES
Save Time by Using “LUTS” to Color Correct Photos with Any Software You Use (VIDEO)
“What is a LUT?” you ask. In technical terms, LUT is an acronym for “Look-Up Table”—a precise mathematical means of modifying RGB image values by changing hue, saturation and brightness of a photo to create a specific look. In basic parlance, a LUT is nothing more than a bunch of adjustment layers compacted into a single file that you can save and use with most editing programs available.
If this is the first time you’ve heard the term LUT don’t feel bad, because you have plenty of company. And in barely five minutes, this tutorial by image-editing expert Anthony Morganti will tell you all you need to know about LUTs, show you how to create them in Photoshop, and explain the advantage of using them to color balance your photos.

The bottom line is you make whatever adjustments you desire, and save them as a LUT. Then you can apply this specific look to images you are editing now or in the future. Create as many LUTs as you want, identify each one with a specific name, and you’ll save plenty of time whenever an image calls for the adjustments you’ve saved.
As Morganti explains, most image-editing applications are compatible with this process. So once you’ve created a LUT in Photoshop, importing it into another program is a piece of cake. Morganti shows you how to get started by bringing up an image and enhancing it with a few adjustment layers.
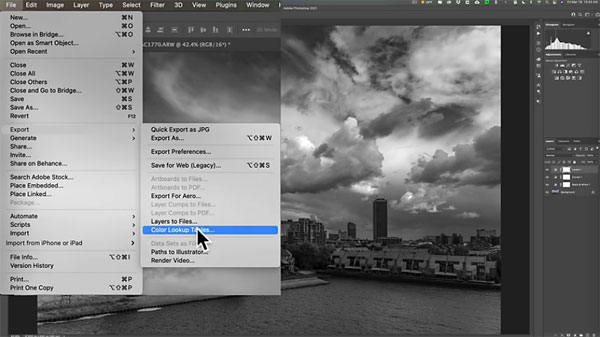
The look he’s after is a dramatic B&W image from a color original. He quickly uses simple sliders to make the conversion, darken the sky, open up shadows in the trees, and brighten up the buildings. He then uses Curves for a few other enhancements.
All that’s left is to combine these adjustments into a single file, give it a name, and you can instantly apply this look over and over again without going through the entire processing scheme. Give it a try and we think you’ll create a bunch of LUTs to streamline your editing workflow. Who knew?
You can find more editing tips on Morganti’s YouTube channel. And be sure to look at the recent tutorial we posted, in which one pro questions whether Photoshop’s sliders are “an absolute scam.”


![]()
Get the Latest Photo Tips, News & Reviews from Shutterbug!
| Camera Reviews Other Reviews | Mobile Reviews Photography Reviews Columns | News | Features | How-To | Resources |
 © 2026 Shutterbug
AVTech Media Americas Inc., USA
All rights reserved