Lightroom: Modifying White Balance for Photos with Accurate Color (VIDEO)

One factor that differentiates great photos from those that miss the mark is achieving accurate colors that faithfully represent a scene. Last week we featured a primer with the best White Balance camera settings to use for various situations, and today you'll learn how to get the job done when fixing problem photos in Lightroom.
If you watched the earlier tutorial, you know that proper White Balance involves adjustments that make sure white subjects appear white in your photos. Once you do that, the other tones in the shot typically fall into place. The secret to this technique is being mindful of the quality of the light you confront, so photos are neither too cool nor too warm, i.e., neither too blue nor too yellow.
The tutorial below from instructor Anthony Morganti demonstrates several methods for adjusting White Balance in Lightroom, with some very helpful suggestions for getting the best possible results. There's the conventional approach, along with methods Morganti prefers, and the latter can be far more effective (without a lot of extra work).

Morganti opens Lightroom's Basic tab and explains why Camera Simulation modes don't always delivery satisfactory results. He then demonstrates the easy approach—namely, moving the Temp (color temperature) and Tint sliders. Unfortunately, easy is always better, and this technique also often falls short as well.
You'll also see how these sliders work differently, depending upon whether you're working on a Jpeg of Raw file, primarily due the less expansive range available in the former. This may lead you to believe that working in Raw is the way to go when using these two basic sliders, but you'll see why that's not exactly true.
Morganti demonstrates a few ways to extend the "throw" of these sliders for somewhat more control, but he strongly recommends using the better options that follow if you want really precise results.

One choice is with a dropdown menu that provides a variety of options from Auto, Daylight, Cloudy, and Shade, to Tungsten, Fluorescent, Flash, and Custom. When selecting each of these defaults you'll see the specific Color Temperature (expressed in Kelvin) to the right of your choice.
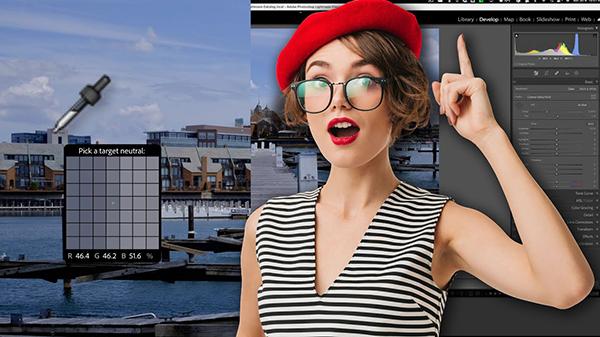
Morganti has a few other tricks up his sleeve, and he moves on to the technique he uses most, and many experienced photographers do the same. This involves employing Lightroom's Eyedropper tool, and he reveals a trick that simplifies the process without sacrificing quality and precision.
After watching the video pay a visit to Morganti's popular YouTube channel, where you'll find many more helpful tips and tricks. And don't miss the related tutorial mentioned above, explaining how to change a camera's White Balance settings to modify the look of your photographs.


