- REVIEWS
Camera Reviews 
More Reviews Mobile Reviews Photography Reviews - GALLERIES
- VIDEOS
- BUYER'S GUIDES
Lightroom Basics: The Difference Between Texture, Clarity & Dehaze Explained (VIDEO)
Lightroom can be bewildering for those new to the software because there is a seemingly endless array of tools and techniques to learn. Fortunately, Lightroom Ambassador Michael Aboya is here with another of his “In a Lightroom Minute” tutorials, explaining the difference between three easy-to-use tools.
Aboya’s popular Adobe Photoshop Lightroom YouTube channel offers a broad array of essential editing and photo organizing instructional videos for photographers of all skill levels. Follow his advice and you’ll spend less time on the computer and more time behind the lens.

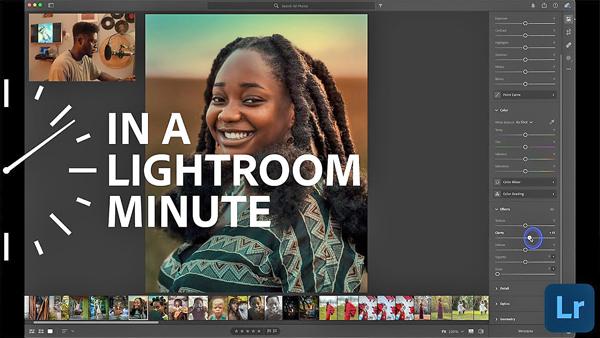
Today’s episode explains the difference between Lightroom’s Texture, Clarity, and Dehaze sliders and how to use them to quickly enhance an image. They can all be employed to enhance details in a photograph, but they do so in difference ways. And the tool you choose depends upon what you’re trying to accomplish
Aboya begins with the Texture Tool which, as the name implies, increases texture in an image while still retaining details. This tool targets the mid-frequency of a photograph, or as Aboya explains, “it only affects the parts of an image where there are no lines or edges.”
The Clarity Tool, on the other hand, is used to increase or decrease edge contrast, thereby accentuating (or reducing) details in an image. It also has a noticeable effect on Luminance and Saturation. This tool can be used to advantage when you want to showcase all the details on a surface.
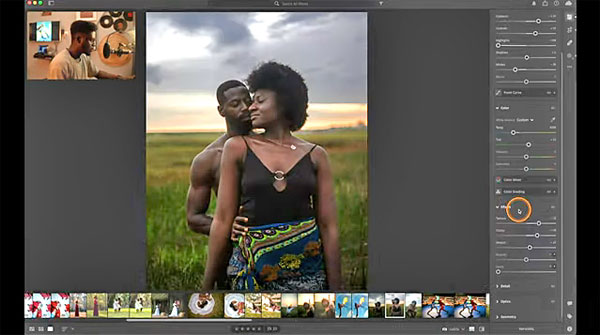
The Dehaze Tool is designed to minimize atmospheric haze in an image. It’s also helpful for restoring color and contrast to a washed out shot. You can use the slider to achieve the opposite effects as well.
So devote a minute to this quick, helpful primer, and there will be three less tools to learn. Then head over to Aboya’s YouTube channel for more editing tips.
And check out another helpful tutorial we posted, explaining the fastest, easiest way to smooth skin in Lightroom.


![]()
Get the Latest Photo Tips, News & Reviews from Shutterbug!
| Camera Reviews Other Reviews | Mobile Reviews Photography Reviews Columns | News | Features | How-To | Resources |
 © 2026 Shutterbug
AVTech Media Americas Inc., USA
All rights reserved