- REVIEWS
Camera Reviews 
More Reviews Mobile Reviews Photography Reviews - GALLERIES
- VIDEOS
- BUYER'S GUIDES
Lightroom’s Best Kept Secret: The Fastest, Easiest Way to Smooth Skin in Portrait Photos (VIDEO)
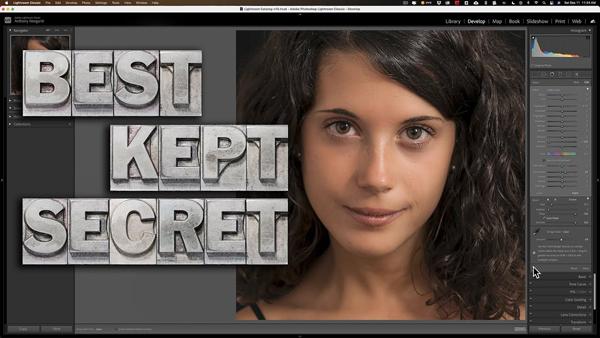
Whether you’re shooting formal portraits or quick photos of family and friends, imperfect skin can really detract from an image. In this tutorial you’ll learn the best way to smooth a subject’s skin in Lightroom.
Image-editing expert Anthony Morganti isn’t give to hyperbole or click-bait headlines. So when he says, “In my opinion this is the fastest and easiest way to soften a person’s skin,” we stop and take note. And you should too.
In fact, the method he demonstrates in this episode is what Morganti calls “Lightroom’s best kept secret.” Best yet, it only takes him five minutes to demonstrate this effective technique. After watching the video we’re pretty sure you’ll add this trick to your editing bag of tricks.
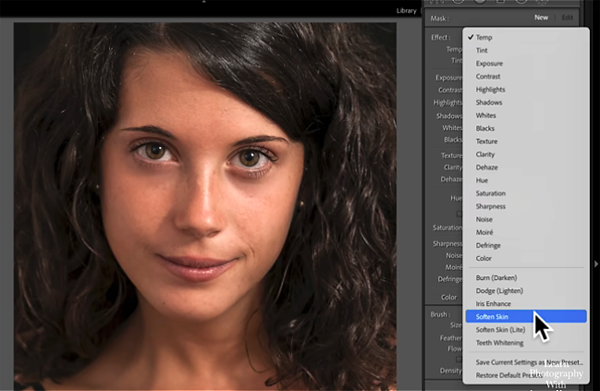
Step one involves opening the Brush Tool and selecting one of Lightroom’s presets in the dropdown menu. You’ll find two options, Soften Skin and Soften Skin Light. For the image in this demonstration Morganti selects Soften Skin.
Once you choose Soften Skin, Lightroom automatically puts the various sliders where they need to be. Morganti then goes to Brush Attributes near the bottom left of the panel, turns Auto mask on, makes sure Feathering is all the way down to zero, and sets Flow and Density to 100.
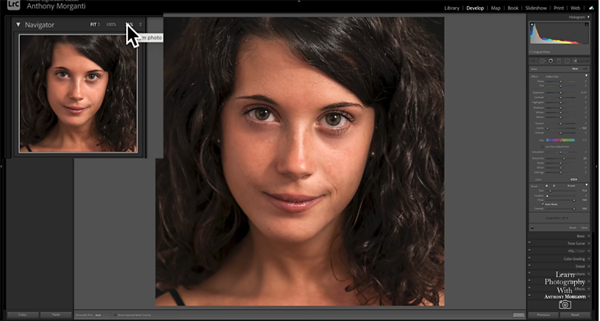
Morganti explains how to zoom in or out on an image using options at the top left of the screen. For this technique he zooms out so his photo is really small. Believe it or not, at this point you’re almost done.
All that’s left is to select a brush size the covers the entire image and click once with the left mouse button. Boom! You just softened the subject’s skin. Impressively, this method didn't affect the model’s eyes or hair—it just smoothed her skin. For those who insist on absolute perfection Morganti demonstrates a few quick tweaks for doing just that.
There is more great advice on Morganti’s YouTube channel and in another tutorial we posted recently, explaining how to selectively edit a sky in Photoshop while leaving the rest of the image alone.


![]()
Get the Latest Photo Tips, News & Reviews from Shutterbug!
| Camera Reviews Other Reviews | Mobile Reviews Photography Reviews Columns | News | Features | How-To | Resources |
 © 2026 Shutterbug
AVTech Media Americas Inc., USA
All rights reserved