- REVIEWS
Camera Reviews 
More Reviews Mobile Reviews Photography Reviews - GALLERIES
- VIDEOS
- BUYER'S GUIDES
Here’s a “Hidden” Way to Remove Ugly Artifacts in Photoshop (VIDEO)

We’ve all been there: You capture what you think is a great shot, open the file on your computer, do a bit of editing, and notice some ugly “compression artifacts” that mess up the image. Well, thanks to the simple tutorial below you’ll learn a “hidden” Photoshop trick to instantly zap those blocky artifacts.
Colin Smith is one of our go-to image-editing experts because of his calm, reassuring approach to accomplishing seemingly complicated takes. In the five-minute video below he demonstrates a simple method of cleaning up your images with a single slider in Photoshop. Best yet, you can accomplish this task in less time than it takes to say, “Get rid of the ugly artifacts in my image.”
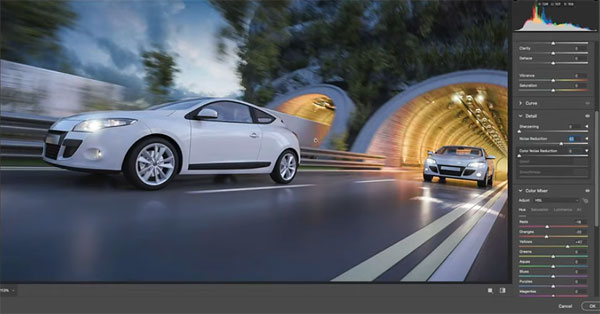
Smith begins with a problem image and demonstrates how to exaggerate the artifacts to make them more obvious and easier to remove. Once the image gets really “crunchy,” it’s time to get to work.
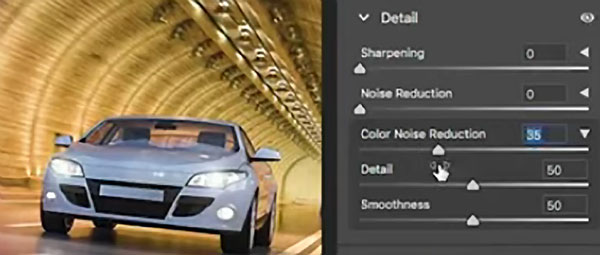
The simple trick involves using the Color Noise Reduction option in the Photoshop Detail Slider panel. The advantage of this approach, rather than the regular Noise Reduction slider, is that compression artifacts tend to primarily occur in the color channel. Just move the slider until you see the result you desire.
Smith notes that “this approach may not always work heavily artifacted images, but it will definitely convert a throwaway shot into one you can use.” There are more helpful tips on Smith’s YouTube channel. And don’t miss his Photoshop tutorial we posted earlier, explaining how to magically transform dull images by painting with light.


![]()
Get the Latest Photo Tips, News & Reviews from Shutterbug!
| Camera Reviews Other Reviews | Mobile Reviews Photography Reviews Columns | News | Features | How-To | Resources |
 © 2026 Shutterbug
AVTech Media Americas Inc., USA
All rights reserved