- REVIEWS
Camera Reviews 
More Reviews Mobile Reviews Photography Reviews - GALLERIES
- VIDEOS
- BUYER'S GUIDES
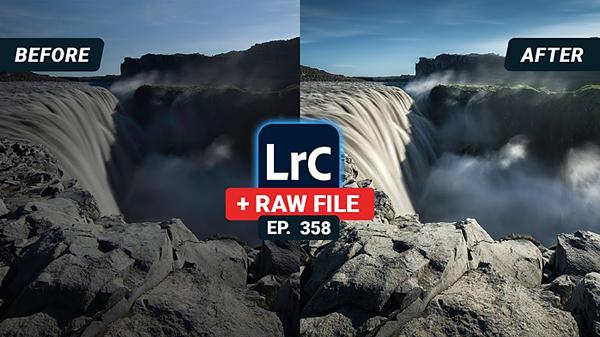
Editing Long-Exposure Travel & Nature Photos in Lightroom (VIDEO)
It’s often necessary to use slow shutter speeds to get the results you want, even when shooting during the day. And editing images made with long exposures sometimes requires a different approach to post processing, depending upon the effect you’re after.
Getting the job done in Lightroom isn’t a difficult task if you follow this advice from German landscape pro Christian Mohrle, who we often turn to for quick and effective editing tips. In this episode he walks you through his approach to editing a long-exposure shot he made of a massive waterfall in Iceland.
Mohrle’s goal with this particular image is to restore details in the shadows and achieve a properly balanced exposure. He also adds a bit of glow to certain areas of the scene, as well as motion-blur to the clouds.
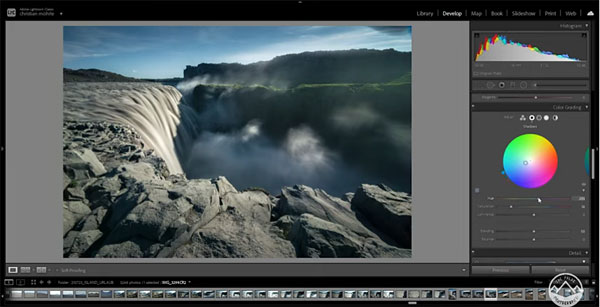
As is his usual practice, Mohrle begins with a few global Raw adjustments, increasing the exposure for overall brightness. Because this overexposes a few areas of the shot, he then slightly drops the highlights. Then he adds a bit of texture and clarity.
Once he has a good starting point Mohrle turns to local adjustments, increasing the blacks and adding some Dehaze using a Radial Filter. Another Radial Filter is employed to increase detail in the waterfall.
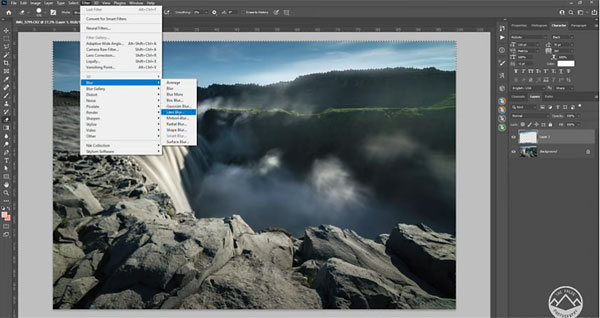
Next Mohrle turns to color grading and drops saturation in yellows and blues, while boosting the green tones. He also boosts luminance in the greens to brighten the grass. The final step is turning to Photoshop for adding motion blur to the clouds to further accentuate the long-exposure effect.
The whole process is accomplished in less than 10 minutes, and the results are impressive.
You can find more great outdoor photography tips on Mohrle’s You Tube channel and in another recent tutorial we posted, explaining how to make the most of wide-angle lenses when shooting landscape photos.


![]()
Get the Latest Photo Tips, News & Reviews from Shutterbug!
| Camera Reviews Other Reviews | Mobile Reviews Photography Reviews Columns | News | Features | How-To | Resources |
 © 2026 Shutterbug
AVTech Media Americas Inc., USA
All rights reserved