- REVIEWS
Camera Reviews 
More Reviews Mobile Reviews Photography Reviews - GALLERIES
- VIDEOS
- BUYER'S GUIDES
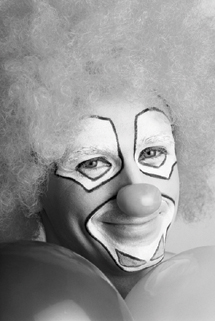
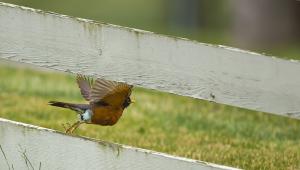
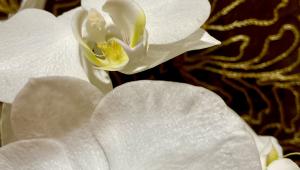
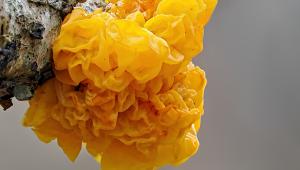
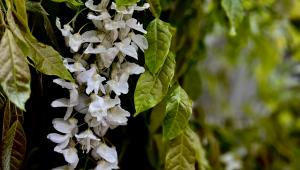
Digital Color To B&W; Five Top Ways To Convert To Gray Page 2
Section Three: Mixing Channels
Software: Photoshop
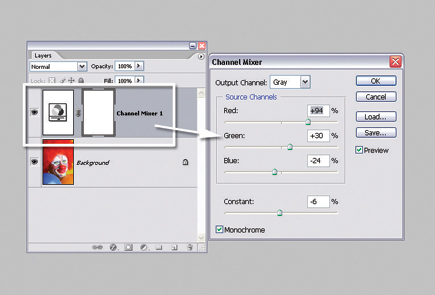
Taking the idea of using channels as the source for conversion further, Photoshop
contains a dedicated utility called Channel Mixer (Image>Adjustments>Channel
Mixer). When you click on the Monochrome box it is possible to create conversions
based on various mixes of the grayscale information from the color channels.
The only thing to remember is that if you want to maintain the density (overall
brightness) of the original photo then the values of the combined channels should
equal 100 percent.
 |
1) Set Channel Mixer to Monochrome mode. With the image open select the Channel Mixer option from the Image>Adjustments menu. The default state of the feature is designed for color use so for our purposes we need to switch to Grayscale mode. Make the change by selecting the Monochrome option in the bottom left of the dialog. You can also use this dialog as an adjustment layer.
 |
|
|
2) Alter the conversion tones. Move the Channel sliders to vary the percentage within the various channels. To maintain the overall brightness of the image, the combined values of all three channels should equal 100 percent. This means that you will have to tweak and re-tweak channel settings to balance the look that you want with a result that exhibits a good spread of tones.
 |
|
|
3) Fine-tune the overall brightness. The "all channels must equal 100 percent" rule helps produce results where delicate highlight and shadow details are retained but occasionally the channels settings used may produce a photo that needs a little overall tonal adjustment. In these situations use the Constant slider to add white (slide right) or black (slide left) to the image.
 |
|
|
Pro Tip: Nondestructive Channel Mixing
The Channel Mixer is also available as an adjustment layer which means that
you can apply this conversion technique to your color photos nondestructively.
 |
|
|
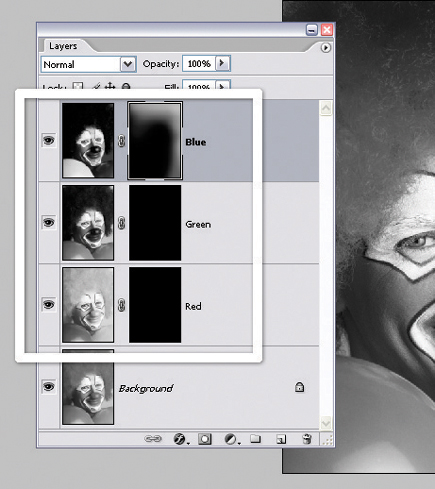
Section Four: Painting With Converted Channels
Software: Photoshop
Sourcing your conversion details from a single channel or playing with different
mixes of all the channels (via Channel Mixer) produces really interesting results,
but the conversions are applied globally. Both these techniques apply the same
conversion settings to all parts of the photo. For most images this may be okay
but what if one set of channel values works well from the foreground information
and another set suits the background? When you go this route you can paint in
the conversion values that best suit the image. This technique, which owes its
heritage to the work of both Jeff Schewe and John Paul Caponigro, provides just
such flexibility.
 |
1) Duplicate and convert to gray. Start by duplicating the photo (Image>Duplicate) so that you have two versions of the image. Next take the copy (image two) and convert it directly to grayscale (Image>Mode>Grayscale). This will provide a reference point for the image as well as a background.
 |
|
|
2) Copy and paste channels. Now click back to the color original and display the Channels palette. Select a color channel by hiding the other channels (click on the eye icon). Copy all the grayscale channel details (Select>All and then Edit>Copy) and switch to the copy photo (image two) and Edit>Paste the grayscale channel as a new layer. Name each layer--Red, Green, Blue, etc.
 |
|
|
3) Add layer masks. Add a black layer mask to each of the newly added layers. Do this by selecting the layer and then choosing Layer>Layer Mask>Hide All. A black mask hides the contents of the layer.
 |
|
|
4) Adjust with layer masks. With the black filled mask hiding the channel conversions you can selectively add in the details from each layer by painting on the mask. Select a soft-edged brush with white foreground color and low opacity and paint in the areas of each layer that you want to show through.
 |
|
|
- Log in or register to post comments


![]()
Get the Latest Photo Tips, News & Reviews from Shutterbug!
| Camera Reviews Other Reviews | Mobile Reviews Photography Reviews Columns | News | Features | How-To | Resources |
 © 2025 Shutterbug
AVTech Media Americas Inc., USA
All rights reserved