- REVIEWS
Camera Reviews 
More Reviews Mobile Reviews Photography Reviews - GALLERIES
- VIDEOS
- BUYER'S GUIDES
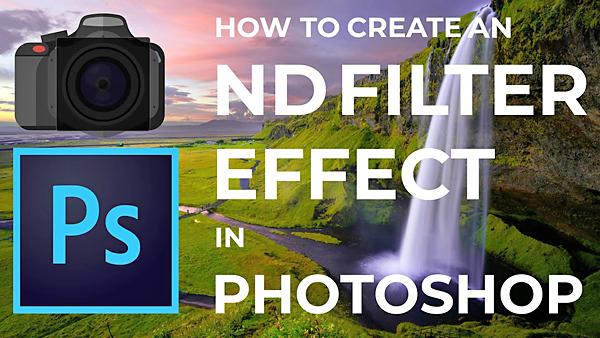
Create ND Effects in Photoshop Without Costly, Image-Degrading Filters (VIDEO)
Neutral Density (ND) filters are among the most popular tools for nature and landscape photographers because of the versatility they provide in setting exposure. By limiting the amount of light entering a lens, ND filters permit shooting at very slow shutter speeds under bright light, for creative effects like soft-flowing water, cotton-like clouds, light trails and more.
The problem is that these filters are expensive (upwards of $100 apiece), and you typically need an assortment of varying strengths. And if you use lenses with different thread sizes, the cost increases exponentially. Moreover, bargain-priced ND filters are counterproductive because they can create vignetting and degrade image quality.
Fortunately, for those on a budget, there’s an alternative option that works well; namely using Photoshop to mimic the ND effect you’re after. And the 10-minute tutorial below demonstrates how to get the job done without spending a buck.
Apalapse is a unique educational site that typically uses animation to teach photographic techniques. This episode is a bit different, as instructor Vincent Ledvina walks you through the simple process from beginning to end.
Ledvina says that in addition to saving money, “Creating an ND effect in the computer will prevent any sharpness loss, and your image won’t suffer from any additional vignetting.”
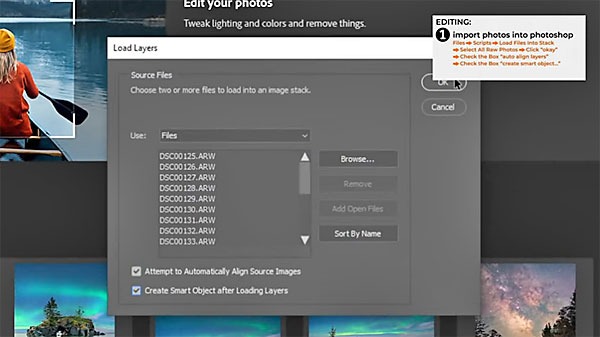
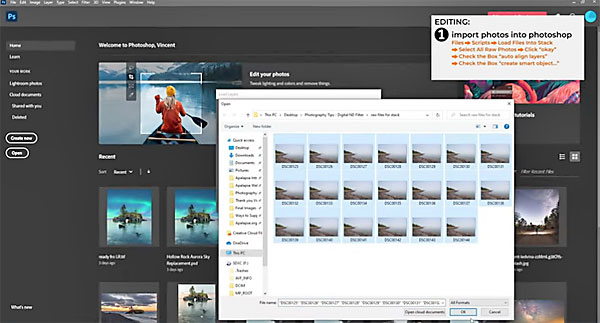
So how does Photoshop’s simulated long exposure technique actually work? It does so through an image-stacking function that enables you to average several images to create desired effects, like reducing noise, increasing resolution, and even simulating long exposures.
All you need to give this a try is a camera with a manual mode, a tripod, and Photoshop. Ledvina explains the process in easy-to-understand terms, and we think you’ll be pleasantly surprised by the results.
Apalapse is a great source of shooting and editing tips, so be sure to take a look at their YouTube channel. And check out our earlier post with another helpful tutorial, explaining how to rid photos of blemishes and other artifacts by using Adobe Camera Raw


![]()
Get the Latest Photo Tips, News & Reviews from Shutterbug!
| Camera Reviews Other Reviews | Mobile Reviews Photography Reviews Columns | News | Features | How-To | Resources |
 © 2026 Shutterbug
AVTech Media Americas Inc., USA
All rights reserved