- REVIEWS
Camera Reviews 
More Reviews Mobile Reviews Photography Reviews - GALLERIES
- VIDEOS
- BUYER'S GUIDES
Canon EOS M6 Mirrorless Camera Review

While some mirrorless cameras might be mistaken for a small APS-C DSLR, albeit minus the pentaprism bulge, Canon’s EOS M6 is more akin to a compact camera that can take interchangeable lenses, either the growing list of dedicated EF-M lenses, or EF and EF-S lenses with an optional adapter. (My tests were with the EF-M 18-55mm IS STM lens, f/3.5-22 at wide and f/5.6-32 at tele, with an equivalent focal length of about 28-88mm.)
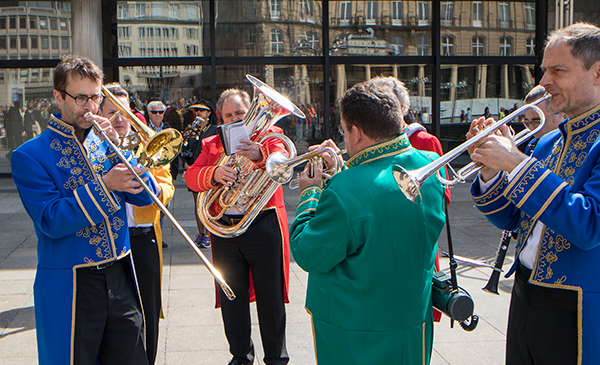
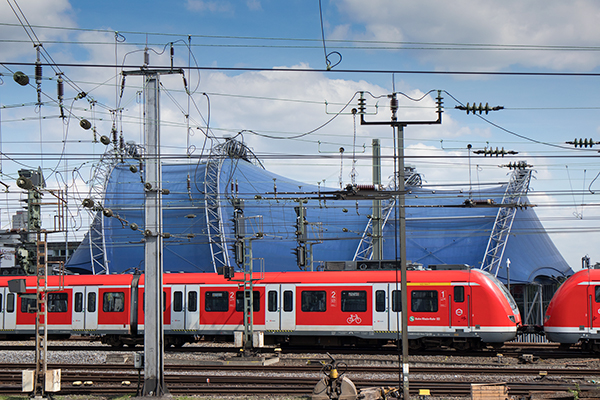
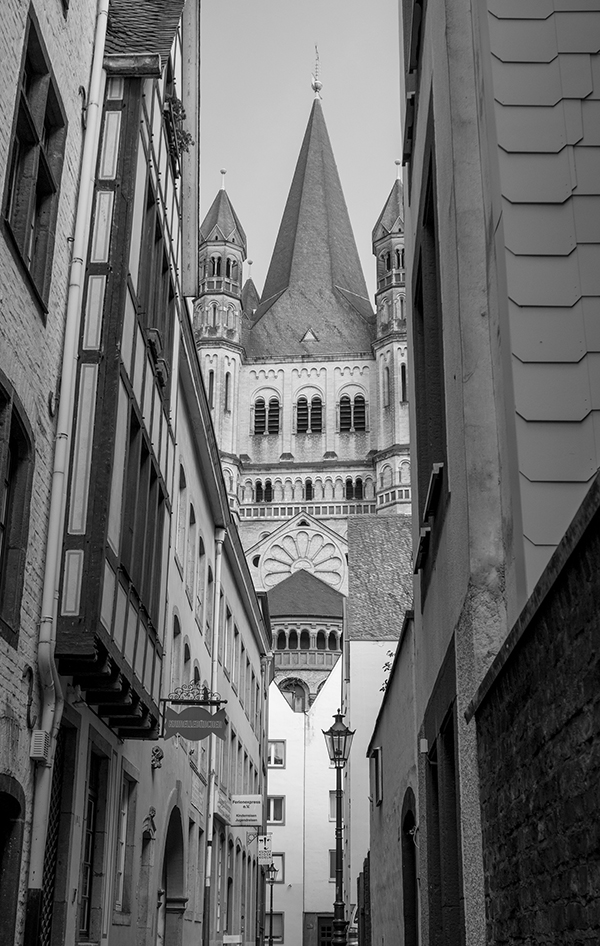
This lens certainly extends the size of the Canon EOS M6 kit, but the pairing is still lightweight and fits easily into hand and bag, with the camera measuring about 4.5x2x2 inches, including the right-hand extended grip. In the following field test of the Canon M6, I share my thoughts and impressions of the camera from shooting with it in Cologne, Germany.
Design & Features
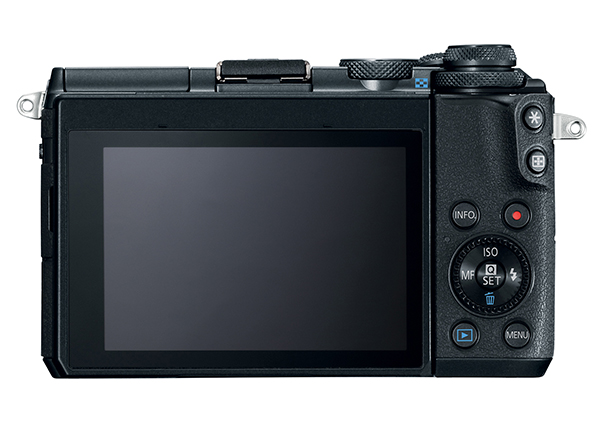
The Canon EOS M6 is a decidedly right-handed camera, with four top buttons and dials and numerous settings and displays, a cursor wheel, a video button, exposure lock, etc. on the back. The bright three-inch LCD screen (1.04M RGB dots) takes up the main real estate on the back. It is hinged at the base but not side to side, making it semi-articulated (with a top swing that allows for selfies) but still very useful for a wide variety of points of view.
While you can search all the specs easily enough on the Canon website, highlights of the M6 include: a 24.2MP CMOS APS-C-sized sensor; DIGIC 7 processor; speedy Dual Pixel AF; 7 frames per second continuous rate (full AF); Full HD 60p video; all exposure modes plus various effects and presets; a max ISO of 25,600; Raw and JPEG (or Raw+JPEG) file format selection; and connectivity via Bluetooth, Wi-Fi, and NFC, plus various setups and controls with the Canon Camera Connect app. In other words, a thoroughly modern mirrorless camera, if you give it a pass on 4K capability. There are all the expected exposure modes and patterns, along with a large number of presets and even special effects, thus the Canon M6 fulfills its stated appeal to amateurs and enthusiasts alike.
The camera is supplied with a printed instruction booklet and supplemented by an online (and more complete) guide, a 200+ page tome that will have a beginner’s head spinning. In that, the Canon M6 is certainly full featured, though decidedly complex in the labyrinths that must be negotiated to take advantage of all its many features, but this seems to be the way cameras are presented these days. In short, it’s loaded with options.
Handling & Layout
While testing the Canon EOS M6 in Cologne, I made numerous interior and exterior shots. I set my file format at Raw+JPEG/Large; my ISO at Auto; and worked with various exposure modes, mainly aperture priority with a center-weighted metering pattern. What follows are general observations: please check the captions on the images for more details.

As the Canon M6 has no optical finder (there is an optional EVF available), composing, focusing, and settings are done entirely through the flexible LCD. Happily, the screen is bright and readable even in bright lighting conditions.
The control and settings buttons are admittedly small, although not cramped. There are a number of ways to set up the M6, either through the Menu button (which is logically laid out and displays the very wide range of possibilities) or, when working quickly in the field, by pressing the Q (Quick menu) that gives access to the most used settings (white balance, AF settings, movie mode options, drive modes, metering patterns, etc.).
The screen can be made touch sensitive; while this can help in choosing displayed settings and options, I refrained from setting it as touch sensitive to release the shutter, as jabbing at it seems counterintuitive when steadiness is required, so I worked solely with the shutter release button.
I set the Canon M6 on Auto ISO with a top speed of ISO 1600; however, there was no way I found to set a lower limit on the shutter speed, say at 1/60 second, a critical aspect of this way of shooting, especially when working in Av mode. You change aperture (or shutter speed when in Tv mode) using the front knurled dial with readout on the LCD. That said, one problem I encountered was that there was no way I could lock the Auto ISO setup, and once or twice I mistakenly nudged the back knurled ring (a quick way to change ISO) while in the heat of the moment and ended up shooting at ISO 25,600, which sits right next to Auto ISO on the scale.
The Canon M6’s menu layout is logical and comprehensive, and familiarity is best gained simply by taking the tour. You can save setups into two custom function indents on the top dial (C1 and C2) or by assigning various buttons on the camera. There are 12 (count them) indents on the mode dial and, again, taking the tour will show you who does what to whom. These include: PSAM; the aforementioned custom settings; a full autoexposure mode; hybrid auto (making a film clip of all the shots taken in the session); a creative assist mode (saturation, monochrome, sepia, etc.); scene mode (portrait, landscape, etc.); HDR (with various effects from natural to “art embossed”); and a movie mode (not resolution but auto or manual exposure and time lapse).
There’s also a four-way cursor field on the Canon M6’s back control dial that quickly gets you to ISO, manual focus, flash settings (the built-in flash is raised by a very small button on the left-hand side), plus an OK button that is used to confirm selections from the main menu. Rounding it all up is an exposure compensation dial that sits atop the back knurled ring, which I often put to use since the screen image is a good representation of the exposure.
So, rather than locking exposure using the classic Canon star on the back to do so (a button that is quite small and cramped a bit by the strap lug), I simply used the dial to get a good facsimile of the final exposure. As to focus, it is certainly fast, but eyeballing any LCD for critical focus is not optimal, although you can set focus peaking with the unit.
Performance
My testing with the Canon EOS M6 was aimed at using it as a “walk-around” camera, one where quick seeing and shooting was my basic mode of operation. As I got used to making settings and choosing options I found I could work quickly and spontaneously, aided by the overall light weight and portability of the M6, ease of making changes in exposure and effects, and speedy focusing speed.
I photographed outdoors in bright light and in dim but often high-contrast interiors. I wasn’t overwhelmed and distracted by all the many options and effects, since I do most of that in post anyway. One very helpful mode is HDR, which came through when photographing interiors, with the caveat that you have to be quite steady when shooting as it takes three exposures in rapid succession, which doubled anything in motion, although having an IS lens helped. Another HDR tip is to read biased for the highlight area, since it seems to mainly boost shadows.
I have one other item I think worthy of note: both Raw and JPEG files are compressed, although the Raw files are done “losslessly.” As shown in Adobe Bridge, Large JPEGs varied from 6.91 to 13.15MB (the JPEG variance, I am told by Canon tech, depends on image content and processing algorithms); Raw files varied from 29.48 to 38.46MB. In addition, all JPEGs are recorded at 180dpi and I found no way to get them “in camera” up to 300dpi.

I should mention that all files, Large JPEG and Raw, opened to their full size (68.7MB), although the JPEGs do so at the same 180dpi. Both open as 8-bit. My advice is that if you shoot and process from the JPEGs save them as TIFFs or do a Save As; in my experience in post the Raw files are naturally more amenable to yielding the best results.
Conclusion
What the Canon EOS M6 has going for it is its size, weight, and eminent portability, plus the fact that just about any mode is easy to set, be it exposure, focus, drive, white balance, etc. It delivered very good picture quality and Raw files easily enlarged to 13x19 inches and up. It is a good choice for travel, candids, family photos, and even for those who like sharing capabilities and selfies. Lenses are limited right now (at least compared to Canon’s vast offerings in DSLR lenses) but Canon has made a commitment to the mirrorless format and, knowing them, there will be many more choices coming.
I must say that like many cameras these days the Canon M6 is perhaps overloaded with options and at first blush some potential users will be overwhelmed and even put off by the maxed out features, especially when bravely plowing through the online instruction manual. But given that many users will slim all that down to a practical path to making good images, and that true enthusiasts can find plenty to explore should they choose to do so, the Canon M6 represents an affordable option ($799, body only) for anyone looking to get way better images and options than any tricked-out smartphone or compact can provide.


![]()
Get the Latest Photo Tips, News & Reviews from Shutterbug!
| Camera Reviews Other Reviews | Mobile Reviews Photography Reviews Columns | News | Features | How-To | Resources |
 © 2026 Shutterbug
AVTech Media Americas Inc., USA
All rights reserved