- REVIEWS
Camera Reviews 
More Reviews Mobile Reviews Photography Reviews - GALLERIES
- VIDEOS
- BUYER'S GUIDES
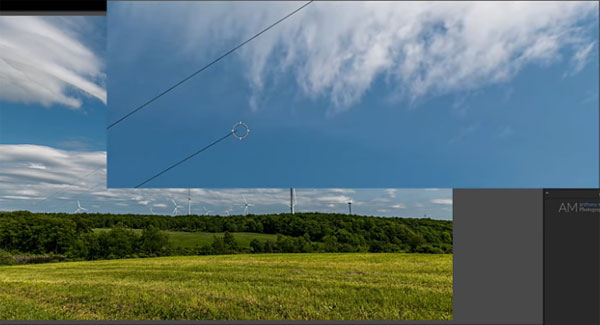
Quickly Remove Ugly Power Lines with This Easy Lightroom Technique (VIDEO)

One of the basic rules of composition, that’s even familiar to most beginning photographers, is to avoid framing a shot so a tree, fence post or telephone pole appears to be emanating from a subject’s head. But what about those ugly power lines running across the sky, that seem to be everywhere we look?
Sometimes it’s possible to eliminate unsightly power lines, simply by changing one’s camera position or using a longer lens. But when neither of those remedies are an option, it’s time to make a quick fix in Lightroom.

This technique, from image-editing expert Anthony Morganti, is easy to accomplish. It’s really effective for many types of scenes, like those with a relatively simple sky. On the other hand, if power lines are entangled in tree branches or other complex objects, that’s a job for a more involved Photoshop technique, and we’ll have a tutorial for that soon.
In the video below, Morganti walks you through the simple process from beginning to end in barely eight minutes. He starts by opening the Spot Removal tool, and explains why he prefers the Healing Brush to the Clone Brush in most circumstances. You can also jump between the two, to see what works best for the situation at hand.
Before getting to work, it’s important to choose the proper settings for Feathering, Opacity, brush size and the like, and Morganti lays it all out out in plain and simple terms so you can avoid experimentation.
The easiest problem to fix is one in which the power lines are taut and run in a straight line. A different approach is called for when power lines are sagging or curved, but this too is simple to achieve. So follow along with Morganti and learn how to get the job done.
You can find other helpful tips on Morganti’s YouTube channel, and in a tutorial we posted recently, explaining how to fix colors instantly with a one-click “Magic” button in Photoshop.
- Log in or register to post comments


![]()
Get the Latest Photo Tips, News & Reviews from Shutterbug!
| Camera Reviews Other Reviews | Mobile Reviews Photography Reviews Columns | News | Features | How-To | Resources |
 © 2025 Shutterbug
AVTech Media Americas Inc., USA
All rights reserved