Photoshop Basics: The Difference Between Flow, Fill & Opacity (VIDEO)

Photoshop has a number of tools for accomplishing similar tasks, and sometime the approach you take is a matter of personal preference. Other times, however, like in the case of Flow, Fill and Opacity, tools may appear to control the same variables but the differences are worth noting.
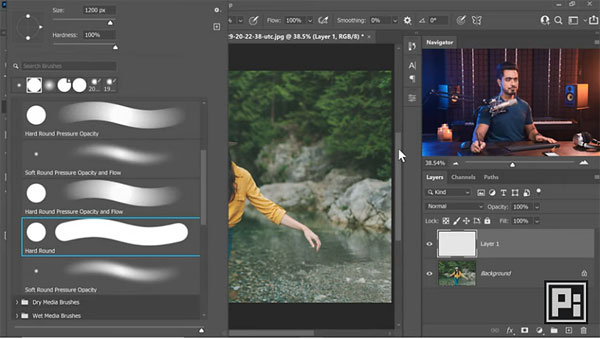
In the helpful explainer below, image-editing impresario Unmesh Dinda takes a close look at Fill, Flow, and Opacity adjustments to help you understand when one of these tools is a better choice than the others. He uses a drawing pen and paper to illustrate the fundamental difference and similarities of the three tools.

Whether you’re using Flow, Fill or Opacity as brush properties or layer properties, one usually works better depending upon the specific task at hand. Dinda begins with the Flow Tool by opening the Brush panel, and selecting a small round brush. He then sets the Flow to 10% and leaves opacity at 100%.
When Dinda starts painting a color, the flow of “ink” from the brush is really minimal with his initial settings. But as he continues to paint over the same area, without lifting his brush, the color gets darker and darker—something that doesn’t happen with Opacity.
He explains that Opacity, on the other hand, determines how opaque or transparent a particular element is as a whole. In other words, when using Opacity, the strength of a color never changes no matter how many times you paint over the same area. But by adding a second layer and painting over that, they’ll be a noticeable increase in intensity once the layers are merged.

Ok, but what about Fill, and how it compares with Flow and Opacity? Watch the nine-minute video to find out. Then head over to Dinda’s YouTube channel for more helpful editing advice.
And be sure to check out another helpful tutorial we posted recently, explaining how to customize Photoshop’s interface for your specific needs.


