- REVIEWS
Camera Reviews 
More Reviews Mobile Reviews Photography Reviews - GALLERIES
- VIDEOS
- BUYER'S GUIDES
Customize Photoshop’s Interface for Faster, More Effective Photo Editing (VIDEO)

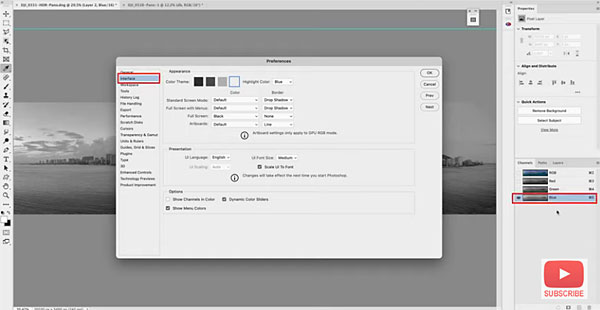
Many of us tend to forget that Photoshop isn’t designed exclusively for photographers. In fact, graphic designers, those who design websites, and many other content creators, use this powerful software.
With this in mind, it’s easy to understand why Photoshop’s default settings are rarely the best ones to use. In the three-minute tutorial below, one of our favorite image-editing instructors demonstrates how to customize Photoshop’s interface and view options so they works best for your specific needs.

Colin Smith of Photoshop Café provides 20 great tips in just three minutes, so grab some paper and a pen and jot down a few notes. As Smith says, “a lot of people don’t realize just how flexible Photoshop is,” and by following his advice you’ll have all your favorite tools at your fingertips.
This episode kicks off by demonstrating how to customize the Photoshop Toolbar. He then explains a couple of important viewing options, depending upon whether you prefer opening images at 100% or using “Fit to View.”
Smith provides helpful keyboard shortcuts for everything he describes, which include tips for using guides, changing the unit of measurements for either inches, centimeters, or pixels, and a variety of ways to customize color settings.
You’ll also see various options for cycling through screen modes, dealing with Channels, options for Layer Panel thumbnails, and much more. So pay close attention because this may be the best three minutes you’ll spend today.
After watching the quick video, head over to Smith’s YouTube channel for more helpful editing tips. And be sure to check out another tutorial we posted, explaining how to use Photoshop to give your images a unique tilt-shift lens effect.


![]()
Get the Latest Photo Tips, News & Reviews from Shutterbug!
| Camera Reviews Other Reviews | Mobile Reviews Photography Reviews Columns | News | Features | How-To | Resources |
 © 2026 Shutterbug
AVTech Media Americas Inc., USA
All rights reserved