- REVIEWS
Camera Reviews 
More Reviews Mobile Reviews Photography Reviews - GALLERIES
- VIDEOS
- BUYER'S GUIDES
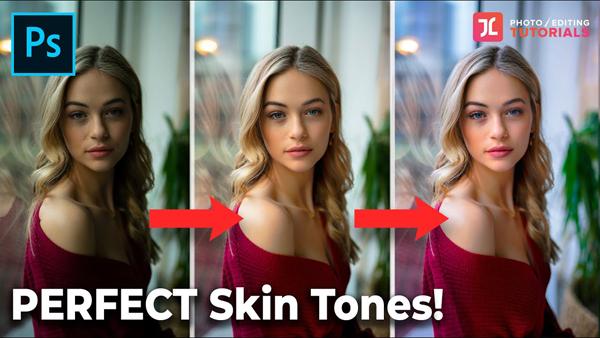
Photoshop Basics: 3 Secrets to PERFECT Skin Tones in Portrait Photos (VIDEO)
Experienced portrait photographers know that one key to a successful image is rendering skin tones in a manner that appears both natural and flattering. Dull pale skin is unappealing, as are overly saturated tones that can be ugly and unrealistic.
In the quick tutorial below, pro Justin Laurens reveals three secrets to achieving perfect skin tones every time, with a little help from Photoshop. Laurens says, “I’ve spent countless hours, blood, sweat and tears trying to figure out the best and most efficient ways to create beautiful and natural-looking skin tones.”
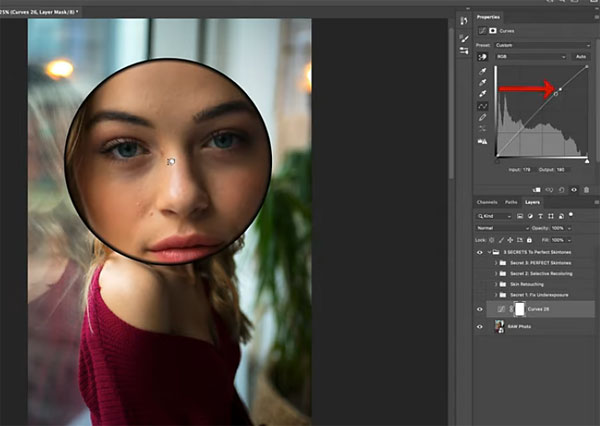
In barely 10 minutes you can take advantage of Laurens’ long journey, which begins with several tips for fixing unflattering shadows and underexposure of the skin—thereby revealing more texture and details. As you’ll see, this also makes adjusting colors easier in subsequent steps.
As Laurens explains, he often intentionally underexposes an image in the camera by a couple stops “to preserve as much of the precious detail and texture in the highlights as possible.” Then, by using his editing method, he has the best of both worlds. He notes that this is particularly helpful with high-contrast photos.
Once Laurens gets the exposure where he wants it, his second secret involves a selective re-coloring process to give his model’s skin a clean, vibrant, natural look. Here the goal is to reintroduce and enhance some of the color that was diminished during the initial shadow-recovery step.
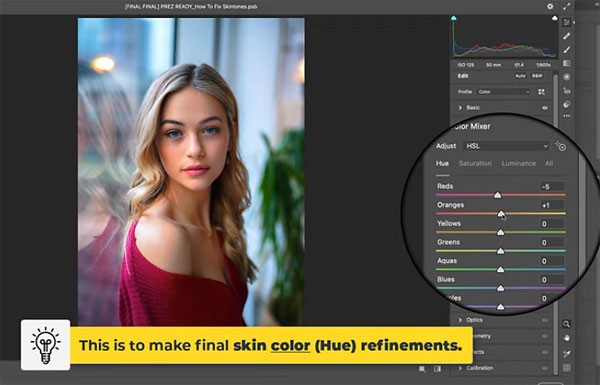
The final “secret” to getting the job done involves a few simple-but-important steps to enhance and perfect the image. Laurens’ method is surprisingly easy, but it will pay big dividends if you give it a try,
There are more helpful tips on Laurens’ YouTube channel and in another tutorial we shared recently, explaining how to shoot beautiful street portraits at night without flash.


![]()
Get the Latest Photo Tips, News & Reviews from Shutterbug!
| Camera Reviews Other Reviews | Mobile Reviews Photography Reviews Columns | News | Features | How-To | Resources |
 © 2026 Shutterbug
AVTech Media Americas Inc., USA
All rights reserved