- REVIEWS
Camera Reviews 
More Reviews Mobile Reviews Photography Reviews - GALLERIES
- VIDEOS
- BUYER'S GUIDES
Photo Filters Page 6
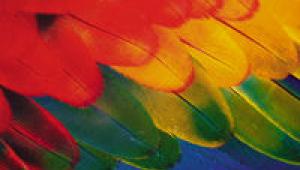
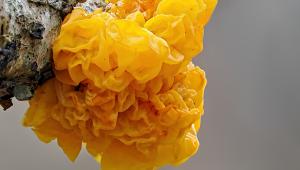
| Enhancing Filters Enhancing filters (from B+W, Singh-Ray and Tiffen, among others) brighten reds and oranges without affecting other colors—great for fall-color shots. How do these filters do that? They eliminate a specific range of orange wavelengths—thus increasing the intensity of red and orange objects, while having no effect on other objects (since they transmit all of the wavelengths from those objects). Filter factors for enhancing filters range from one to two stops, depending on manufacturer—check the instructions that come with your filter, and bracket exposures the first time you use it. Getting Attached Screw-in glass filters simply screw into threads on the front of the lens. This is very convenient, but limits flexibility with graduated filters—the graduated area always goes across the middle of the image. If you have several lenses, and they take different filter sizes, get filters that fit the largest lens, then use step-down rings to attach them to the smaller-diameter lenses. The step-down ring screws into the camera lens; the large filter screws into the ring. If you have to use a filter that's too small to screw into the lens, use a step-up ring to attach it. The step-up ring screws into the lens, and the smaller filter screws into it. Note: Using a smaller filter can cause vignetting (darkening of the corners of the image). You can see this in the viewfinder of an SLR camera (use the depth-of-field preview to check for vignetting). Modular filter systems (available from Cokin and ProOptic) consist of a filter holder, a series of different-sized adapter rings to attach the holder to various-diameter lenses, and a wide variety of filters. The appropriate adapter ring screws into the camera lens, and the filter holder attaches to the ring. Modular systems are quite popular because they are economical. By using one filter holder on all your lenses you can save a bundle by just having to buy one modular filter for each type you use—in comparison to buying separate filters for each different lens diameter in your optic arsenal. They also offer a wide range of special-effect filters, and versatility—you can move a graduated filter up or down in the holder to adjust where the transition occurs in the photo. Filter Care Handle filters only by their edges. Gels can be handled by their corners, preferably using the tissue paper that comes in their packaging. Treat your filters just as carefully as you do your lenses—after all, they're all important parts of your camera's optical system. To clean glass and plastic filters, first blow off dust particles with a can of compressed air or a soft camel's-hair blower brush, then apply lens cleaner with lens-cleaning tissue. It's best not to try to clean the Kodak gels with tissue and fluid—if the smudges and dust won't brush or blow off, replace the filter. |


|
| |||||||||
- Log in or register to post comments


![]()
Get the Latest Photo Tips, News & Reviews from Shutterbug!
| Camera Reviews Other Reviews | Mobile Reviews Photography Reviews Columns | News | Features | How-To | Resources |
 © 2025 Shutterbug
AVTech Media Americas Inc., USA
All rights reserved