- REVIEWS
Camera Reviews 
More Reviews Mobile Reviews Photography Reviews - GALLERIES
- VIDEOS
- BUYER'S GUIDES
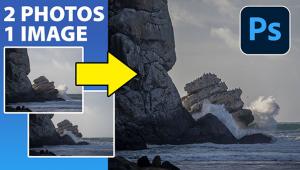
Photo Composites Made Easy with 3 Basic Photoshop Techniques (VIDEO)

Photo composites are fun to make, and often result in eye-catching images. Some techniques are more difficult than others, and today we’ll show you three methods that are easier than most.
The idea is to clip out an interesting portion of one image, and place it within another photograph. Sometimes the goal is a special effect, while other times it’s simply adding a bit of interest, as in this case of placing a bird in the sky of a seascape shot.
Awhile back we featured a similar Photoshop tutorial with the same goal from image-editing expert Anthony Morganti. In today’s episode he demonstrates three additional (and easier) methods of getting the job done. Each has its advantages and disadvantages, and Morganti explains when to choose one over another.
The first, and perhaps most common, technique involves the use of Photoshop’s Move Tool to take a seagull Morganti clipped out of the sky in one shot and position it in what will be his final image. The problem with this simple click-and-drag approach is that it doesn’t always work with come computers without an additional copy-and-paste step.
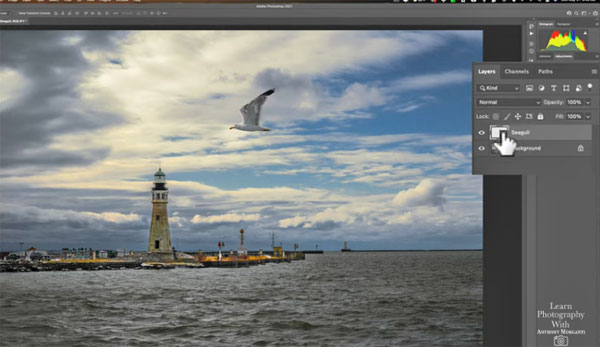
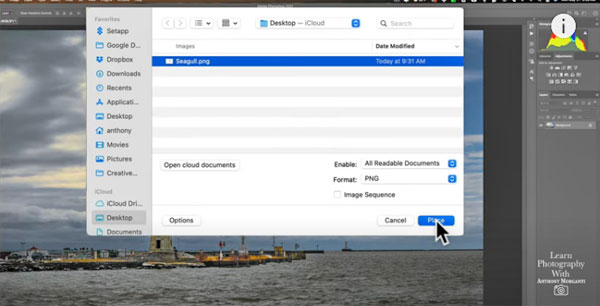
Morganti’s second method is even easier because the object you’re moving, in this case the bird, needn’t even be open in Photoshop as long as it’s somewhere on your system and you know where it is. With his primary image on the screen, all Morganti does is go up to File, click on Place Embedded, and navigate to the shot of the seagull. In this case the bird automatically appears on the main shot, with handles for making it larger or smaller and positioning it precisely.
The third approach is equally quick and easy, as you’ll see in the video below. As always, Morganti includes helpful keyboard shortcuts for streamlining the process. Be sure to take a look at his YouTube channel for more helpful tips.
And for another basic Photoshop tutorial, check out our earlier piece, demonstrating Photoshop’s best tool for quick and easy exposure blending.


![]()
Get the Latest Photo Tips, News & Reviews from Shutterbug!
| Camera Reviews Other Reviews | Mobile Reviews Photography Reviews Columns | News | Features | How-To | Resources |
 © 2025 Shutterbug
AVTech Media Americas Inc., USA
All rights reserved