- REVIEWS
Camera Reviews 
More Reviews Mobile Reviews Photography Reviews - GALLERIES
- VIDEOS
- BUYER'S GUIDES
Luminar Neo UPDATE: What is New in v.1.8.0 (VIDEO)
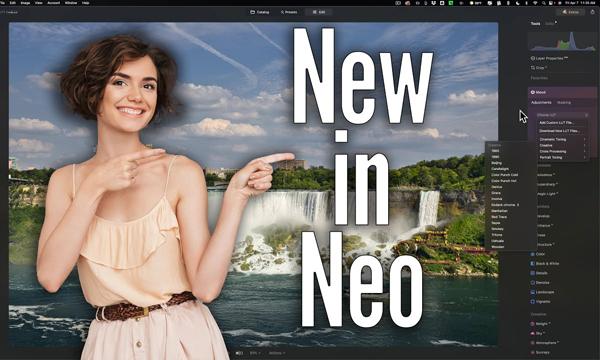
Luminar Neo is becoming increasingly popular among photographers these days—either as an alternative to Photoshop and Lightroom, or to add one more option to their image-editing toolkit. Today we’re going to give you a quick rundown of what’s new in the latest version 1.8.0.
Neo has a lot of appeal for several reasons. It’s affordable compared to other software options, offers a broad array of tools, and has a straightforward interface that makes it very easy to use. And like other products from Skylum software, Neo delivers impressive results.
We often turn to imaging-editing expert Anthony Morganti for helpful tutorials on making the most of whatever software you have. He also has a knack for breaking down the key features of new updates, and that’s exactly what he does with Luminar Neo 1.8.0 in the episode below.

According to Morganti, “there isn’t anything earth shattering in this update.” There are, however, a few important tweaks that make using Neo faster and more effective than ever before—and they take barely four minutes to explain.
The first enhancement has to do with the Histogram located in Neo’s Edit panel. As you’ll see, this helpful tool sometimes fails to appear at the top right of your screen. Morganti explains how to check a box so the Histogram will be where it belongs from now on.
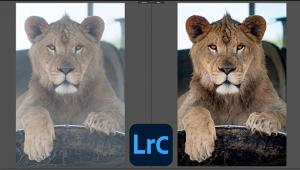
Skylum calls their next set of tweaks “Preview on Hover,” and this can be used with more than one tool. Morganti illustrates this feature by choosing the Develop Raw tool, where the panel displays a selection of camera profiles. In the past you had to click on one of the options to see how it’s affects an image.
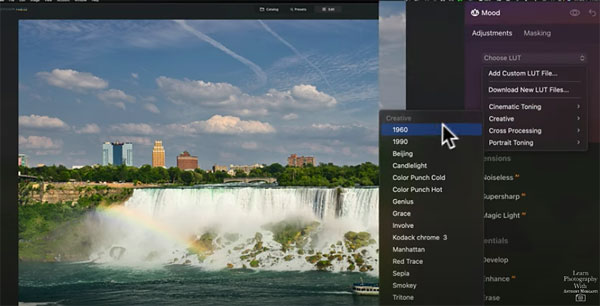
But now you can immediately view the impact on your photo by hovering over each of the profiles. This new capability is a real timesaver because it enables you to instantly compare the various profiles without opening one after another. Morganti demonstrates how to use “Preview on Hover” with other tools too.
So what else is new in Luminar 18.0.1? Watch the rest of the video to find out. Morganti walks you through a simple step-by-step process for each of the enhancements.
Morganti’s popular YouTube channel includes much more editing advice, so pay a visit and see what he has to offer.
We also suggest you watch another video tutorial we posted recently, explaining a “magic” Lightroom keystroke for faster, better edits.


![]()
Get the Latest Photo Tips, News & Reviews from Shutterbug!
| Camera Reviews Other Reviews | Mobile Reviews Photography Reviews Columns | News | Features | How-To | Resources |
 © 2025 Shutterbug
AVTech Media Americas Inc., USA
All rights reserved