- REVIEWS
Camera Reviews 
More Reviews Mobile Reviews Photography Reviews - GALLERIES
- VIDEOS
- BUYER'S GUIDES
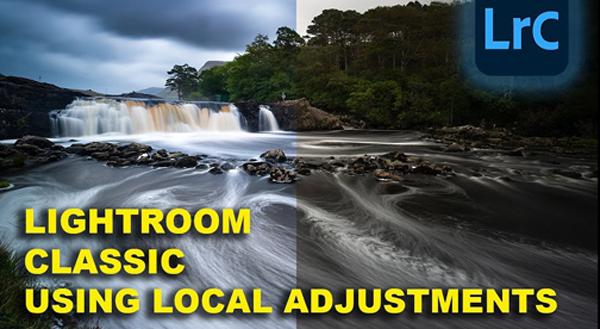
LOCAL Adjustments Are the Key to the BEST Photo Edits Possible (VIDEO)
We'll put it bluntly: If you're not making use of Local adjustments when processing photos, you're images won't meet their full potential. This is especially true with outdoor scenes with a wide array of brightness levels and color tones throughout the frame.
Some photographers rely solely on Global adjustments that affect an entire image, whether they're modifying exposure, color, contrast or other important variables. Here's why that's a problem: Let's say you want to give a Golden Hour Look to a landscape scene photographed during the day. So you add orange tones to warm up the sky, but, unfortunately, the rest of the image becomes warmer at the same time. And that's not exactly what you had in mind.
Local adjustments, on the other hand, are selective in nature—meaning you can target specific portions of a shot to get the image just right. With the above example this technique enables you to warm up the sky without biasing green tones in foliage, in the foreground, or even the face of a person in the shot.

The quick tutorial below from Irish pro Vincent MacNamara demonstrates how to get the job done properly by making as many Local adjustments as the image requires. Surprisingly, this technique is much easier to accomplish than you may think.
MacNamara's demonstration photo is a beautiful scene of the iconic Aasleigh Fall in Connemar on Ireland's West Coast. While watching him perfect the shot with a few Local adjustments, you'll also pick up some great tips on composition, exposure settings, subject-to-camera distance and more.
His goal is to separately enhance several areas of the shot, including some vignetting that resulted from using a square filter when capturing the photo. He begins by changing the profile to Adobe Landscape and modifying White Balance to cool off water in the foregoing that appears a bit murky.
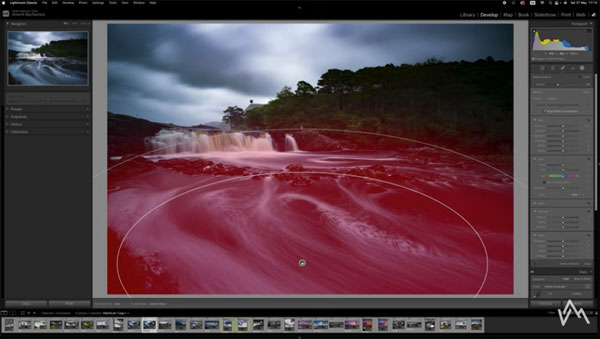
From there's MacNamara walks you through the step-by-step procedure for harnessing the power of various Local adjustments, starting with a Linear Gradient targeting the sky. With this in place he adds a bit of Dehaze to bring out more details. As you'll see, this adjustment creates some noise, which is easily eliminated by dragging a few sliders.
MacNamara demonstrates other Local adjustments that work in much the same way, with equally effective results. One of these is a Radial Gradient over the lower portion of the scene that enables him to give water in the foreground a more realistic look. We think you'll be impressed after viewing the before/after images once the transformation is complete.
You can find more helpful lessons like this one by paying a visit to MacNamara's YouTube channel, and watching an earlier tutorial we posted explaining how to use Lightroom's new Adaptive Presets for faster, easier, and more effective edits.


![]()
Get the Latest Photo Tips, News & Reviews from Shutterbug!
| Camera Reviews Other Reviews | Mobile Reviews Photography Reviews Columns | News | Features | How-To | Resources |
 © 2026 Shutterbug
AVTech Media Americas Inc., USA
All rights reserved