- REVIEWS
Camera Reviews 
More Reviews Mobile Reviews Photography Reviews - GALLERIES
- VIDEOS
- BUYER'S GUIDES
Lightroom Basics: Use “Targeted Adjustments” for Precise Edits (VIDEO)
If you’re a regular Shutterbug reader you know we frequently post tutorials from image-editing expert Anthony Morganti. Most of these tend to be detailed and somewhat lengthy, but the video below kicks off a new series with brief episodes on a single topic.
Today Morganti demonstrates how to do a better job of processing images by using what he calls “targeted adjustments.” And he explains everything you need to know to get started today—in barely six minutes.
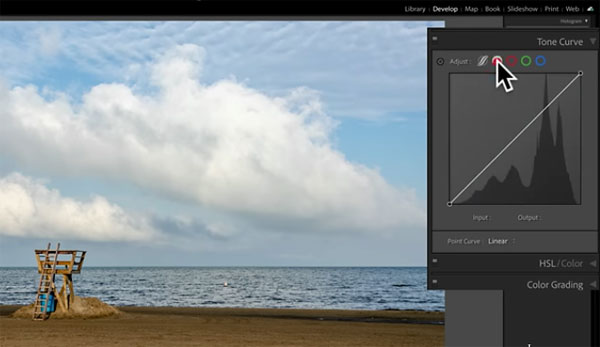
As Morganti says, “targeted adjustments is a tool within Lightroom that many photographers don’t know is there, or if they do, they simply don’t use it.” He notes that this feature can be found in two areas of the Lightroom workspace; within the Develop Module in the Tone Curve (which we discussed yesterday), and also in the Parametric Curve.
Morganti explains how to locate both options, and describes how they work. By clicking on a button in the upper right of the Tone Curve panel you’ll be presented with a message that says, “Adjust Point Curve by dragging in the photo.” You’ll also note a small icon near your cursor on the image.
That icon enables you to click anywhere on the image, as you do you’ll notice a new point on the Tone Curve. So let’s say you click and hold somewhere on a pale sky; by dragging downward you’ll see the curve change and the sky become darker.
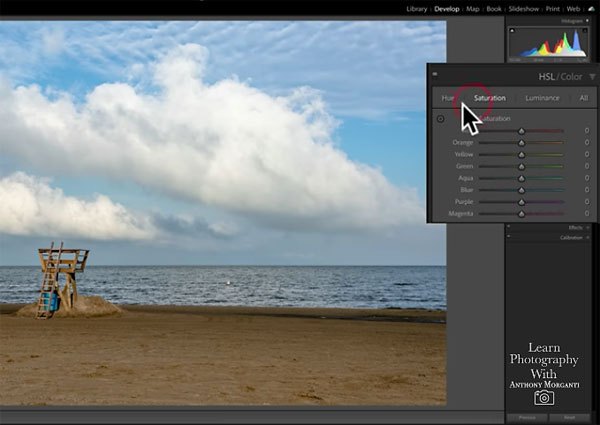
Similarly, by clicking and holding on the dark sand in the foreground, you can then drag upwards to brighten the sand. You can add as many points as you want to selectively adjust whatever portions of an image that need work.
Expect to see more quick and simple how-tos from Morganti in the future. In the meantime, pay a visit to his YouTube channel to discover what else he has to offer.
We also suggest you check out another the Lightroom tutorial we posted recently, with five free presets that make using Tone Curves easy and effective with just one click.


![]()
Get the Latest Photo Tips, News & Reviews from Shutterbug!
| Camera Reviews Other Reviews | Mobile Reviews Photography Reviews Columns | News | Features | How-To | Resources |
 © 2026 Shutterbug
AVTech Media Americas Inc., USA
All rights reserved