- REVIEWS
Camera Reviews 
More Reviews Mobile Reviews Photography Reviews - GALLERIES
- VIDEOS
- BUYER'S GUIDES
Make Lightning Photos Look EPIC with These Simple Photoshop Tips (VIDEO)

Summer means stormy weather, with threatening thunderstorms that offer great opportunities for dramatic landscape imagery—especially when lightning is involved. The challenge to coming up with dramatic photographs is dealing with the complex lighting conditions that electrical storms present.
With a bit of practice and experience it’s possible to make great photographs in the camera. But what about those times when you make a mistake and the scene is far less compelling on the computer than it was in the viewfinder?
In this quick tutorial you’ll see how to give Mother Nature a helping hand, with a few simple Photoshop techniques that will make your lightning images as epic as you remember. Based in Southern Germany, Christian Mohrle has been making stunning nature photographs for over 20 years, and in less than 10 minutes he demonstrates his method for dealing with lightning in Photoshop.
As simple as Mohrle’s method is, it delivers dramatic results by blending multiple images and adding strong contrast to the clouds. He admits the composition wasn’t optimal, explaining, “I would have preferred to have the lightning strike the center of the frame.”
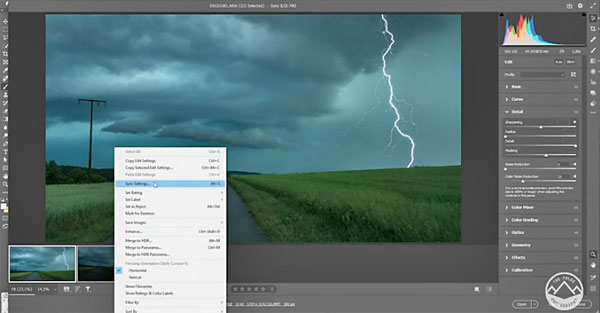
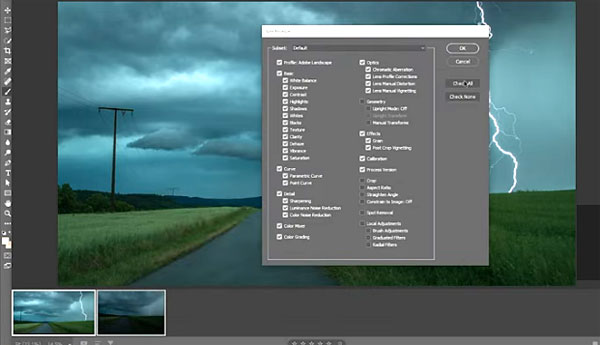
Mohrle captured a sequence of images from inside his car, which resulted in a slight color cast to the photos. His basic global enhancements involve tweaking white balance, and increasing exposure to open up the shadows and brighten the whites.
Turning to local adjustments, Mohrle adds a graduated filter over the sky, and makes the clouds look even more dramatic with a bump in Clarity and a Radial Filter to further brighten the highlights. A couple more minor tweaks and a bit of color grading and it’s done!
You can find more shooting and editing tips on Mohrle’s YouTube channel, and in another helpful tutorial we posted from a National Geographic pro.


![]()
Get the Latest Photo Tips, News & Reviews from Shutterbug!
| Camera Reviews Other Reviews | Mobile Reviews Photography Reviews Columns | News | Features | How-To | Resources |
 © 2026 Shutterbug
AVTech Media Americas Inc., USA
All rights reserved