- REVIEWS
Camera Reviews 
More Reviews Mobile Reviews Photography Reviews - GALLERIES
- VIDEOS
- BUYER'S GUIDES
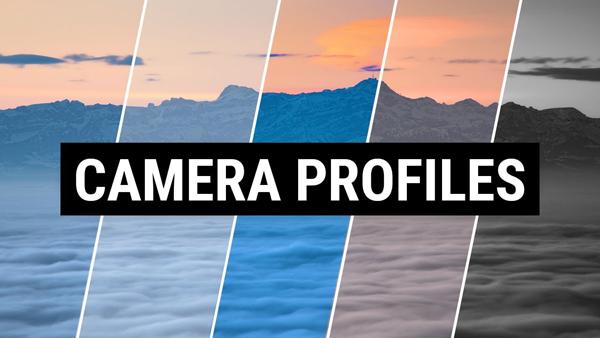
How to Use Adobe Camera Profiles for More Precise Photo Editing (VIDEO)
If you’ve paid attention to the image-editing tutorials we’ve shared from German landscape pro Christian Mohrle, you know that the first thing he does when opening an image in Photoshop or Lightroom, is choose the most appropriate Camera Profile for the task at hand.
Mohrle typically mentions this initial step in passing, but today he takes a deeper dive into the power of Adobe’s Camera Profiles, and he demonstrates how they can make a big difference in your results. There’s nothing difficult or complicated; you just have to make the best choice based upon Mohrle’s advice.
As Mohrle explains, in barely five minutes, “Every Camera Profile interprets colors in a different way. They can make certain colors warmer or more saturated, while making other colors cooler”—or remove colors altogether for a black-and-white conversion.
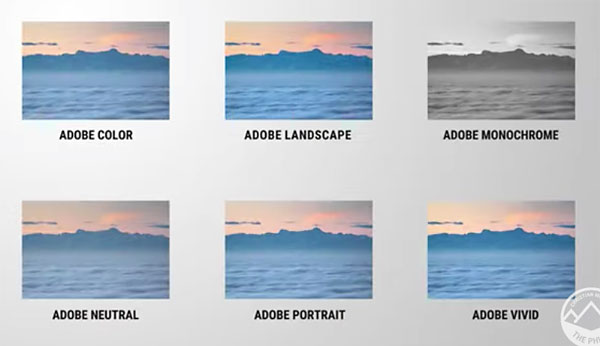
In short, the option you choose not only depends upon the image you’re editing, but on the specific look and feel you want to achieve. Mohrle discusses the various options in detail, and explains why there are so many profiles from which to choose.
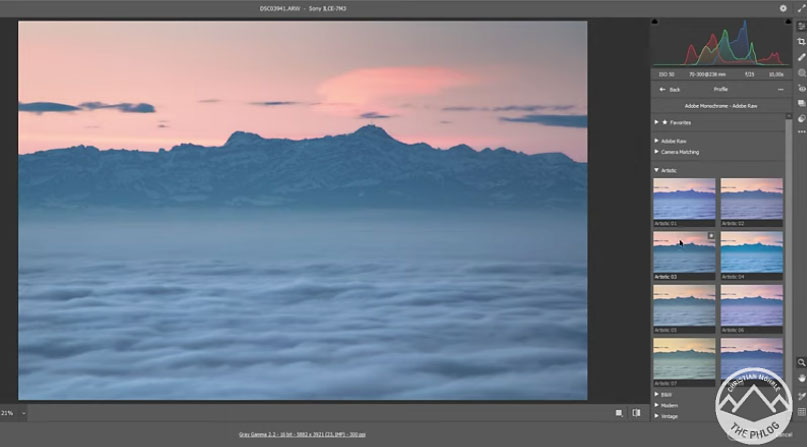
It’s important to understand that choosing a Camera Profile isn’t a standalone editing technique. Rather it’s just meant to provide a better base image from which to make further adjustments.
While there’s a slight difference in Photoshop’s user interface, as compared to what you’ll see in Lightroom, the process works the same. You’ll see how to navigate to the Camera Profile panel, and select an option from the dropdown menu.
Mohrle then provides a number of helpful suggestions to help you choose wisely, speed up your processing workflow, and create an image that meets your vision.
There’s more great shooting and editing advice on Mohrle’s YouTube channel, so head over there after watching this episode.
And don’t miss the Photoshop tutorial we posted earlier, explaining how to use “focal length blending” for better landscape photographs.


![]()
Get the Latest Photo Tips, News & Reviews from Shutterbug!
| Camera Reviews Other Reviews | Mobile Reviews Photography Reviews Columns | News | Features | How-To | Resources |
 © 2026 Shutterbug
AVTech Media Americas Inc., USA
All rights reserved