- REVIEWS
Camera Reviews 
More Reviews Mobile Reviews Photography Reviews - GALLERIES
- VIDEOS
- BUYER'S GUIDES
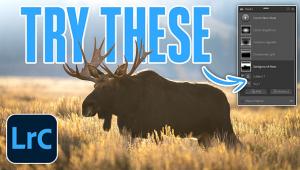
Here’s How to Edit Photos Shot with a High ISO (VIDEO)
All photographers strive for maximum photo quality, no matter what type of images they shoot. One way to achieve optimum results is to use the lowest ISO setting that conditions permit.
Fast lenses are a big help in this regard, but even when shooting wide open it’s often necessary to bump up the ISO, either because of low light levels or when fast shutter speeds are necessary to freeze action. And when editing images made with high sensitivity settings, a different approach is required.
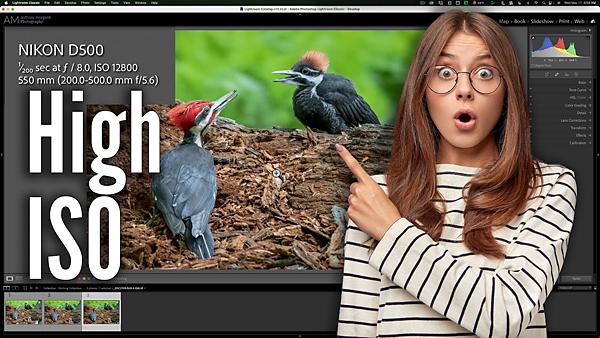
In the helpful video below, image-editing expert Anthony Morganti explains the straightforward workflow he prefers when processing high ISO photographs. The demonstration image for this episode, of two pileated woodpeckers digging for grubs on a fallen log, was shot at ISO 12,800. At first glance it looks pretty good.
Morganti says he captured this image in a heavily wooded area under dim conditions—hence the high ISO. If you zoom in and take a critical look at the shot you’ll see there’s a considerable amount of noise. It’s also a bit soft, perhaps because of the 2X teleconverter he used to increase the reach of his 200-500mm telephoto zoom lens.
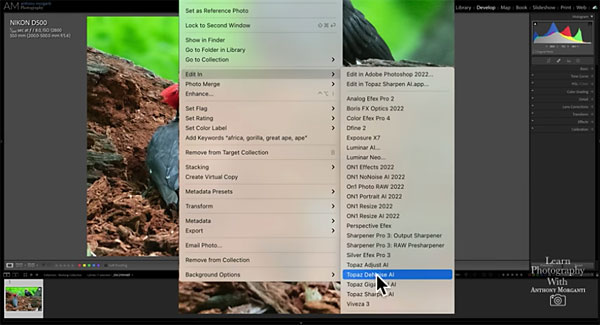
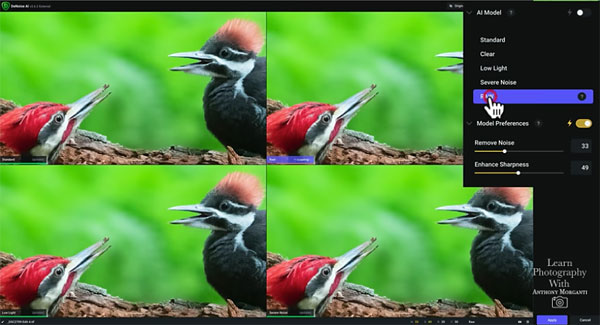
Morganti begins the rehabilitation process in Lightroom, and he explains why his method requires working on a Raw file. He says it’s also imperative, when using third-party plug-ins for noise reduction, that you do so as early in the process as possible.
That’s because noise reduction techniques are significantly less effective after even the most basic adjustments—like cropping, adding clarity, or increasing contrast. With those warnings out of the way, Morganti walks you through his straightforward, step-by-step method for getting the job done.
You can find more editing tips and tricks on Morganti’s YouTube channel, so be sure and pay a visit.
And check out another helpful tutorial we posted recently, explaining how to use Lightroom or Photoshop to restore colors in dull photographs.
- Log in or register to post comments


![]()
Get the Latest Photo Tips, News & Reviews from Shutterbug!
| Camera Reviews Other Reviews | Mobile Reviews Photography Reviews Columns | News | Features | How-To | Resources |
 © 2025 Shutterbug
AVTech Media Americas Inc., USA
All rights reserved