- REVIEWS
Camera Reviews 
More Reviews Mobile Reviews Photography Reviews - GALLERIES
- VIDEOS
- BUYER'S GUIDES
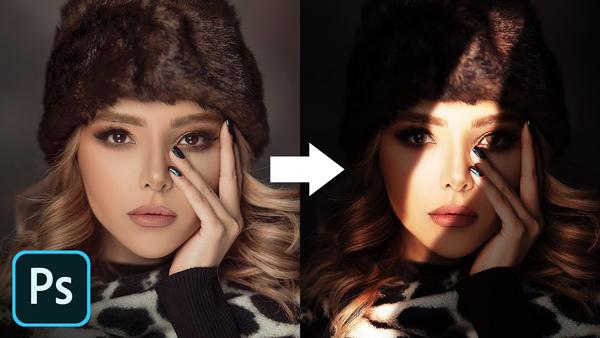
Give Portrait Photos a Special Look with Sun Rays on a Model’s Face (VIDEO)
If you’re wondering how to give portraits a unique look, this quick tutorial is for you. And the good news is you don’t need a studio or fancy lighting equipment, because this technique uses Photoshop to simulate sunlight.
Unmesh Dinda is an extremely popular image-editing instructor, with almost three million subscribers to his YouTube channel. In this interesting video he demonstrates how to add realistic sun rays to a subject’s face with an easy-to-follow Photoshop technique.
As with all Dinda’s tutorials, the goal to enhance an image while retaining a natural look. And in just 13 minutes you’ll learn how to create light, ambiance, and shadows for flattering portrait photos that will make you and your model proud. Looking at the lead photo above, you might think this is an advanced technique, but it’s actually very simple to accomplish.
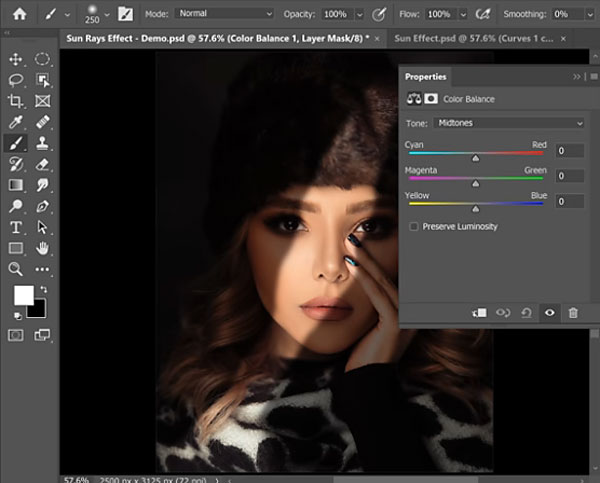
Dinda employs Curves, Masking, and Color Balance adjustments to get the job done. He begins with the Lasso tool and simply draws the sun rays where he wants them. You can also use the pen tool for a bit more precision. In either case, a bit of feathering will clean things up.
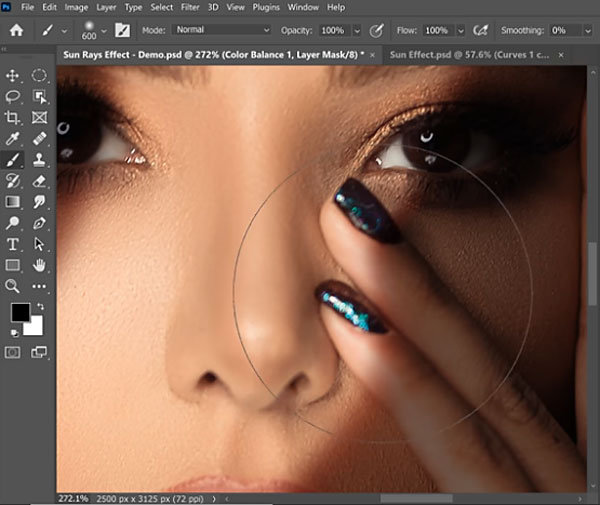
With the selection in place, Dinda uses Curves to darken the area surrounding the sun rays. He then darkens the highlights just enough to avoid excessive contrast. To accentuate the effect he warms up the sun rays while adding cool blue tones elsewhere. The next step is adding shadows to the model’s face, and this is essential for a realistic look.
All that’s left are a few subtle adjustments, a bit of cleanup, and the project is complete. Compare the original image with the final result, and the effect is pretty amazing.
There are more powerful editing tips on Dinda’s YouTube channel. And be sure to check out another tutorial we posted, with a simple Photoshop trick for making precise cutouts of hair and fur.
- Log in or register to post comments


![]()
Get the Latest Photo Tips, News & Reviews from Shutterbug!
| Camera Reviews Other Reviews | Mobile Reviews Photography Reviews Columns | News | Features | How-To | Resources |
 © 2025 Shutterbug
AVTech Media Americas Inc., USA
All rights reserved