- REVIEWS
Camera Reviews 
More Reviews Mobile Reviews Photography Reviews - GALLERIES
- VIDEOS
- BUYER'S GUIDES
Complex Cutouts Made Easy with This Quick Photoshop Trick (VIDEO)
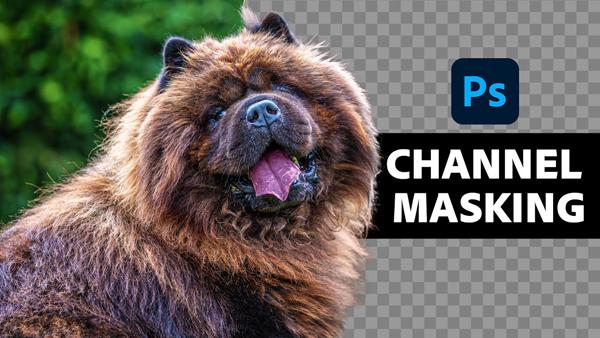
If you’ve ever photographed a model or an animal against a busy background, you know how difficult it can be to make precise selections around fine details like flyaway hair or fur. Fortunately, there’s a remarkably easy way to get the job done, as you’ll see below.
The video below comes to us from Jesus Ramirez who has been creating easy-to-follow Photoshop tutorials for almost a decade. In this episode he demonstrates how simple it can be to mask fur using channel-based selections and masks. And once you get the hang of this technique you can use the same method for cleaning up portraits photos of models with wispy hair.

Ramirez pulls up an image of a beautiful furry dog, and he jumps right over to Photoshop’s Channels panel. He then describes the relationship between Selections and Channels so you’ll have a clear understanding of the steps that follow. You’ll see that Selections and Masks are pretty much the same thing as Channels for different colors.
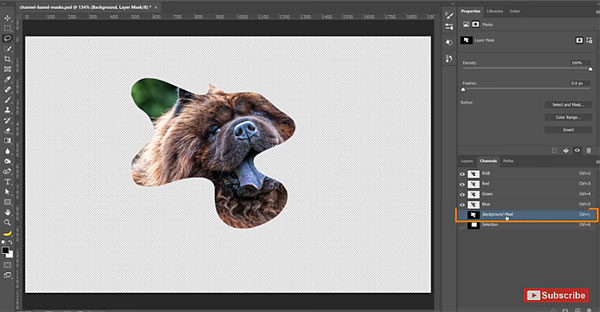
The next step is identifying which RBG channel to use based upon which one has the most contrast between the foreground and background of an image. Once you’ve done that it’s time to adjust the channel with Dodge and Burn tools and fill the background with black.
The final easy steps include adjusting Channel levels, filling the foreground with white, making a mask out of the edited channel, and a bit of fine-tuning. You’ll be able to accomplish the entire process in less time than it takes to watch the 11-minute video.
There is a wide variety of editing tips on Ramirez' YouTube channel. And be sure to check out another timesaving tutorial we posted yesterday, demonstrating how to turn daytime images into realistic night scenes.


![]()
Get the Latest Photo Tips, News & Reviews from Shutterbug!
| Camera Reviews Other Reviews | Mobile Reviews Photography Reviews Columns | News | Features | How-To | Resources |
 © 2026 Shutterbug
AVTech Media Americas Inc., USA
All rights reserved