- REVIEWS
Camera Reviews 
More Reviews Mobile Reviews Photography Reviews - GALLERIES
- VIDEOS
- BUYER'S GUIDES
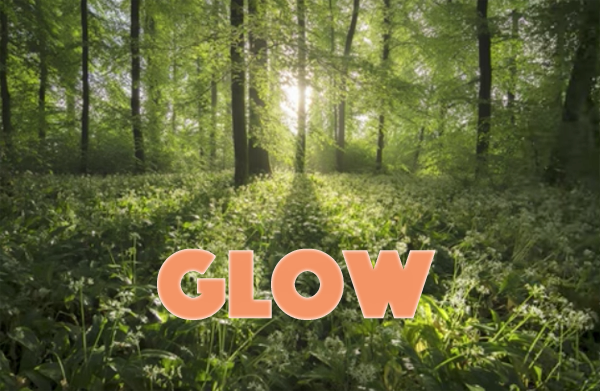
Give Landscape Photos a Soft, Dreamy GLOW with This Photoshop Trick (VIDEO)
Just so you’re not confused, this is the second tutorial of the day from two German landscape pros with the same first name. This one is from Christian Mohrle of the PHLOG Photography YouTube channel—not Christian Irmler who is responsible for the earlier discussion on using different aspect ratios for more effective landscape photos.
As most Shutterbug readers already know, Mohrle is particularly adept at presenting editing tips for images with a unique look so they stand out from the crowd. Today’s episode demonstrates how to give images a soft, dreamy glow with few straightforward steps in Photoshop.
If you want to follow along as Mohrle explains the process, make sure to download his Raw file via the link in the description beneath the video. This technique works equally well whether you’re using Photoshop’s Camera Raw editor or Lightroom.

This interesting method makes use of “Negative Clarity and Negative Dehaze” to create the inviting effect. Like always, Mohrle begin with a few basic global adjustments to prepare the image for the selective adjustments that follow. The first step is changing the profile from Adobe Color to Adobe Standard to slightly lessen Contrast.
Mohrle then expands the Basic panel and modifies White Balance for warmer tones, further reduces Contrast, brings up the blacks, and drops the highlights. He also drops shadows just a notch. At this point he’s says, “The image looks quite good, and we now can make use of Negative Clarity and Negative Dehaze for a very, very dreamy, glowing effect.” As you’ll see, this reduces details in the image.
Now it’s time to open the Masking panel and get to work on a few selective adjustments. Mohrle is primarily interested in the foreground, and he employs a linear gradient for the simple adjustments. He brings up Contrast to make shadows slightly deeper, and increases whites to introduce more brightness to the brightness parts of the foreground.

Mohrle then adds a second liner gradient to the very bottom of the shot to further refine the results. The goal here is to restore details to this portion of the photo for a sharper look. He does this by restoring some of the Clarity he took away during the initial steps of the edit.
At this point the transformation is almost complete. All that remains is simple, color grading and careful dodging of the highlights. We think you’ll be impressed after comparing Mohrle’s before/after images.
There are many more helpful tips on editing outdoor photographs on Mohrle’s instructional YouTube channel, so be sure to take a look. We also recommend watching the tutorial we posted recently from another accomplished pro, explaining the best way to shoot landscape photos with an ultra-wide lens.


![]()
Get the Latest Photo Tips, News & Reviews from Shutterbug!
| Camera Reviews Other Reviews | Mobile Reviews Photography Reviews Columns | News | Features | How-To | Resources |
 © 2025 Shutterbug
AVTech Media Americas Inc., USA
All rights reserved