Editing Basics: Dealing with Under- & Overexposed Images (VIDEO)

It would be great if we could always expose images perfectly, with nice details in the highlights, shadows, and midtones. But when shooting under uneven lighting outdoors, it’s easy to be a bit off.
That’s when it’s time to balance out the shot with some quick editing, and in the video below you’ll learn how to make things right in barely four minutes. The demo is in Lightroom, but this simple method works pretty much the same with any post-processing software you use.

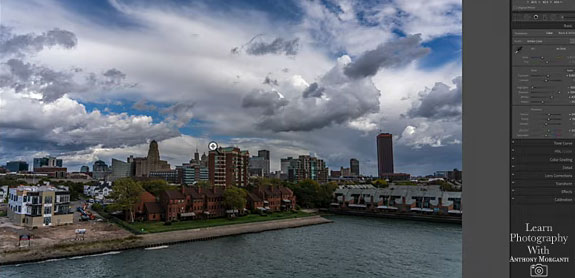
What you’ll see in this tutorial is the technique used by image-editing expert Anthony Morganti for images that are a stop or two under- or overexposed. He begins with a photo that’s about a stop overexposed, and quickly walks you through his simple-but-foolproof adjustment method.
As Morganti explains, “When I have an image that’s a stop or two overexposed, or even a bit more, I immediately go to the highlights/shadows panel.” As a starting point, he then takes highlights all the way down and shadows all the way up.
Now the image appears flat, with some of the contrast removed, and it’s still overexposed. But watch what happens when he goes to the exposure slider and cut the exposure until he likes what he sees. Now things look correct, and you can move on to any other adjustments you care to make.

In the case of this image, he slightly adjusts the whites and blacks, adds a bit of vibrance and clarity, and the shot looks really nice. As you’ll see, dealing with underexposed photos is equally fast and easy.
You can find more helpful tips, both basic and more advanced, by taking a quick trip to Morganti’s YouTube channel. And don’t miss another basic tutorial we posted, explaining how proper white balance adjustments really improve a photograph.


