- REVIEWS
Camera Reviews 
More Reviews Mobile Reviews Photography Reviews - GALLERIES
- VIDEOS
- BUYER'S GUIDES
The EASIEST Way to Remove Distracting Elements & Flaws in Photoshop (VIDEO)

How often have you captured what you thought was a great shot, only to discover on the computer that you missed a few things when looking through the viewfinder? If you’re like the rest of us, probably more than once or twice.
Perhaps you ignored a distracting element in the background, or a few smudges or ugly artifacts in the foreground. But fear not, because in the quick tutorial below you’ll learn what one pro says is “the easiest way to remove stuff in Photoshop.”
Fortunately there’s a very simple solution to effectively clean up a photo, and it only takes image-editing expert Colin Smith three minutes to explain. As a bonus, he demonstrates two different ways to use Photoshop’s powerful Patch Tool to get the job done.
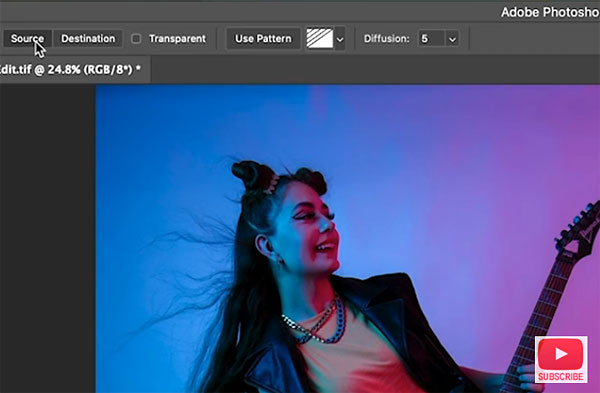
Smith begins with a portrait he shot in the studio. Unfortunately, there’s a problem with the edge of the seamless and some crud on the floor that needs to be removed. He opens Photoshop’s Patch Tool and walks you through the simple step-by-step process for rehabilitating the photo.
As Smith explains, there are two modes for using the Patch Tool, one called “Source” and the other referred to as “Destination.” He begins with the former, providing keyboard shortcuts to speed up the process. His quickly fixes the edge of the white seamless that’s lit with colored gels.
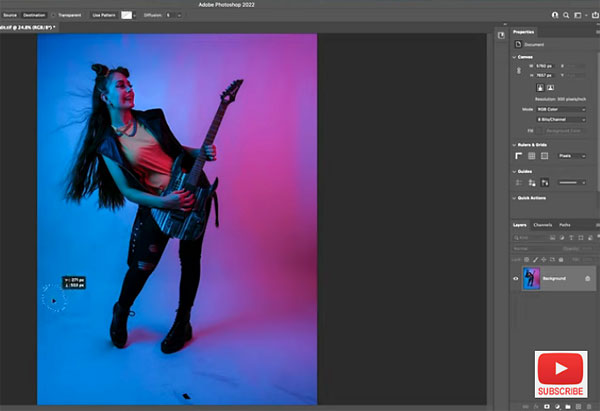
Smith then demonstrates the “Destination” approach to clean up distracting smudges on the floor. Both techniques are easy to accomplish and deliver great results. As you’ll see, Smith’s method is quicker and simpler than using Photoshop’s Clone or Content Aware tools, and you really can’t really screw up.
After watching this very helpful video, pay a visit to Smith’s YouTube Channel where you’ll find more of the same.
And don’t miss the earlier tutorial we posted, explaining how to create an impressive high-key effect with a few quick clicks in Photoshop.


![]()
Get the Latest Photo Tips, News & Reviews from Shutterbug!
| Camera Reviews Other Reviews | Mobile Reviews Photography Reviews Columns | News | Features | How-To | Resources |
 © 2026 Shutterbug
AVTech Media Americas Inc., USA
All rights reserved