The Best Way to Use Lightroom Presets–FREE Presets Included (VIDEO)

With many tasks in Lightroom there are several ways to get the job done—some easier and more effective than others. That’s very true with using presets: There’s the conventional approach and a better method, as you’ll see in the quick tutorial below.
Instructor Toms Jurjaks is a budget-minded photographer based in Portugal who says, “You don’t need a fortune to take amazing pictures.” He further insists that composition, technique, the right camera settings, and editing prowess are more important that the latest high-end gear.
In today’s four-minute episode Jurjaks discusses three key factors to consider when using presets that will maximize your results. As a bonus, he includes a link in the description beneath the video for downloading a collection of presets for free!

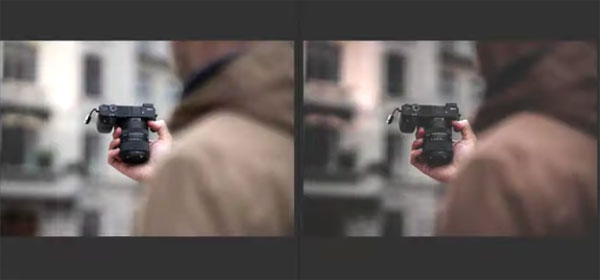
Jurjaks says that in his opinion using a preset isn’t a one-click edit, which is contrary to how most photographers employ these timesaving tools. Instead, he urges you to consider a preset like this: “It’s a great starting point that puts you in the mood, provides enhanced color, and give the image a good vibe.”
Despite these initial enhancements, Jurjaks demonstrates how a few additional adjustments will improve the look of an image even further without taking too much of your time. In others, words, try to think of presets as a foundational starting point.
Jurjaks’ second tip is what he calls “understand and learn,” and he explains why this is an important first step before selecting a preset to rehabilitate an image or give it a different look. What he means here is simply that you should review images carefully to gain an understanding of why you feel they need work. Are the shadows to dark? Is the shot lacking in saturation or contrast? What about how the background is rendered?

Or as Jurjaks says, “By determining why certain things are the way they are, you’ll gain a better understanding of the whole concept of editing.” And you’ll thereby be better equipped to choose the right preset for the job, and modify it as need be.
The final tip in this lesson is all about experimentation and making final alterations to achieve the exact look you’re after. You may spend a bit more time by following Jurjaks’ advice, but the superior results will be worth it.
There’s much more to see on Jurjaks' popular YouTube channel, so pay a visit when you have time.
And check out another powerful tutorial we posted recently, explaining how to use Lightroom’s Transform tool to correct geometric irregularities in your photographs.


