- REVIEWS
Camera Reviews 
More Reviews Mobile Reviews Photography Reviews - GALLERIES
- VIDEOS
- BUYER'S GUIDES
Want Better Outdoor Portraits? Blur the Background FAST in Photoshop (VIDEO)
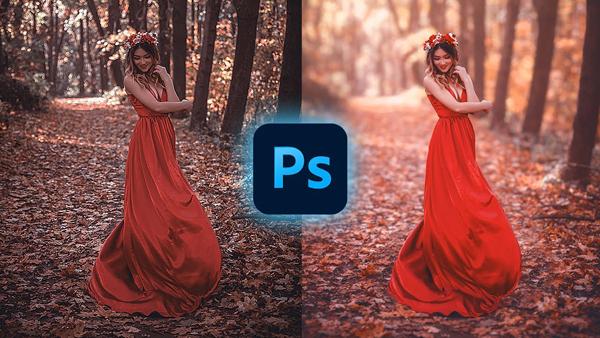
Quite a few photographers prefer making portraits with available light—either because they prefer the look, or they don’t own supplemental light equipment. It’s possible to do that indoors, like when using window lighting, but the typical approach is to shoot outdoors.
This, of course, comes with it’s own challenges, one of which involves the background of an outdoor scenes that can often be distracting. But with a little help from Photoshop you can easily make your model stand out.
In the tutorial below from German photographer Christian Mohrle, you'll see how fast and easy in can be to add just the right amount of depth blur in Photoshop. This episode is a bit different from others we’ve shared from Mohrle, because he’s pretty much a landscape shooter.
The techniques you’ll learn are also helpful for other forms of outdoor photography, because you can use the same methods to emphasize important inanimate foreground objects in landscapes and various nature scenes.
When shooting outdoor portraits the goal of a nicely blurred background is to separate a subject from whatever is in the distance, and the starting point is to put it on a separate layer. And the best part of this approach is that it involves a non-destructive workflow.

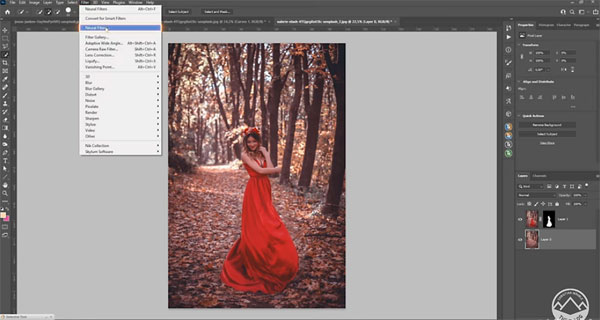
Mohrle begins by duplicating the image and using the first layer for the background. He removes the subject with a simple selection using Photoshop’s Content Aware Fill. Then on the top layer he makes another subject selection with a layer mask.
One’s everything is prepped, Mohrle selects Depth Blur from the Neural Filters panel, and he demonstrates the appropriate settings for achieving a natural looking background blur. All that’s left is a few final tweaks, like adding a subtle warm glow in the upper left corner of the image, and slightly cooling off the rest of the shot.
You can find a bunch of helpful tips for shooting and editing landscape photos on Mohrle’s YouTube channel, so be sure and take a look. Then check out another tutorial we posted recently, explaining how to use AE bracketing to nail exposure every time.


![]()
Get the Latest Photo Tips, News & Reviews from Shutterbug!
| Camera Reviews Other Reviews | Mobile Reviews Photography Reviews Columns | News | Features | How-To | Resources |
 © 2026 Shutterbug
AVTech Media Americas Inc., USA
All rights reserved