- REVIEWS
Camera Reviews 
More Reviews Mobile Reviews Photography Reviews - GALLERIES
- VIDEOS
- BUYER'S GUIDES
The ULTIMATE Guide to BRACKETING Photos for Ideal Exposure (VIDEO)
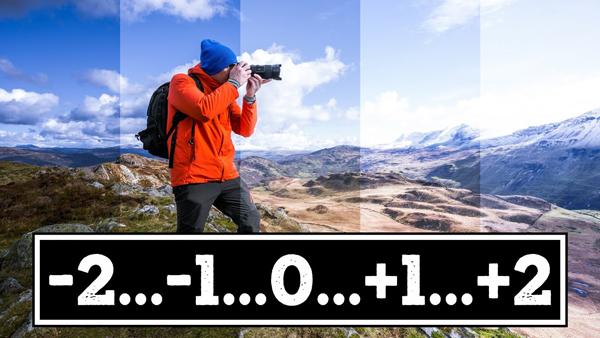
Photographers who do most of their shooting outdoors know how difficult it can be to consistently nail exposure—especially when shooting expansive landscape vistas. That’s because these types of scenes often contain a broad range of tones from bright highlights to deep shadows.
If you try your best and still come up short, the eye-opening tutorial below is for you. Instructor Mike Smith provides a comprehensive explanation of the technique known as Exposure Bracketing, and by the time you’re done watching you’ll understand how to make photos with correctly exposed highlights and shadows, and clean details throughout the frame.
As Smith explains “Bracketing is a process whereby “you shoot multiple images of the same scene, all with slightly different exposure levels.” It’s a common technique among professionals that’s also known as HDR or Exposure Blending, As you’ll see, the darkest shot will have details in the brightest parts, while overexposed images contain details in the shadows.

Once you’ve captured the series, which may contain three, five, or even more images if conditions are really extreme, the next step is carefully blending them together in post processing. Smith begins with important advice for shooting the sequence of photos so the editing process is as effective as possible.
Smith explains the best bracketing settings to use, and where to find them on different brands of cameras. He also discusses the relative merits of shooting in Single-Shot or Continuous mode, depending upon the task at hand. You’ll also learn his opinion on shooting with a tripod or hand-held, and when your camera’s self-timer comes in handy.
The specific camera mode you choose also factors into the equation, and Smith walks you through that too. He’s not one to leave anything out of his lessons, and he covers White Balance, the specifics of getting the job done in Manual mode, and a few other key considerations.

The episode concludes by demonstrating how to edit and blend the various images together in Lightroom and achieve impressive natural looking results. As you’ll see, the process isn’t as complicated as you may think.
There much more to learn on Smith’s popular YouTube channel, so be sure to take a look.
And don’t miss the earlier video tutorial we posted, explaining how to fix photos with a skewed perspective in Lightroom.


![]()
Get the Latest Photo Tips, News & Reviews from Shutterbug!
| Camera Reviews Other Reviews | Mobile Reviews Photography Reviews Columns | News | Features | How-To | Resources |
 © 2026 Shutterbug
AVTech Media Americas Inc., USA
All rights reserved