- REVIEWS
Camera Reviews 
More Reviews Mobile Reviews Photography Reviews - GALLERIES
- VIDEOS
- BUYER'S GUIDES
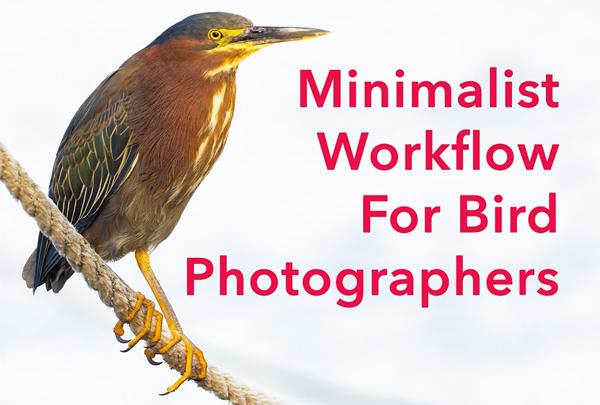
Try This Simple Workflow for Editing Bird Photos in Lightroom (VIDEO)
Bird photography is a great way to spend some alone time in nature shooting, without worrying about social distancing. Best yet, it’s something you can even do in your own backyard. And if you prefer standing behind the camera instead of sitting behind a computer, this tutorial is for you.
If you visit this page regularly, you’re no doubt familiar with acclaimed bird photographer Tim Boyer, whose shooting tips from the field we share often. The video below is a bit different than most, as Bower demonstrates a quick and simple technique for editing bird images in Lightroom.
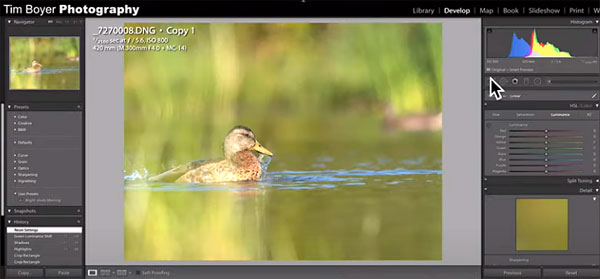
Bower says this “minimalist workflow” will enable you to quickly make necessary adjustments, so you can get back out into the field as soon as possible. He begins with a photograph of a female mallard, and shows you the original shot as well as the final edited result. From there, he walks you through the simple process of getting there.
Bower intentionally shot the photograph with a bit of tall grass between his lens and the duck, “to give the image an ethereal look.” As you’ll see, the composition he chose required a bit of creative cropping, and Bower explains that cropping is always the first adjustment he makes. He adds that “I always crop for a specific use,” which is why he chose 16x9 for this video.
The next step in this minimalist workflow is to adjust highlights and shadows, and use the Luminance panel to selectively enhanve colors—while accentuating the duck by isolating it from the background. As you’ll see, these simple adjustments, along with the other tips in the video, will make a big difference in your results.
Along the way you’ll also pick up a few shooting tips on framing, exposure and more. You can find more great advice on bird photography by visiting Bower’s YouTube channel. And for another minimalist Lightroom technique, check out yesterday’s tutorial explaining the easiest way to process panorama images.


![]()
Get the Latest Photo Tips, News & Reviews from Shutterbug!
| Camera Reviews Other Reviews | Mobile Reviews Photography Reviews Columns | News | Features | How-To | Resources |
 © 2026 Shutterbug
AVTech Media Americas Inc., USA
All rights reserved