- REVIEWS
Camera Reviews 
More Reviews Mobile Reviews Photography Reviews - GALLERIES
- VIDEOS
- BUYER'S GUIDES
Take a Photo Walk Into the (Nearby) Wilderness: Wetlands Offer chance To Capture great Shots Of Nature Without A Major Trek
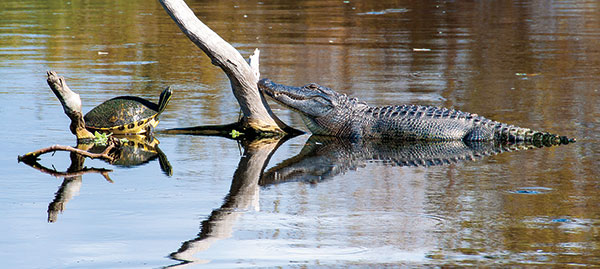
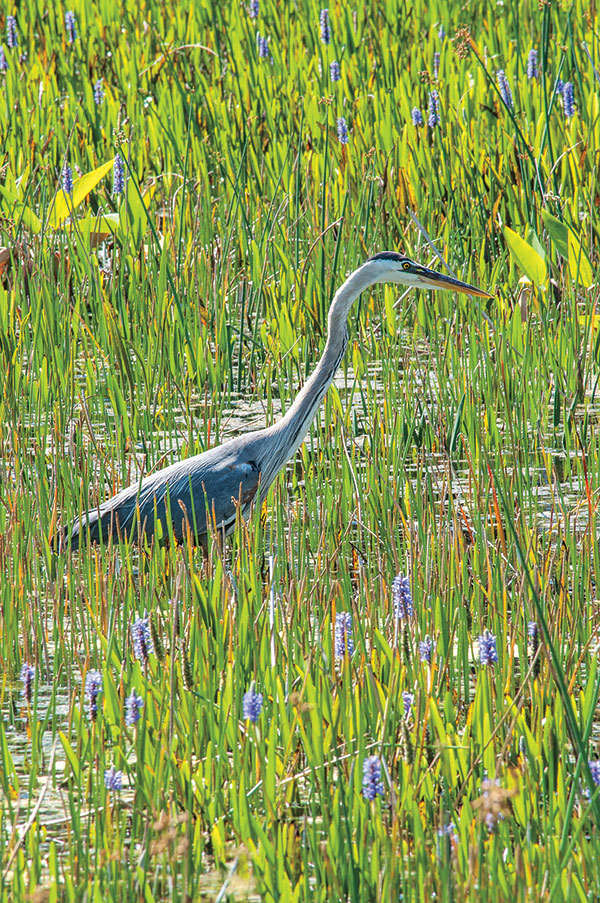
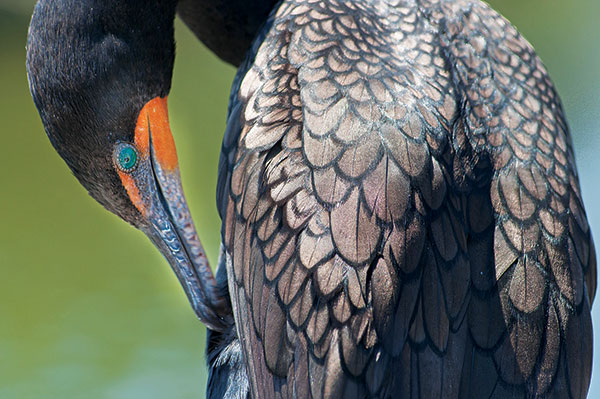
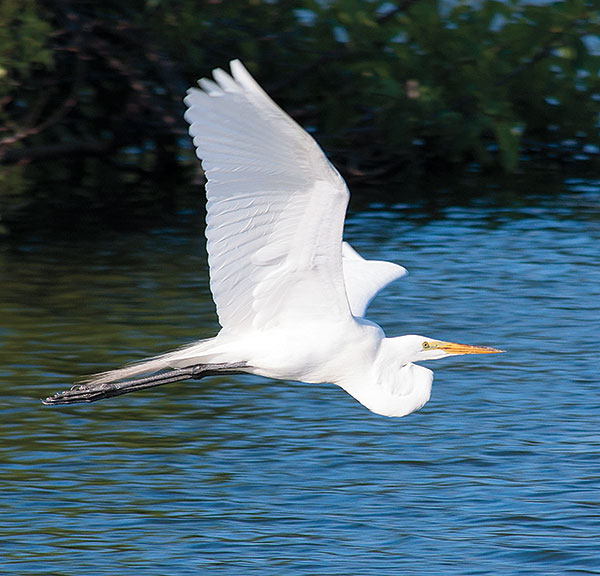
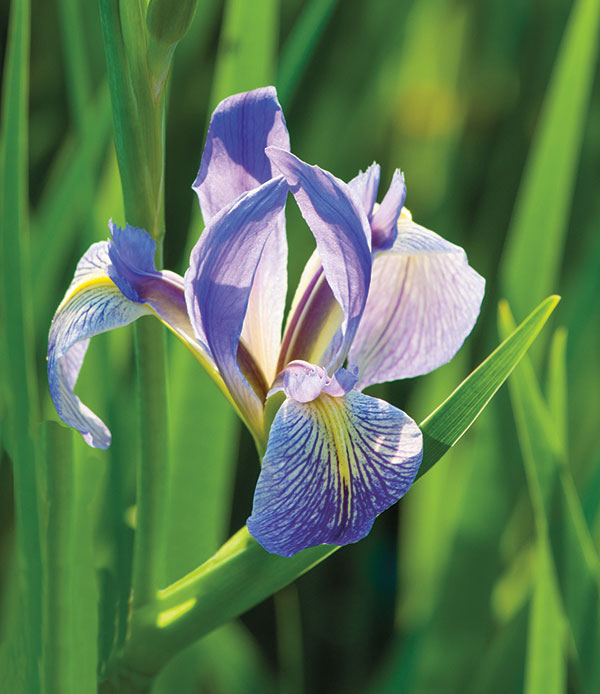
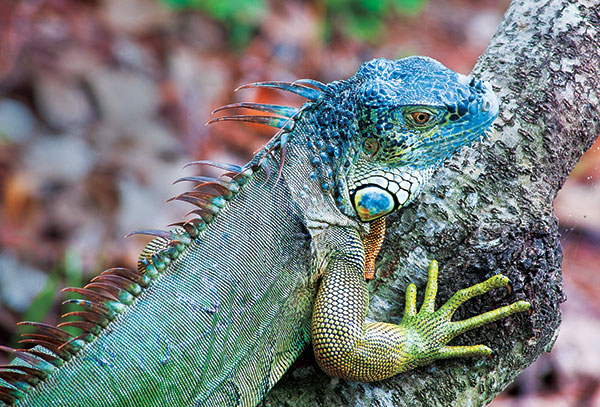
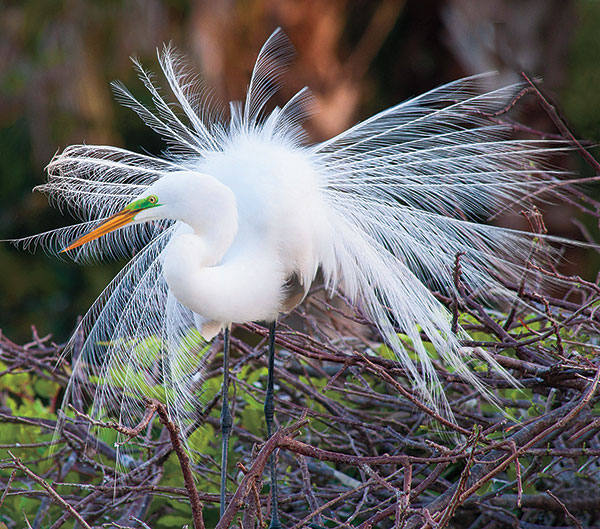
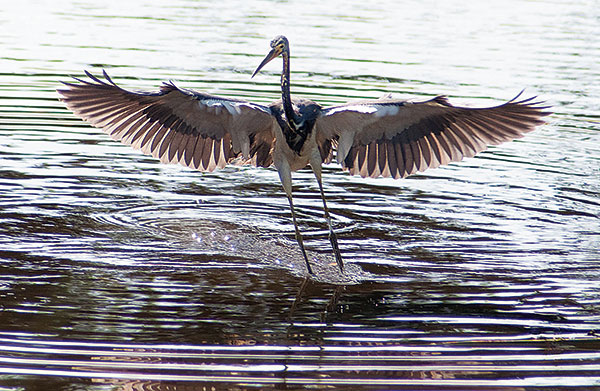
All Photos © Howard Millard
For over five winters, I have taken my camera and explored an Everglades-like ecosystem in South Florida teeming with great blue herons, great egrets, alligators, turtles, snakes, fish, ibis, tricolored herons, green herons, black-necked stilts, grebes, cormorants, anhingas, hawks, iguanas, and who knows what else. Level, well-maintained boardwalks take you above the water and wind you deep into the wetlands with spectacular views and vantage points for photography of the wildlife. Within a few feet to a few yards from your path, many birds wade, fish, and perch. Last year, some nested that close as well. This extraordinary place is less than half an hour from I-95 and admission is free.
The Wakodahatchee Wetlands comprise 50 acres spanned by the three-quarter-mile boardwalk over open water ponds, emergent marsh areas, a canal, and islands with shrubs and trees for the birds to roost and nest in. Panels along the walk display pictures of animals and plants found here and give information about them. When it is hot and you are tired, three small gazebos and shade areas with benches offer a chance to sit down and get out of the sun. Part of the Great Florida Birding Trail, the site is rife with opportunities to observe and photograph birds and other creatures in their natural habitats. More than 140 avian species have been spotted here.

Is this a natural wilderness? Yes and no. It was created more than a decade ago from land owned by the Water Utilities Department, which pumps approximately two million gallons of highly treated reclaimed water (yes, formerly sewage) into it daily. The resulting nutrient-rich ponds and marshes attract the wildlife, which knows a good thing when it sees it. While no wildlife was brought in, native Floridian trees and plants were. The new wetlands were aptly named Wakodahatchee, which, while a mouthful in any language, means “created waters” in Native American Seminole parlance.
Gearing Up
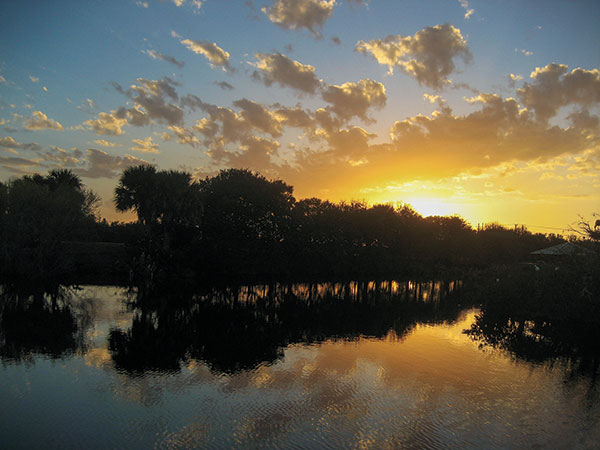
What equipment do you need for this wildlife oasis? If you come, you will see visitors shooting with everything from smartphones to point-and-shoots to top-end professional full-frame digital cameras. Attached to the latter is some of the most expensive glass available, such as a 300mm f/2.8 (about $7000), or a 400mm f/2.8, or even the behemoth 600mm f/4 (the last two in the $12,000 to $13,000 range). Some of these lenses are lovingly transported cradled in baby carriages—seriously. But you can get great photos with what I would call mid-level equipment. Depending on your needs, a good point-and-shoot may suffice. In fact, the dramatic sunset shot included here was photographed by my wife, Sybille Millard, with an elderly Canon PowerShot.
I shot all the other photos for this article with a Nikon D90 APS-C format DSLR camera (discontinued, current equivalent model is the D7100, about $1100) and several Nikkor lenses: the AF-S DX Nikkor 18-200mm f/3.5-5.6G IF-ED VR (the current VR II model is about $600), the AF-S DX Nikkor 55-300mm f/4.5-5.6G ED VR (current VR II model: $400), and one year I used the AF-S VR Zoom-Nikkor 70-300mm f/4.5-5.6G IF-ED ($600). I always use the VR, or Vibration Reduction, feature to assist in getting sharper images when shooting hand held. The 55-300mm does not autofocus as quickly as I would like, and not as quickly as the 70-300mm, but it is relatively inexpensive and quite sharp stopped down. I try to shoot at f/11 or f/8 whenever possible to achieve the best optical quality.
If you were buying now, I would suggest looking at the expanded range AF-S DX Nikkor 18-300mm f/3.5-5.6G ED VR, about $1000. Another option would be the new 18-140mm Nikkor paired with the 55-300mm. Also, though not as rugged or feature-rich as the D7100, the Nikon D5300 body introduced this year offers an extraordinary 24-megapixel resolution for $750, a tilting LCD viewing screen (great for ground-level nature work and unusual angles), and a lightweight body. No matter what brand of gear you prefer, lenses in these ranges will cover most of what you will want to shoot at Wakodahatchee. As a travel photographer, I use these lenses daily for a wide variety of types of photography around the world. Zooms allow me to change focal length quickly and frame tightly no matter how far or near the subject may be. If you decide to specialize in wildlife and perhaps even bird work, then you may need to consider faster, specialized lenses.
How Long Is Long Enough?
At 300mm on the Nikon APS-C cameras, you are shooting at the full-frame equivalent of a 450mm telephoto. There are times when you might want a longer lens, such as when the recalcitrant roseate spoonbill refuses to get closer than 30 yards away. In that case, explore a longer tele-zoom in the 100-400mm or 150-500mm range. But also look at the pictures on display here to see all that you can do with the lenses I used. Also, especially with a high-resolution camera like the Nikon D5300, you can crop in considerably when processing to get a longer tele effect with a shorter lens. Finally, for telephoto photography, an APS-C-sized sensor is a boon in that it effectively multiplies the reach of your lens by a factor of 1.5 (Nikon and most others) or 1.6 (Canon).
Shooting And Processing Techniques
In the winter, the light is almost always good at Wakodahatchee, and I usually work hand held, often with my elbows braced on a railing. You are allowed to use tripods here, thankfully, for low light in early morning or late in the day, or on a cloudy day, or when the object of your affection is in the shade. If you do use a tripod, though, please be mindful of other visitors and the fact that there is only one way they can go—past you on the same boardwalk that you are partially blocking with your three-legged companion.
Wildlife doesn’t often perch where you would like it to, so have patience and return to a site many times at different times of the day. This also ensures that you’ll have a variety of lighting. While it may be true that you get the most interesting light early and late in the day, you also get a lot of shadows and low light. For shade, you may want to bring out the tripod, but be mindful of subject motion and set an adequate shutter speed to stop it. In contrasty light, some photographers use a flash or reflectors to provide fill light.
For birds and other small critters, you need to have a long lens in order to fill the frame, ideally a 300mm or longer. Wakodahatchee is an exception in that some birds are often dramatically closer to you than in most wild settings. Look for lenses that offer a good balance of focal length, speed, and portability.
You may be familiar with the rule that, to avoid blur from lens movement, you should shoot at a speed of one divided by the lens focal length or faster. This is for full-frame cameras, so with a 300mm lens, you would shoot at 1/300 sec or faster. With an APS-C camera, you need to use the full-frame equivalent. So, with the same 300mm lens, the full-frame equivalent is 450mm and you would shoot at 1/450 sec or faster. Today, many lenses (and some cameras) offer an image stabilization or vibration reduction feature. Engaging it will allow you to shoot two or three stops slower than the above rule, so I use it all the time. On a tripod, however, with some models you must turn off this feature. Also bear in mind that, tripod or not, your shutter speed must be fast enough to stop motion.
As far as metering, I generally use the Nikon Matrix setting which looks at all parts of the image with some emphasis on the center. In difficult light situations, I may use spot metering. With very dark or light subjects, I often take a reading from a neutral area that is in the same light, such as grass or medium green foliage, then set that reading manually. Some bird photographers use the camera’s auto-bracketing to shoot three to five exposures in half f/stop increments. For most cases, I haven’t found this necessary shooting Raw and it can slow you down and fill up your memory card fast. But try it in very contrasty light. If the subject is not moving much, you can also try HDR.
To freeze action with rapid movement by the subject, setting your shutter speed at 1/1000 sec is a good starting point, though sometimes 1/500 is enough. Experiment to get a feel for it. And of course you have to balance this with depth of field. I try to shoot at an aperture of f/8 or f/11 or higher with a long lens in order to be sure that all or most of a bird will be sharp. In shade or low light, this may mean increasing the ISO setting. In the real world, you may not get everything sharp, but usually the eye and the head should be points of focus. If your camera offers it, be sure to check the focus with the depth of field preview button.
For the best quality, I try to shoot at ISO 200 or less. Because of the fast shutter speeds necessary to stop animal motion and when working with long lenses, I may have to crank that up to 400. With newer cameras, especially those with full-frame sensors, you can shoot at significantly higher ISOs and still maintain acceptable quality without objectionable noise.
I always shoot in the Raw file format. The contrasty light frequently found in sunny Florida is more easily dealt with when processing Raw files. Raw gives you more latitude and margin for error than JPEG. The wildlife is often cavorting in trees or among plants casting multiple shadows. I open my files and edit them in Adobe Bridge, part of Photoshop. Then I process them with Adobe Camera Raw (ACR) and Photoshop. ACR is also available in Adobe Lightroom, and a more limited version with Elements. Additionally, both Nikon and Canon make proprietary software to process the Raw files for their cameras.
I most frequently use ACR to open up shadows and tone down bright highlights, bringing out more detail in both areas. To do this, I first work the Shadows and Highlights sliders, then the Black and White sliders. I may also use the Adjustment Brush to apply exposure modifications, as well as selective sharpening. I prefer to do as much as possible in ACR as these are nondestructive corrections. In Photoshop proper, as opposed to ACR, you can also use Image>Adjustments>Shadows/Highlights, and the Dodge and Burn tools. For selective sharpening, there is the Sharpen tool from the toolbox. For overall sharpening, though, Filter>Sharpen offers both Unsharp Mask and Smart Sharpen.
I hope you get a chance to visit Wakodahatchee and try some of these suggestions. You’ll find a very special place that offers stunning opportunities for dramatic wildlife photography.
Resources
The Wakodahatchee Wetlands are located at 13026 Jog Road in west Delray Beach, Florida. Although the website says it’s open from 7 a.m. to 7 p.m., these times change to close earlier in the winter months. Admission is free but parking is limited during the winter season, so go early or late, or be prepared to wait in those months. Bring a wide-brim hat and plenty of sunscreen, and perhaps an umbrella for the sun. From mid-December to mid-April, I have never experienced a bug problem. But you may want to bring a repellent just in case. The boardwalk is accessible for wheelchairs and walkers, and there are restrooms adjacent to the parking lot, but none on the boardwalk. Check the website for more details and directions: www.pbcgov.com/waterutilities/wakodahatchee/.


![]()
Get the Latest Photo Tips, News & Reviews from Shutterbug!
| Camera Reviews Other Reviews | Mobile Reviews Photography Reviews Columns | News | Features | How-To | Resources |
 © 2026 Shutterbug
AVTech Media Americas Inc., USA
All rights reserved