- REVIEWS
Camera Reviews 
More Reviews Mobile Reviews Photography Reviews - GALLERIES
- VIDEOS
- BUYER'S GUIDES
Sharpening Basics: Here’s How Unsharp Masking Makes Your Photos Look Extra Crispy
It sounds like a reference to dull Halloween costumes, but I’ve always regarded unsharp masking as the Cadillac option for beefing up the acutance of my photos. Admittedly, this is probably just a reaction to the fact that unsharp masking has a complicated dialog box in Photoshop, and my reptilian brain is dazzled by lots of controls.
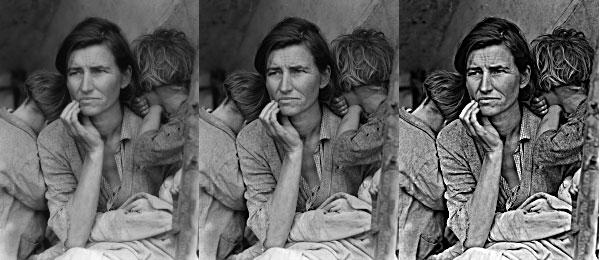
But here’s the deal: last month we discussed plain vanilla sharpening (imaginatively listed in Photoshop as “sharpen”), which finds the edges in your picture and increases their contrast. The transition from black to white on the hide of a zebra would be sharpened by darkening the pixels on the black side of the edge, and lightening those on the white.
Unsharp masking is stronger sauce, and a bit more complicated. It also has a long history. Forty years ago, astronomical imaging expert David Malin addressed a recurrent problem for those making telescopic photos of the spectacular nebulae (gas clouds) that litter the Milky Way.
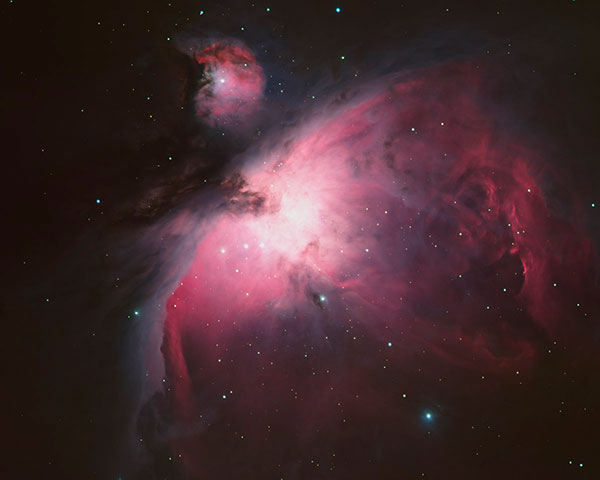

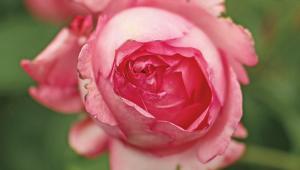
These have an enormous range of brightness—with huge, relatively dim blobs laced by brighter or darker “veins.” Exposing a print to bring out the faint stuff washed out the fine detail.
Malin dealt with this by first making a blurred negative copy of his photo. To do so, he assembled a sandwich of the photo and a sheet of unexposed film, separated by a piece of glass.
He then used a light source to expose the film with the thickness of the glass ensuring that the copy was unsharp. Once developed, the blurry negative was laid onto the original (without the glass), stuffed into an enlarger, and printed.
Doing this suppressed the broad swaths of brightness in the image, because the unsharp negative largely canceled out the blobby bits. But the fine structure made it onto the print unchanged. Indeed, with the confusing haze of extended blobs largely gone, the image details stood out like Yao Ming in the land of the Pygmies. Malin’s spectacular photos were soon infesting astronomy textbooks and the walls of college dorms.
Unsharp masking for digital photos is philosophically similar. The software blurs the image to make the “unsharp mask,” with the amount of blurring subject to user control. You don’t see this mask but if you did, it would resemble your original photo as if it were made with a $2 lens.
This mask is then subtracted from the original image. This is precisely what Malin’s sheet film sandwich accomplished, suppressing the extended picture components and emphasizing the sharp components, although the digital version of unsharp masking takes mere moments, and you don’t have to wash chemicals off your hands when you’re done.
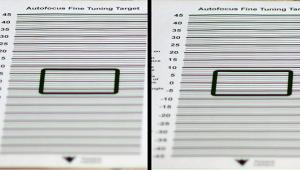
Using digital unsharp masking has some additional advantages over Malin’s analog technique. To begin with, you can easily control the degree of blur in the mask with the “amount” and “radius” controls. But there’s also generally a “threshold” slider, too, which means that you can arrange not to apply the mask to every pixel in your photo. And, of course, the dynamite advantage of the digital world is that it only takes a few seconds to apply the mask and check the result. If you’re less than thrilled, you can fumble with the controls and try again.
Unsharp masking is always worth trying but it isn’t always your friend. It can emphasize noise. (Watch out for those high ISO settings!) It can also introduce overshoot artifacts: bright dots of light that are surrounded by dark doughnuts.
But the point of this tool is to increase acutance, the “snap” of the image. As we noted last month, acutance isn’t something you can measure in the lab…it’s something you perceive with your imperfect eyes and brain. So if you’ve found a setting for unsharp masking that, in your opinion, makes your photos look better, you’ve found the correct setting!
Seth Shostak is an astronomer at the SETI Institute who thinks photography is one of humanity’s greatest inventions. His photos have been used in countless magazines and newspapers. You can find him on both Facebook and Twitter.


![]()
Get the Latest Photo Tips, News & Reviews from Shutterbug!
| Camera Reviews Other Reviews | Mobile Reviews Photography Reviews Columns | News | Features | How-To | Resources |
 © 2026 Shutterbug
AVTech Media Americas Inc., USA
All rights reserved