- REVIEWS
Camera Reviews 
More Reviews Mobile Reviews Photography Reviews - GALLERIES
- VIDEOS
- BUYER'S GUIDES
Restore LOST Colors in Travel & Nature Photos with Lightroom (VIDEO)
Sometimes the outdoor images we make don’t look as remarkable on the computer as they did through the viewfinder. In some cases that’s due to challenging light, while other times the problem is incorrect exposure or other camera settings.
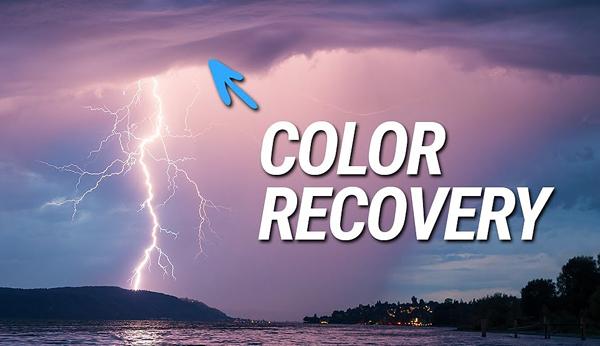
In the video below from Phlog Photography you’ll learn how to restore lost colors using Lightroom, with a simple technique that takes barely nine minutes to explain. Instructor Christian Mohrle begins with a dramatic scene of lightning dropping out of the sky near a shoreline.
As amazing as the scene appeared in the field, the colors in Mohrle’s image appear rather bland. His goal for this episode is to restore the shot to it’s actual glory by adding warmth to the highlights, and giving the sky an awesome array of blue, purple, and orange tones.

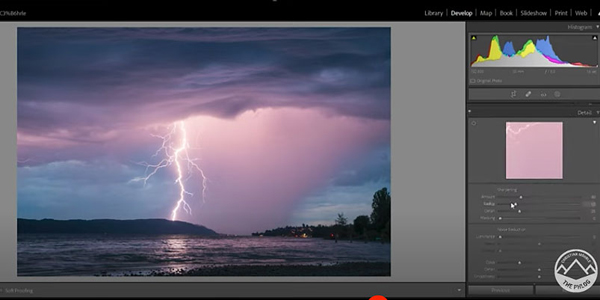
Mohrle begins by switching the profile to Adobe Standard, which immediately creates more base saturation. He then adjusts White Balance for more warmth. Mohrle also drops highlights for more details in the lightning bolt, slightly opens the shadows, and pumps up vibrance and texture.
A simple masking technique is next, using a linear gradient to punch up the clouds by increasing Clarity. Now if you compare the before and after images you’ll be really impressed.
You’ll see how Mohrle improves the composition with a bit of cropping. He finishes the job with some very simple color grading, and a bit of cleanup in Photoshop. If you want to follow along and make the changes yourself, download the Raw file in the description beneath the video.
You will find a wealth of shooting and editing tips on Mohrle’s YouTube channel, so be sure and take a look.
And check out the tutorial we posted from another editing expert, demonstrating a quick technique for giving daytime photos a convincing night vision look.


![]()
Get the Latest Photo Tips, News & Reviews from Shutterbug!
| Camera Reviews Other Reviews | Mobile Reviews Photography Reviews Columns | News | Features | How-To | Resources |
 © 2026 Shutterbug
AVTech Media Americas Inc., USA
All rights reserved