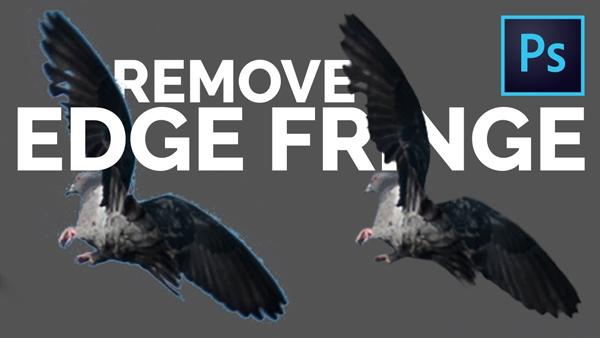
Photoshop Tips: 2 Simple Tricks for Removing Ugly White Edges or “Fringing” from Photos (VIDEO)

Have you ever noticed an ugly white edge around an object in a photograph? This so-called “fringing” can ruin the appearance of an otherwise nice shot, and in the video below you’ll learn two simple methods for eliminating these distractions in Photoshop.

Fringing can occur around the walls of a building shot against a bright blue sky, or along the edges of a portrait subject photographed in front of a dark background. It's often caused by the excessive use of Clarity or Contrast tools when processing images.

As you’ll see in this tutorial, unsightly fringing or “halo” artifacts also occur when making selections or cut-outs for compositing purposes. Fortunately, there are a couple simple tricks for eliminating these annoying outlines. And in just 15 minutes, image-editing expert Unmesh Dinda shows you how.

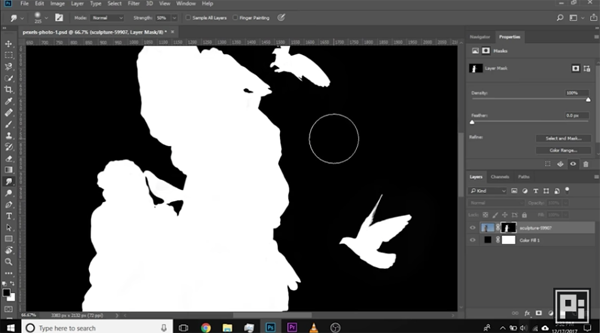
The two easy techniques Dinda demonstrates rely upon nothing more than basic Photoshop features. You’ll learn how to use the Smudge tool to refine edges, and well as a few masking and selection tricks to get the job done right.
You can find more editing tips on Dinda’s YouTube channel, and in one of his earlier Photoshop tutorials we posted that explains the important differences between Curves and Levels.


