- REVIEWS
Camera Reviews 
More Reviews Mobile Reviews Photography Reviews - GALLERIES
- VIDEOS
- BUYER'S GUIDES
A New B&W Inkjet Option; Using An Epson R800 Or R1800 With B&W 100 Percent Carbon MIS Ink
I had just about given up on ideal black and white inkjet printing and settled for the printer company compromised solution, which first appeared with the Epson R2400. Like other photographers who do both color and black and white, I'd tried and failed using a converted, dedicated black and white printer using "independent" inks. That solution proved too troublesome if not used almost every day. But black and white prints made with color printers are more expensive and involve the use of some color inks to print black and white. Many have now realized that route as too compromised because colored inks in a black and white print can and have already been seen to shift in tone, due to differential fading not only between the black and the color inks but also between the color inks themselves. Even so, this was an acceptable state of affairs until I heard from the inventive black and white photographer, Paul Roark, who proposed a new, better, more archival, and less costly solution.
 |
I might not have been moved enough to try Roark's new black and white printing option if it weren't for receiving frequent e-mails from photographers just getting into digital who want to scan (and print) their collections of black and white film. Many, like me, are older and retired, so are on a budget, and aren't ready for an expensive professional-level printer. So, when I was informed that this new black and white printing solution was based on the Epson Stylus Photo R800 or R1800, I thought it posed a more affordable option, especially when I learned that adding three channel black and white 100 percent carbon pigment ink quality fully preserves the printers' color printing performance. Of course, there is a proviso--you lose the ability to print on RC (Resin Coated) paper. But that is something I approve of, not just because plastic prints are of dubious quality and longevity, but these days we need as much reason as possible to use fewer petroleum-based products like polyethylene-coated printing paper.
 |
|
|
The Tool Kit
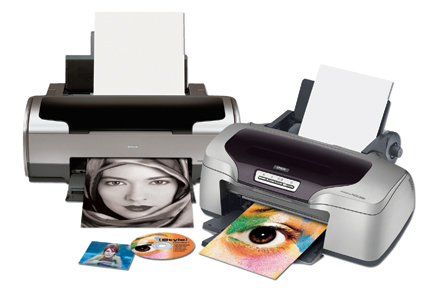
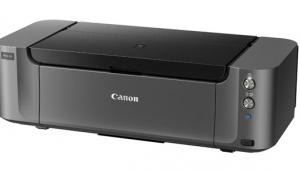
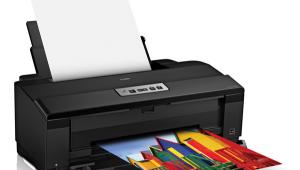
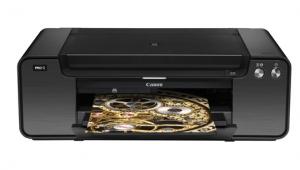
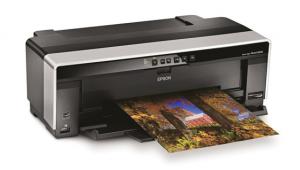
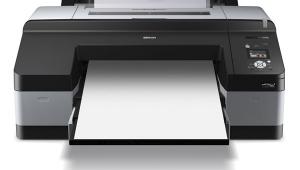
The two printers currently supported in Roark's setup are the Epson Stylus Photo R800, with a list price of $399, and the Epson Stylus Photo R1800, at $549. The R800 is a letter-size printer and the only one of that size offering eight-color UltraChrome pigment ink archival color printing. The R1800 is a 13" wide Epson printer using the same UltraChrome eight-ink colors. Both printers also support CD-R/DVD-R direct label printing on blank discs that support inkjet printing.
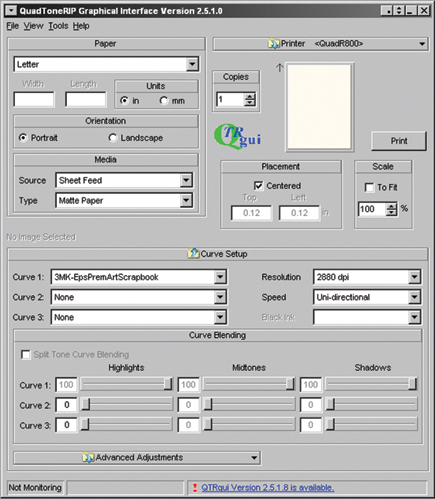
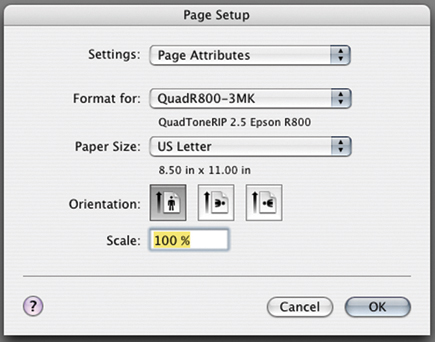
You also need a software addition that provides a separate, independent driver for either a Windows or Apple Mac computer. This driver is called a QuadToneRIP or QTR for short, a Raster Image Processor that allows the separate control of ink applied from each ink position (color ink cartridge). To make either the R800 or R1800 a dual-purpose color and black and white printer, 100 percent carbon black ink cartridges are installed in three cartridge positions of either printer, the PK (Photo Black), MK (Matte Black), and GL (Gloss Optimizer). To make a black and white print after the QTR driver is installed, instead of selecting the Epson driver, QTR is selected. It makes the print by using only the three ink position channels with MIS black ink that have replaced the PK, MK, and GL Epson cartridges.
 |
|
|
The QTR software is shareware and the creation of Roy Harrington. It can be downloaded for either Windows or Mac at www.quadtonerip.com. A user may download QTR (and with accompanying support documentation), try it out, and, if it works for them, pay a $50 user fee and register the application.
Before you can actually use either an R800 or R1800 Epson printer with QTR to make black and white prints, you will need to obtain Eboni black ink cartridges for the R800/R1800 (both printers use the same cartridges) from MIS Associates at www.inksupply.com/r1800_bo.cfm. At minimum you will need three cartridges, one for each position: GL (Gloss Optimizer), PK (Photo Black), and MK (Matte Black). The MIS part numbers are UTBO-T0540-EK, UTBO-T0541-EK, and UTBO-T0548-EK. I think you will be encouraged by the MIS price of $10.95 per cartridge, and the fact MIS also offers the entire color position replacements for both the R800 and R1800 printer at this same price, as well as cleaning cartridges. In addition, much more savings can be realized by refilling the cartridges, a process that is fully explained on the MIS website.
 |
QTR Printing Workflow
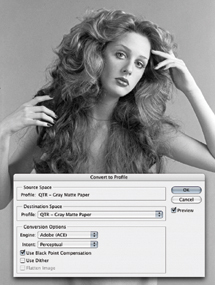
The QTR QuadR800/R1800 printer driver is linear and expects a gray scale black and white photo file (above) to also be linear, without an embedded gray scale profile which has a curve. All of the standard Adobe Photoshop gray scale work space profiles like Gray Gamma 2.2 have a nonlinear curve which will influence internal contrast, particularly affecting shadow detail in any resulting prints made with QTR. To match on-screen adjustments you must use the Photoshop Edit command Convert to Profile, and select the Destination Space: QTR - Gray Matte Paper (which should be available in the profile drop-down list as it is installed as part of QTR).
Once the profile conversion is made, carefully check the appearance of your image on screen in Photoshop and make any minor adjustments to the image for contrast and brightness. These changes should be subtle if the image was previously edited to be ready for printing. I found these small adjustments, if needed, are most easily accomplished using the Photoshop Highlight/Shadow adjustment dialog to nudge highlight, shadow, mid-tone contrast, and brightness values. Then save the image, or use Save As with a modified file name if you don't want to change your original, and be sure the Save dialog has Embed Profile turned on and that it identifies QTR - Gray Matte Paper as the profile to be embedded.
Oops! You don't use the full CS version of Photoshop but Photoshop Elements instead that doesn't have Profile Conversion? Well, if you use an Apple Mac, go into Applications on your HD and down to Utilities and launch the ColorSync Utility, which has the capability to change the profile of an image file opened in the Utility. If you are a Windows PC Photoshop Elements user, go to page #5 in Roark's PDF document and you will find you can use a Curve Layer file "Gray-Gamma-22-toQTR.tif" in a ZIP file that may be downloaded.
 |
 |


![]()
Get the Latest Photo Tips, News & Reviews from Shutterbug!
| Camera Reviews Other Reviews | Mobile Reviews Photography Reviews Columns | News | Features | How-To | Resources |
 © 2026 Shutterbug
AVTech Media Americas Inc., USA
All rights reserved