ND Filters for Travel & Nature Photos: 5-Minute Explainer (VIDEO)
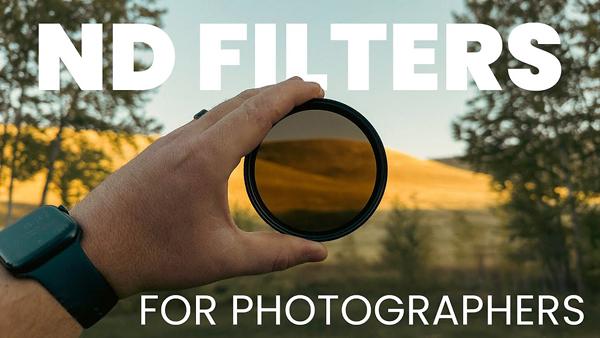
Are you having difficulty achieving correct exposures when shooting travel and nature images? Perhaps that’s because you’re not taking advantage of the one accessory that most experienced landscape photographers never leave home without.
You’ve no doubt heard pros credit ND filters for the quality of their work. But perhaps you’ve ignored these powerful tools because of the misconception that complication exposure calculations are required. If so, we’ll get you started today with the quick tutorial below from our friends at the Rocky Mountain School of Photography.
Forest Chaupul de Saintonge is Director and lead instructor at RSMP, and in today’s five-minute tutorial he discusses the what, where, why, and how of putting ND filters to use. As he explains, ND filters are so named because they don’t introduce any colorcast to your images, and they are simply designed to darken an image to permit the use of slower shutter speeds when shooting in bright light.
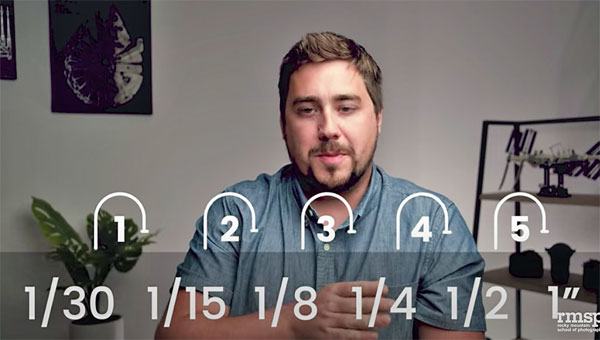
By using longer exposures you’ll be able to give photos the compelling appearance of motion, with soft cotton-like clouds, dreamy flowing water in waterfalls and streams, and other types of movement. This episode pertains to still photography, but if you also shoot video there’s a link to using ND filters for this purpose in the description beneath this video.
The challenge of depicting motion is that exposures of 10-30 seconds are required to create the effect. And with high light levels during the day, and the lack of an ND filter, that’s impossible to do. These filters can be costly, and it’s best to have a few of varying strengths, but what they enable you to create in the camera is well worth the expense.
After a brief explanation, de Saintonge runs through a variety of important tips in a hurry, so you may to take a few notes. You’ll learn the most common tasks that call for an ND filter, with particularly attention to capturing a serene mood with flowing water. de Saintonge also describes the different types of ND filters available to help you make an informed choice when getting started with the one or two options that best suit your needs.

You’ll also learn how to determine the best shutter speed for the scene at hand and the specific look you’re after.
After watching this lesson be sure to take a look at the RMSP YouTube channel where you’ll find more of the same. And for another basic tutorial from a different pro shooter, check out our recent post explaining how to shoot attention-grabbing images with an oft-ignored technique.


