- REVIEWS
Camera Reviews 
More Reviews Mobile Reviews Photography Reviews - GALLERIES
- VIDEOS
- BUYER'S GUIDES
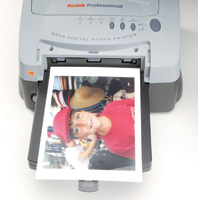
The Kodak Professional 8500 Digital Photo Printer
The Peoples Dye Sub Fast And Affordable
For most of us digital types
the clouds parted and the light was revealed to us with the advent of
good, cheap photo quality ink jet printers in the |
|||
Pro Quality Prints |
|||
The 8500 Arrives |
|||
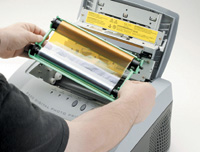
The Dye Sub Difference Print Driver Ease |
|||
Print Speed Traveling Companion Some Nits To Pick Evaluation |


![]()
Get the Latest Photo Tips, News & Reviews from Shutterbug!
| Camera Reviews Other Reviews | Mobile Reviews Photography Reviews Columns | News | Features | How-To | Resources |
 © 2026 Shutterbug
AVTech Media Americas Inc., USA
All rights reserved