- REVIEWS
Camera Reviews 
More Reviews Mobile Reviews Photography Reviews - GALLERIES
- VIDEOS
- BUYER'S GUIDES
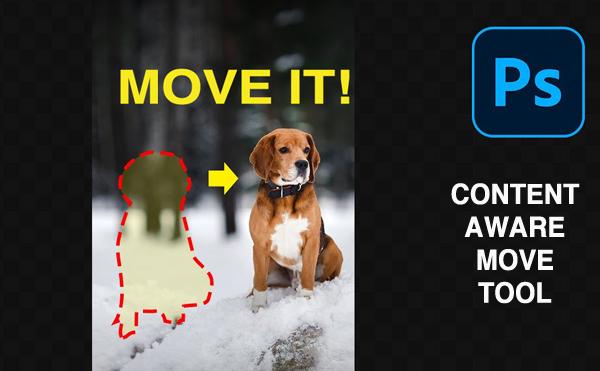
How to Use Photoshop’s Content Aware Tool to Move Objects Within a Photo (VIDEO)
One frustration when reviewing images on the computer is that we see things we missed when making the shot. A common belated observation has to do with faulty composition, and not positioning a key subject for maximum impact.
Fortunately there’s a simple solution, as you’ll see in the video below, and it takes only one minute to explain. What we’re talking about here is Photoshop’s powerful but remarkably easy-to-use Content Aware Move Tool, and it’s something you’ll want to use.
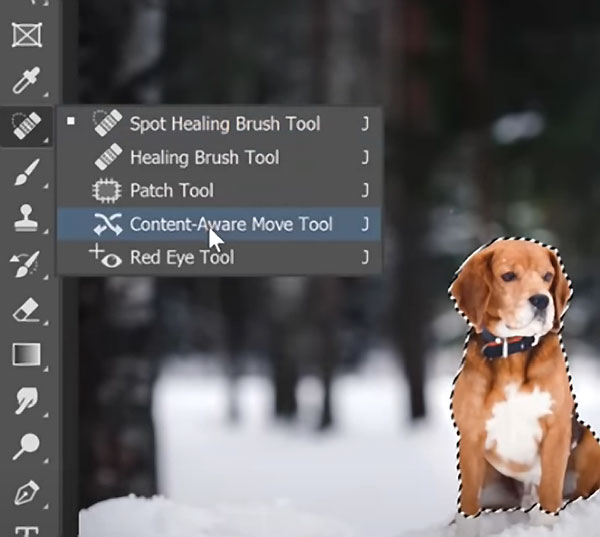
Image editing expert Jesus Ramirez has a bunch of avid fans on his Photoshop Training Channel, which is a great source of tutorials on photo manipulation, compositing, text effects, and more. Ramirez has a knack for simplifying seemingly complicated tasks, and this episode is no exception.
By learning how to use Photoshop’s amazing Content Aware Move Tool, you’ll be able to seamlessly reposition objects to fix careless composition or create unique special effects. After giving this a try, you may even feel a bit guilty about how easy this task is to achieve with precision.
Ramirez begins by going to the Select menu, choosing Subject, and then enabling the Content Aware Tool. He then holds down the Shift key while dragging to add the area beneath the dog to his selection. Pressing the Q key then activates the Quick Mask mode.
The next simple step is expanding the selection, and Ramirez demonstrates the appropriate settings. From there you can use a slider to increase the radius of the selection. At this point it's a simple matter to create a new blank layer, drag the dog to the new layer, and use the bounding box to scale and further reposition the dog if necessary. That’s it: fast, easy, and effective.
You can find more helpful editing tips on Ramirez’ YouTube channel and in a Lightroom tutorial we posted recently, explaining how to fix blown-out highlights in three simple steps using Lightroom.


![]()
Get the Latest Photo Tips, News & Reviews from Shutterbug!
| Camera Reviews Other Reviews | Mobile Reviews Photography Reviews Columns | News | Features | How-To | Resources |
 © 2026 Shutterbug
AVTech Media Americas Inc., USA
All rights reserved