Here’s How to Use ND and Polarizing Filters to Shoot Better Photographs (VIDEO)

While many photographers think nothing about spending big bucks on high-end cameras and premium glass, these same shooters often ignore inexpensive accessories that can have a huge impact on their results. One of the most affordable and useful such tools, is the simple lens filter.
Atlanta-based pro Evan Ranft is a big proponent of filters, and in the video below he explains when and how to use Neutral Density (ND) and polarizing filters to greatly improve your images. The importance of these simple accessories can’t be overstated, especially because they’re cheap and easy to use.

Ranft begins by explaining the how polarizing filters block out reflected light. By doing so, the polarizer increases saturation and darkens pale blue skies, especially when shooting during harsh, midday light. This powerful filter also removes distracting glare and reflections from non-metallic surfaces like glass, water, and other shiny objects—making it very useful for shooting street photography, landscapes, and a wide variety of outdoor subjects.

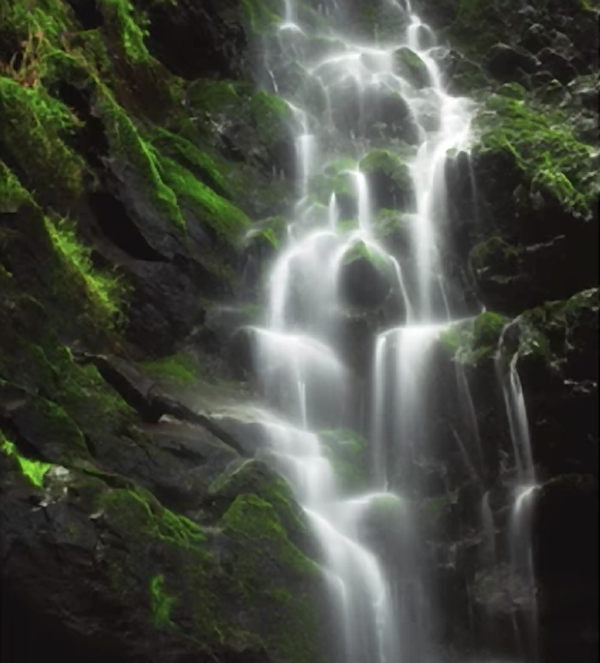
A particular favorite of landscape photographers, the ND filter works its magic by blocking much of the light from entering the lens. By doing so, it enables you to shoot with slower shutter speeds on bright days. Thus, you can create interesting motion effects like soft flowing water, and dreamy, wispy clouds. ND filters are available in various strengths, so you can choose exactly how much light to block, depending upon the subject and the effect you’re after.

Ranft explains the few things you need to know for using these filters properly, including how to make use of an ND filter to create a cinematic look when shooting videos.
There’s more helpful advice on Ranft’s YouTube channel. And be sure to look at his earlier tutorial, with several great tips for shooting cityscapes at night.


