- REVIEWS
Camera Reviews 
More Reviews Mobile Reviews Photography Reviews - GALLERIES
- VIDEOS
- BUYER'S GUIDES
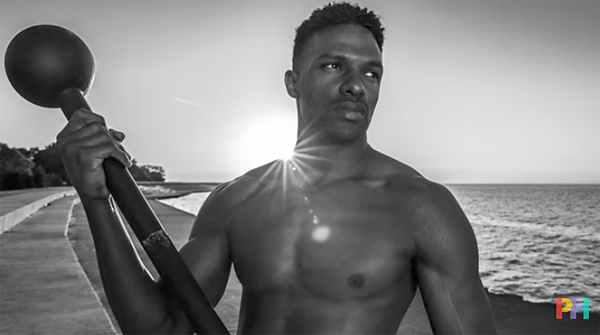
Here’s How to Convert Photos to B&W in Lightroom for a “Gritty” Athletic Look (VIDEO)
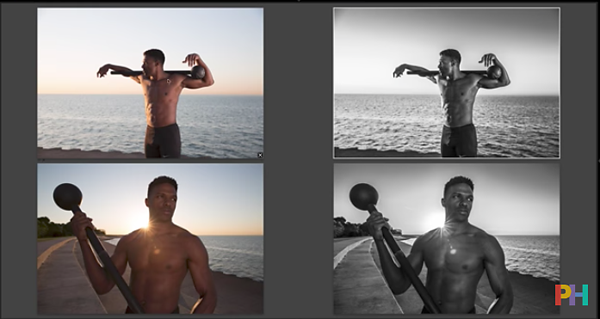
There are a number of ways to convert color images to B&W, and the proper technique to use often depends upon the type of photograph you’re working on. Portraits call for one approach, while landscapes or street scenes may work best with another.
In the video below, image-editing expert Aaron Nace demonstrates a process he developed to create a “gritty” look for a photograph of a muscular personal trainer that was originally shot in color. As Nace explains, “This is not an effect you would use on a portrait of your mother.”
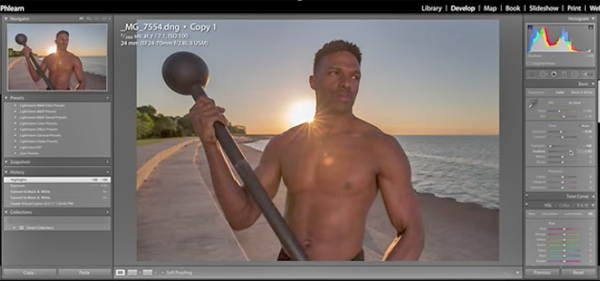
Nace begins the tutorial by demonstrating how to create space-saving “virtual copies” of your Raw files after importing them into Lightroom. He then explains why it’s a good idea to be conservative with slider adjustments when converting color images to b&w.
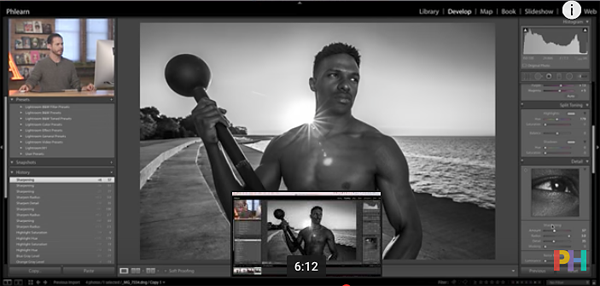
Nace walks you through the process of converting and editing an image to arrive at the gritty look desired. The last step is creating a preset for the final result that can be can applied to the rest of the photographs from the shoot.
You can find more videos from Nace on his YouTube channel, and don’t miss his earlier tutorial we shared on creating a tilt-shift effect in Photoshop.


![]()
Get the Latest Photo Tips, News & Reviews from Shutterbug!
| Camera Reviews Other Reviews | Mobile Reviews Photography Reviews Columns | News | Features | How-To | Resources |
 © 2026 Shutterbug
AVTech Media Americas Inc., USA
All rights reserved