- REVIEWS
Camera Reviews 
More Reviews Mobile Reviews Photography Reviews - GALLERIES
- VIDEOS
- BUYER'S GUIDES
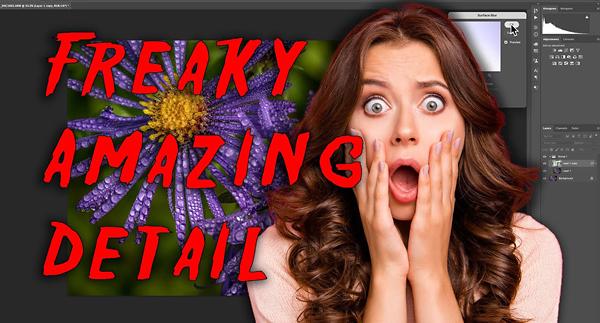
Give Photos “Freaky AMAZING Detail” with This Unique 6-Minute Photoshop Trick (VIDEO)
Everyone strives for maximum detail in photographs, which is why we always recommend investing in premium glass. But if you’re on a budget, and stuck with basic lenses, there are several post-processing techniques you can try.
Some photographers turn to Photoshop’s sharpening tools, while others employ clarity adjustments. Still others prefer the more complicated task of merging a number of bracketed images. But if you’re looking for a simple approach that may blow your mind, read on.
Imaging expert Anthony Morganti says he learned this trick from German photographer Calvin Hollywood, who calls it “Freaky Amazing Detail,” and it really is. Because Hollywood posts his tutorials in German, Morganti kindly decided to share in here—in his own words in English.
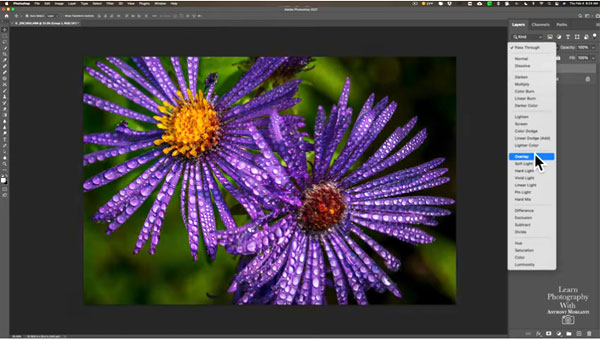
After opening Photoshop and pulling up a macro shot, Morganti demonstrates this sorcery in barely six minutes, and you’ll be able to get the job done is less time than it takes to watch the video. What’s cool about this approach is that it doesn’t matter what type of image you have, and it works equally well for portraits, landscape shots, and everything else.
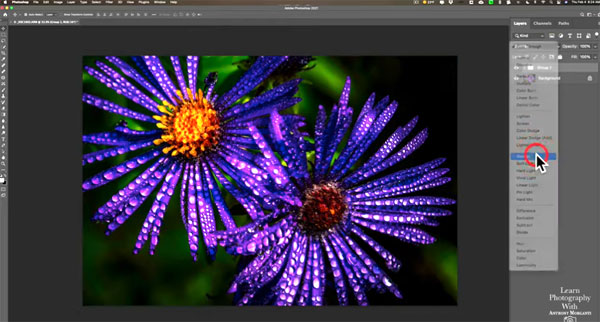
Remember, this trick only requires a single photo, and the first step after importing the image is to duplicate the background layer twice—for a total of three layers. Then you put the top two layers in a group using the method and keyboard shortcuts Morganti provides.
We’ll let you watch the video to learn the few remaining steps, which involve nothing more complicated than changing layer blend modes, inverting a layer and converting it to a smart object, applying a filter or two, and making a couple final adjustments. Voila! You end up with a freaking awesome image.
After watching the video, head over to Morganti’s YouTube channel for more image-editing wizardry. Then check out the Lightroom tutorial we posted yesterday, demonstrating how to enhance and add detail to animals’ eyes.


![]()
Get the Latest Photo Tips, News & Reviews from Shutterbug!
| Camera Reviews Other Reviews | Mobile Reviews Photography Reviews Columns | News | Features | How-To | Resources |
 © 2026 Shutterbug
AVTech Media Americas Inc., USA
All rights reserved