- REVIEWS
Camera Reviews 
More Reviews Mobile Reviews Photography Reviews - GALLERIES
- VIDEOS
- BUYER'S GUIDES
Give Landscape Photos the ORTON GLOW Effect in Photoshop (VIDEO)
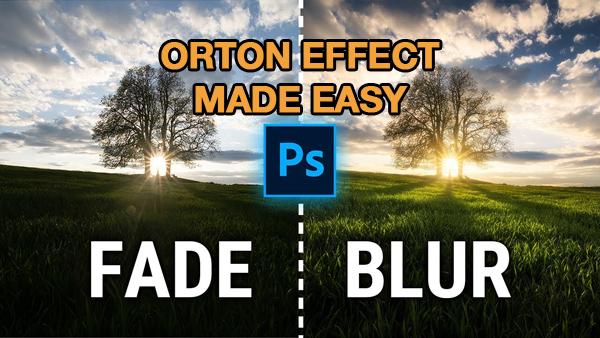
The Orton Glow effect is popular among landscape photographers for giving images a dreamy, ethereal look that really stands out from the crowd. There are a number of ways to get the job done—some more complicated than others.
The tutorial below from the PHLOG Photography YouTube channel demonstrates a straightforward method that works wonders whether you’re a beginners or a seasoned pro. You may want to download the demonstration image using the link in the description beneath the video so you can make the adjustments yourself as they are explained.
Instructor Christian Mohrle explains that this eye-catching effect “involves blending two images together—each with different levels of sharpness and brightness.” The result is a soft-focus look that enhances colors while providing an attractive glow.
Mohrle walks you through the simple step-by-step process in barely 15 minutes, and once you understand the method it takes even less time to accomplish. For this episode he shoots two images of the scene—one with his finger blocking the sun. As you’ll see, these are later merged in Photoshop.
The edit begins with a few basic adjustments so the base photo looks as good as possible for the enhancements that follow. Mohrle first changes the profile from Adobe Color to Adobe Standard, which immediately lessons contrast.
He then opens Photoshop’s Basic panel for further global adjustments that include modifying color temperature for warmer tones, increasing exposure to bring out detail in the dark foreground, and significantly dropping highlights. He also raises the blacks and further opens up the shadows.

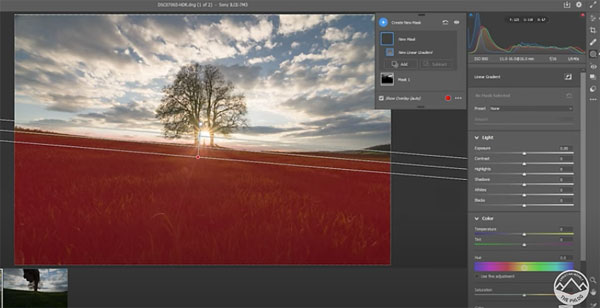
Now that the image is looking much better, it’s time for selective local adjustments that create the Orton Glow effect. These require simple masking to various portions of the scene. He uses a Range Mask to make blue areas in the sky a bit more dramatic, and adds a Linear Gradient to adjust bright areas in the clouds.
A second liner gradient is used to improve the dark foreground. The final steps include color grading, sharpening, the aforementioned image stacking, and adding the glow. Now the transformation is complete, with a unique and very appealing look.
You can find more helpful tips and tricks on Mohrle’s instructional YouTube channel, so be sure to pay a visit. We also encourage you to watch another video tutorial we posted recently, explaining what another pro says is the “best effects plugin for Lightroom and Photoshop."


![]()
Get the Latest Photo Tips, News & Reviews from Shutterbug!
| Camera Reviews Other Reviews | Mobile Reviews Photography Reviews Columns | News | Features | How-To | Resources |
 © 2026 Shutterbug
AVTech Media Americas Inc., USA
All rights reserved