- REVIEWS
Camera Reviews 
More Reviews Mobile Reviews Photography Reviews - GALLERIES
- VIDEOS
- BUYER'S GUIDES
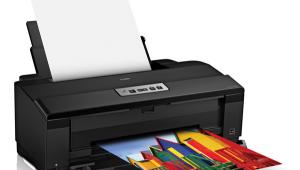
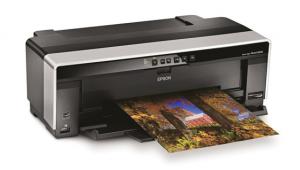
Epson SureColor P800 Photo Printer Review
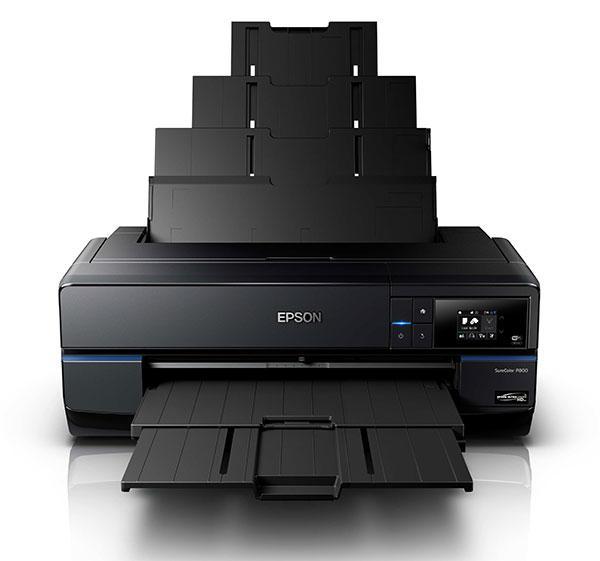
A popular option for many photographers looking to print images at up to 17 x 22 inches has been the Epson 3880 printer (and before that the 3800). Essentially an affordable option to Epson’s professional level 4800 and 4900 printers, the Epson 3880 and 3800 use smaller ink cartridges and forgo the ability to use roll paper. It’s been several years since this photo printer lineup has been updated, so when Epson gave me the opportunity to review their new 17-inch SureColor P800 I was interested to see what they were able to come up with to improve an already very good printer.
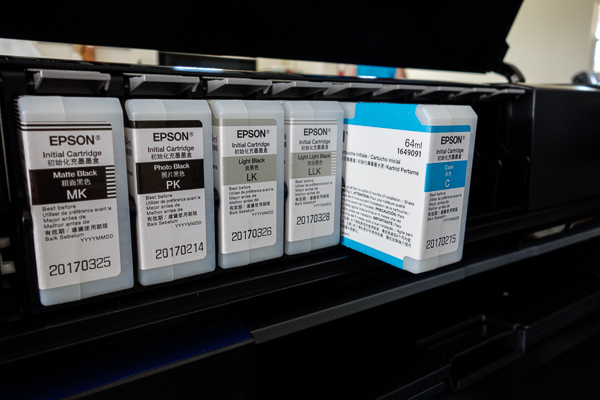
The Epson SC-P800 has a maximum 17 inch (A2+) width paper size and uses nine inks in 80ml cartridges (the printer ships with a starter set of 64ml inks), of which eight are available at any time with auto switching between matte and photo blacks.
One of the advantages of a larger printer, aside from the obvious ability to print larger sizes, is the lowered cost of inks when purchased in the higher capacity cartridges. While slightly older Epson P600 (which Shuttterbug reviewed last year) uses 25.9ml cartridges at $32 each, the 80ml cartridges for the new P800 are $60 each, a savings of about 40%.
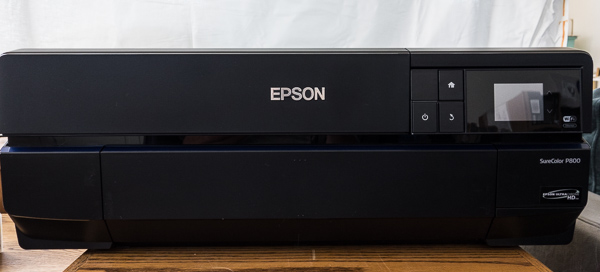
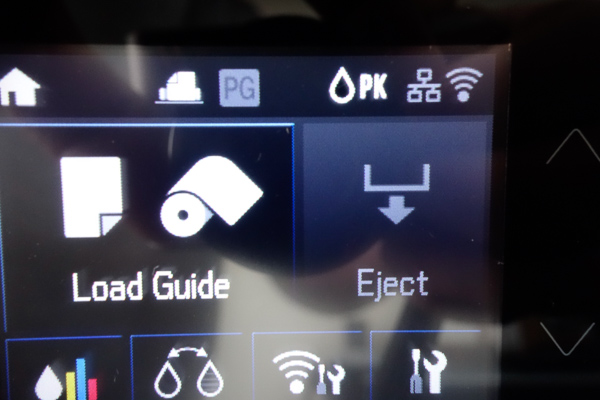
New to the Epson P800 is wireless connectivity in addition to USB and 100/10 Ethernet connections and support for both Apple AirPrint and Google Cloud Print. The printer also sports a tilting 2.7-inch color LCD touchscreen to control settings. Perhaps the most welcome addition is the optional roll paper holder -- you’re no longer limited to only cut sheet media. I’ll have more on this option in a bit.
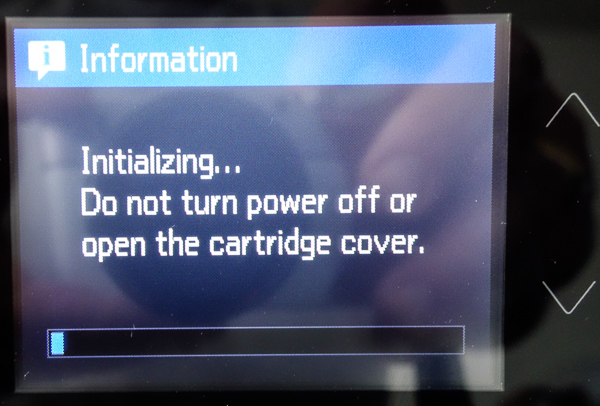
Setup is straight forward, with the color touch screen guiding you through the initialization process of installing inks


Software installation is simple enough: I setup for WiFi, entering my info directly on the control panel. You can also setup via software install, with step by step help.

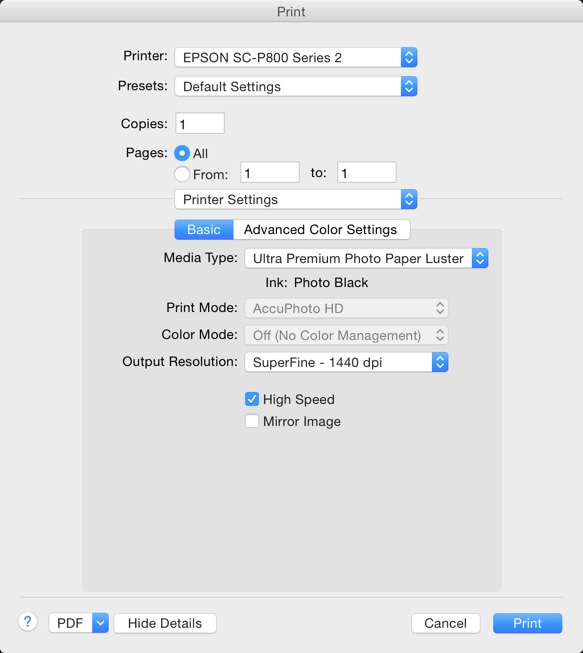
On the Mac, the default setup is for AirPrint when using WiFi. This is not what you’re going to want though. The AirPrint driver has fewer options for media and color.

After the AirPrint driver is installed, you’ll want to go back into System Preferences/Printers & Scanners and add a second driver. This will give you the options needed for photo printing.

The Epson P800’s print head is similar to the one used in the 3880, having 180 nozzles per ink and a 3.5 picoliter drop size for a resolution of 2880 dpi. Because the head is similar, you’ll still have the need to switch between blacks. The inks have been updated to UltraChrome HD.
The biggest difference here is a reformulation of the blacks giving a better dMax (deeper blacks) of 2.86 vs. the previous 2.26 in part due to the black inks holding 1.5 times more pigment than the previous models. Epson has updated their screening algorithms for a more precise dot placement.
As mentioned earlier, one of the big enhancements to the Epson P800 is the addition of a roll feed adapter. Unlike the smaller P600 13-inch printer, this is a real roll adapter with spindle and the ability to handle 2-inch and 3-inch core rolls. The roll adapter is a $199 option, but opens up some new options for media, particularly canvas.

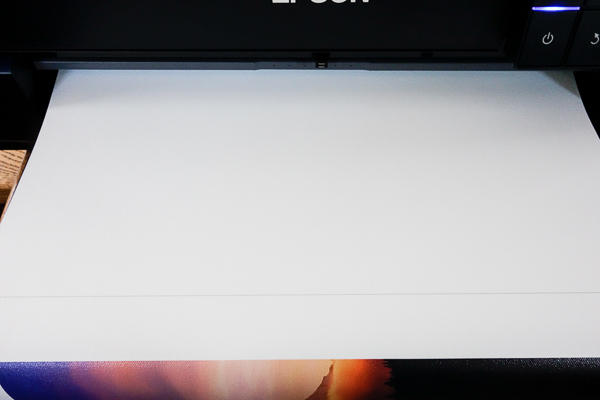
Paper feed has been improved significantly for thicker media with up to 1.5mm thick media supported via the straight front feed path.
Setting the media path and type is done from the front touchscreen with clear directions for feeding. During printing, you’ll see the current ink levels (also available from the main menu)


 All supported paper sizes, from 3.5 x 5 inches and up have full borderless printing. There was a bit of confusion here when doing my first fine art paper.
The manual (yes, I actually read the manual!) says to close the rear feed tray, but the front panel instructs you to open it. As it turns out, you leave the feed tray open for fine art media and close it for poster board to allow it to feed without a bend.
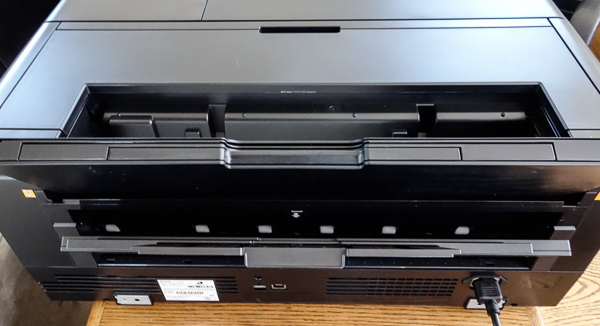 Unlike the larger professional line of printers, the Epson P800 does not have a cutter built in. When finished with printing from roll media, you’ll have the option to cut - this prints a guide line on the media and feeds forward enough to cut with scissors.
With the P800, Epson has done away with the previous 44 inch length limit, giving you the option to print panoramas over 120 inches long.

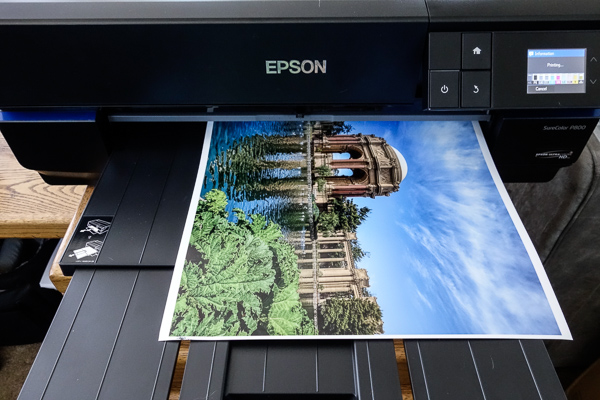
I print from Lightroom and Photoshop, typically using application managed color with the correct media type and ICC profile selected. Straight from the box, the P800 gave me the most accurate color prints I have ever had from a printer. I was very impressed with both rc and fiber papers as well as fine art rags and canvas. Typically I create my own profiles for more accurate results, but with the Epson P800 this is unnecessary.
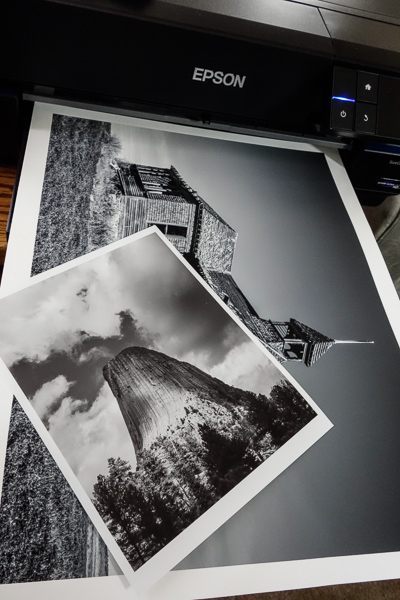
The exception to using application-managed color is when printing black and white. Epson has done an amazing job with their Advanced Black and White mode (ABW) in the driver. To enable this, you need to let the printer manage color, then go to the Advanced Color Settings. You have options in the driver for hue adjustments via color wheel, along with tone and density adjustments to fine-tune the output.

As you can see here, there is a significant difference between standard color settings and ABW. The image on the left used application managed color, while the right side uses ABW. The ABW print is much more neutral in tone and is a clear representation of what I intended to print.

One thing that hasn’t changed is the need to switch between matte and photo black inks. All nine cartridges are installed, and the process is automatic, but when switching between inks, there’s a conversion process that uses some ink -- switching from photo black to matte uses about 1.6ml, while going from matte to photo black wastes about 4.6ml.
So, you’ll want to plan your printing as much as possible to keep switching to a minimum.
There is also a hidden gem that I didn’t find on the US Epson website for the P800 - Epson Print Layout, a plugin for Lightroom and Photoshop. I did find it at the Epson Japan site: http://www.epson.jp/products/pro/download/printlayout/
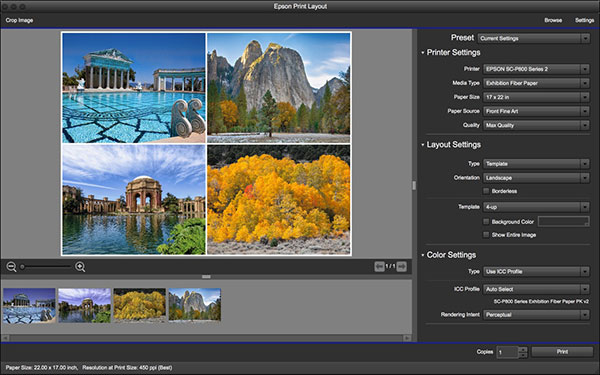
While Lightroom gives you layout options for multiple prints Photoshop users will appreciate the flexibility of Epson Print Layout. The plugin also gives you all of the printer options in one location, for a smoother workflow. In Lightroom it is accessed as an Export plugin, while Photoshop users will find it under the File/Automate menu.
Conclusion
With the SureColor P800, Epson has improved on what was arguably the best 17-inch printer available by adding key features that users have been asking for, namely WiFi and roll feed. The control panel layout is clear and makes loading paper straightforward. There are plenty of less obvious improvements to the Epson P800 as well, most notably with the improved density in the blacks.
If you are using a 3880 and don’t need the roll options or WiFi, it’s not a compelling upgrade, but anyone looking to move up to a 17-inch printer should have the Epson P800 at the top of their list.
With a retail price of $1295 (Epson currently has a $200 rebate, lowering the price to $1095), it’s not an inexpensive option, but when you factor in the cost of inks and the functionality, it’s a relative bargain. The roll feed is optional at $199, which I initially thought was excessive, but unlike the smaller printers, this handles media very well in both 2-inch and 3-inch core sizes.
If I had a complaint about the Epson P800, it would be the smaller starter size cartridges. I wish Epson included full 80ml carts rather than the 64ml starters, but this is pretty standard with all large format printers from every manufacturer.
Perhaps the best indication of what I thought of the quality of the P800 is that I’m buying one for myself.


![]()
Get the Latest Photo Tips, News & Reviews from Shutterbug!
| Camera Reviews Other Reviews | Mobile Reviews Photography Reviews Columns | News | Features | How-To | Resources |
 © 2026 Shutterbug
AVTech Media Americas Inc., USA
All rights reserved